48
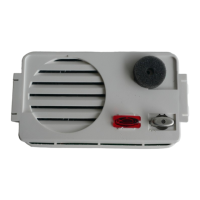
CONNECTIONS BRACKET
PLACE AND HEIGHT OF LOCATION
Choose a place to locate the connections bracket
where the wall is true, uniform and hard. To avoid unde-
sired effects in the image (reflections, background light,
etc.) and to preserve its working life, do not position the
equipment near direct light sources or intense sources of
heat, damp or steam.
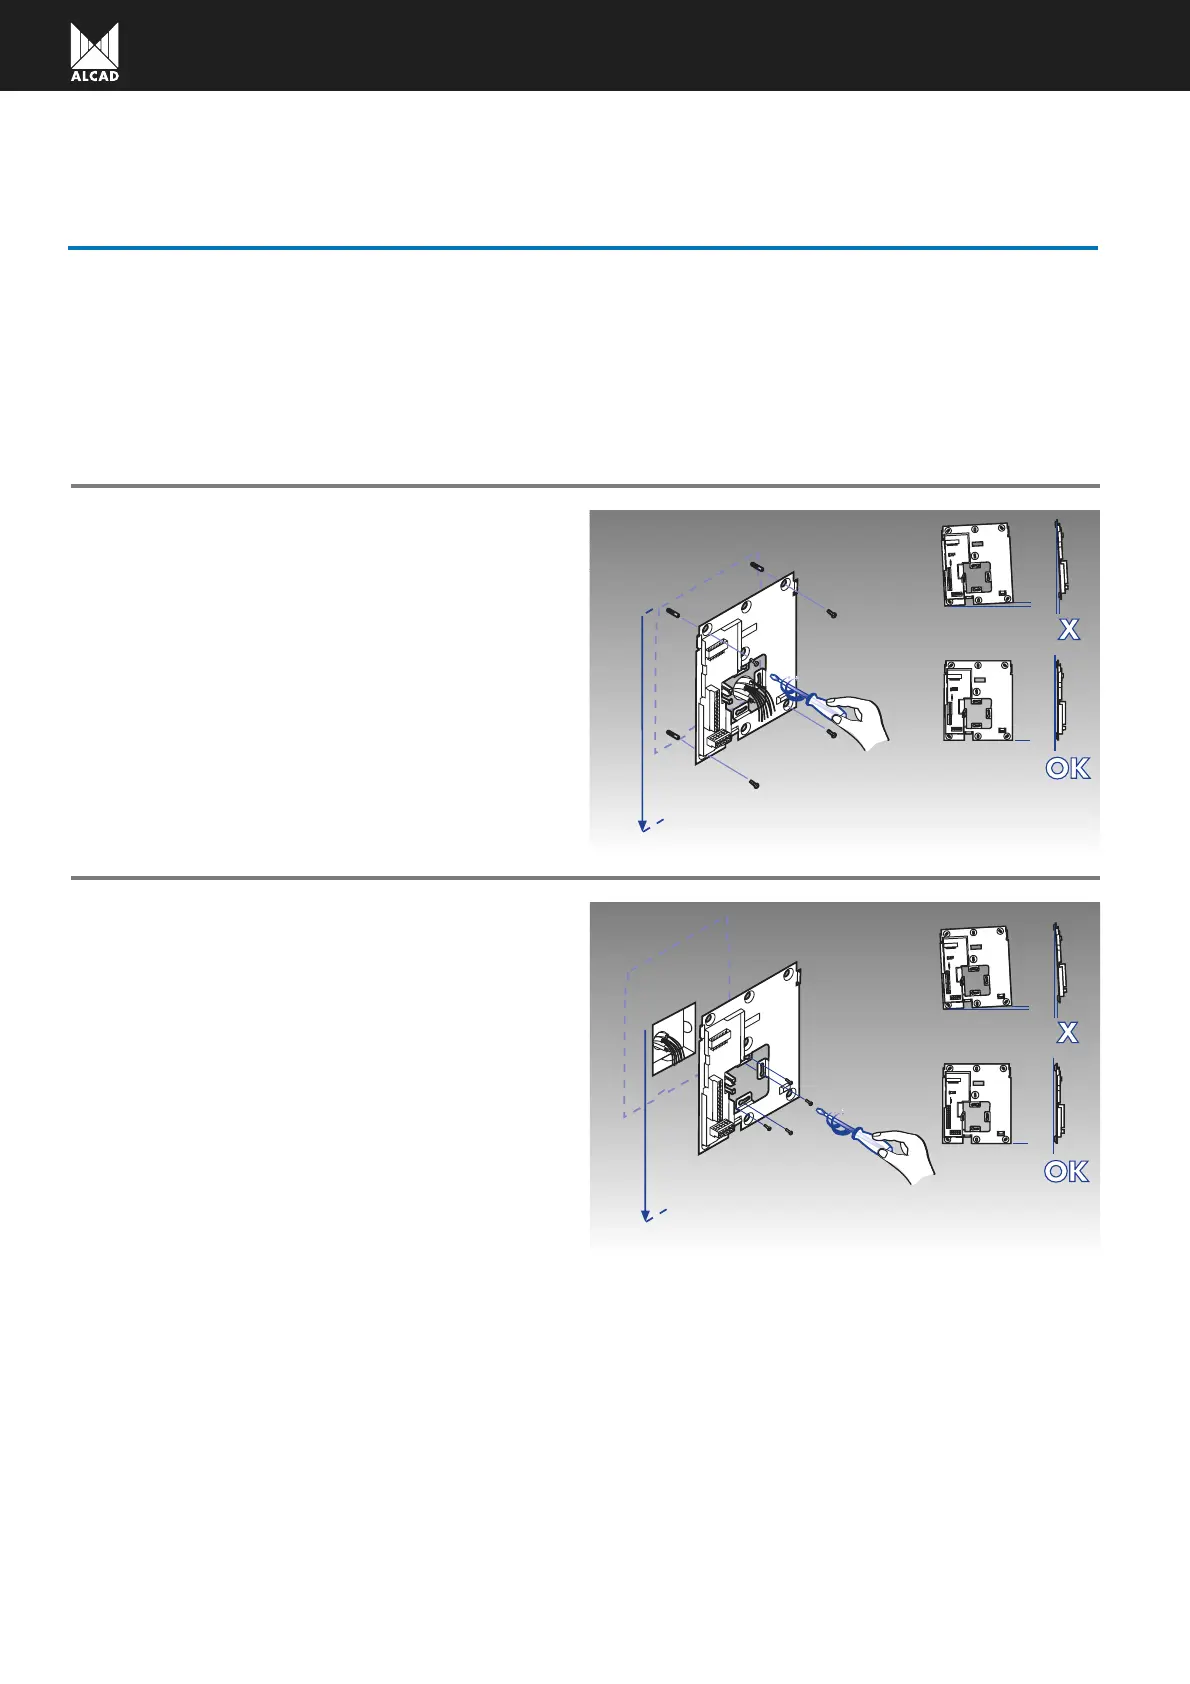
WALL FIXING
Remember to pass the cables through the cable holes
before fixing the bracket.
Fix the connections bracket to the wall using the screws
and wall plugs supplied with the product: the use of the
4 corner anchoring points is recommended.
Position the bracket vertically and in such a way that
the top part is 1.7 m above the floor.
Make the connections and adjustments to the connec-
tions bracket as indicated in the connection diagrams
and instructions of this manual.
FIXING TO THE STANDARD ELECTRICAL BOX
Make sure that the electrical box is vertical and uni-
formly aligned and flush with the wall. Fix the box at a
height of 1.5 m above the floor, in this position the con-
nections bracket will be 1.6 m above the floor.
Remember to pass the cables through the cable holes
before fixing the bracket.
Fix the connections bracket to the electrical box.
Make the connections and adjustments to the connec-
tions bracket as indicated in the connection diagrams
and instructions of this manual.
 Loading...