8
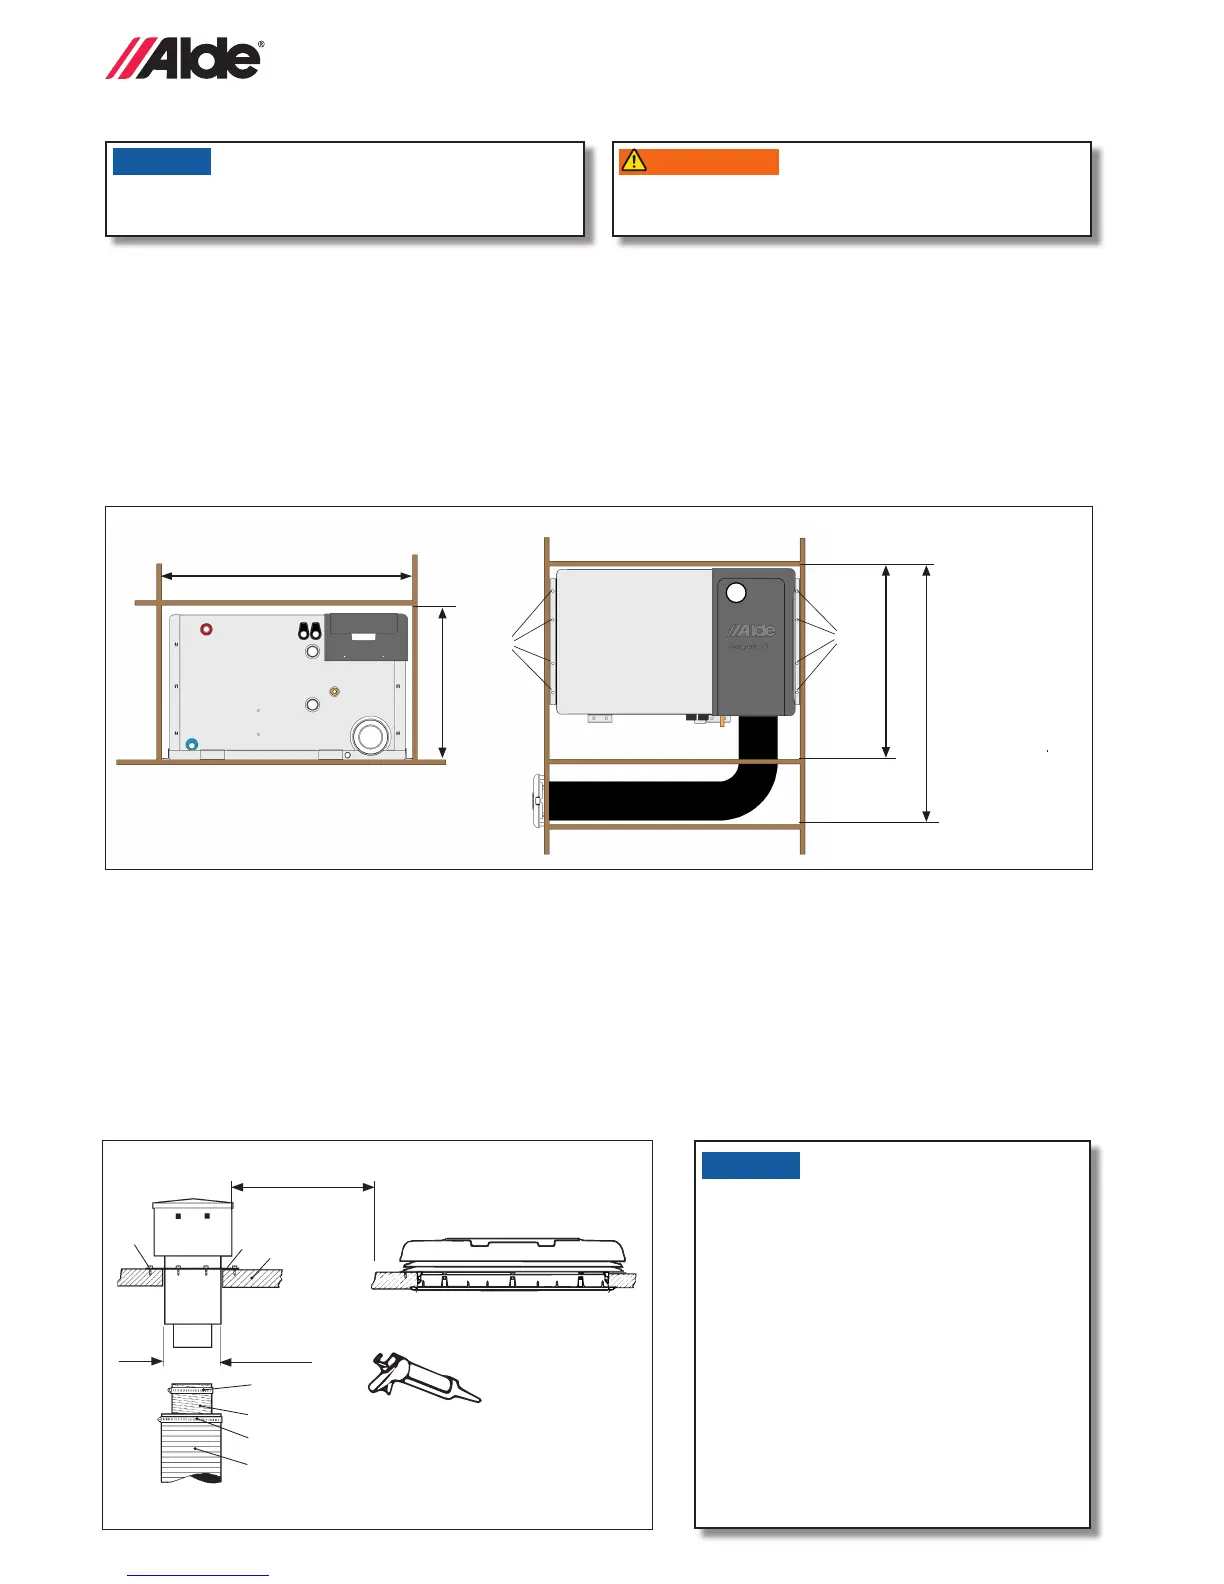
5:3 BOILER INSTALLATION
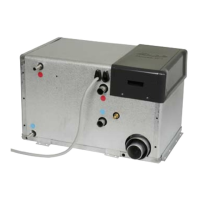
• The best place for the boiler is in a wardrobe or storage space, but it can also be placed in the double oor of the vehi-
cle. When placing outside the vehicle, the boiler must be built into an enclosed space to protect it against water spray,
exhaust fumes etc. When choosing the location, also bear in mind the need to be able to remove the service panel
(Figure A.1) and that space has to be left for the replacement of components during servicing.
Bear in mind the need to remove the boiler for servicing/replacement.
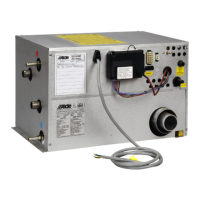
• The data plate (Figure A.2) on the boiler has to be legible after installation.
• The installation dimensions according to Figure A are the recommended minimum dimensions for installation of a
boiler.
• The space where the boiler is installed must be ventilated, ventilation area at least 70 cm
2
.
• The boiler must be screwed securely to the oor through the holes in the xing brackets (Figure A.2).
Figure C
Ø 76 mm
4
5
6
13
12
15
14
min 520 mm
min 320 mm
min 440 mm
min 535 mm
1
2
2
1. Service hatch
2. Holes for xing with screws
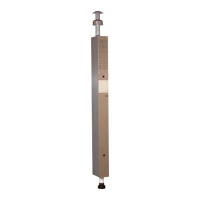
NOTE! Seal between the
mounting washer (Figure C 4)
and roof (Figure C 5) with an
automotive body sealant.
The boiler must not be located in the passenger area of
a vehicle of the type M2 or M3.
WARNING
VARNING
AVERTISSEMENT
WARNUNG
ADVARSEL
VAROITUS
ADVERTENCIA
AVVERTENZA
WAARSCHUWING
SHARP EDGES CAN CAUSE
CUT INJURIES
Always wear protective gloves to help avoid injuries
from sharp edges during installation.
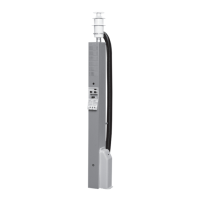
5:4 FITTING A ROOF FLUE
• The boiler may only be tted with an original Alde ue.
• The ue must not be blocked.
• The roof ue should be mounted on a level surface (however, a roof pitch of max 30° is acceptable).
• No items may be mounted on the roof within a radius of 200 mm from the ue.
• There must be a minimum lateral distance of 300 mm from a ventilation air intake
• Mark the hole centre, where the ue is to be tted, and drill a Ø 76 mm hole through the roof.
• Fit the ue, working from the top of the roof down. Seal between the mounting washer (Figure C 4) and roof (Figure
C 5) with an automotive body sealant, and screw the ue securely in place with 6 self-tapping screws (Figure C 6).
For ue installation in buildings, the fol-
lowing applies:
For vertical installation of the ue on the roof,
the opening in its entirety must be at least
0.3 m perpendicular to the surface of the roof.
For installation extending out from the wall,
the opening must be placed:
• At least 2 m above ground level.
• At least 1 m from opening windows.
• At least 1.5 m from ventilation openings.
• At least 0.5 m from doors.
• Not with an area of 45° between outer
wall and eaves/gutter.
Figure B. Installation dimensions Alde Compact 3020
> 300 mm
 Loading...