Use
19
Sawing in normal operation
1. Secure the workpiece with suitable clamping elements (e.g. vices). Ensure that
the clamping elements are fixed securely to prevent them being loosened by the
vibrations caused by the product.
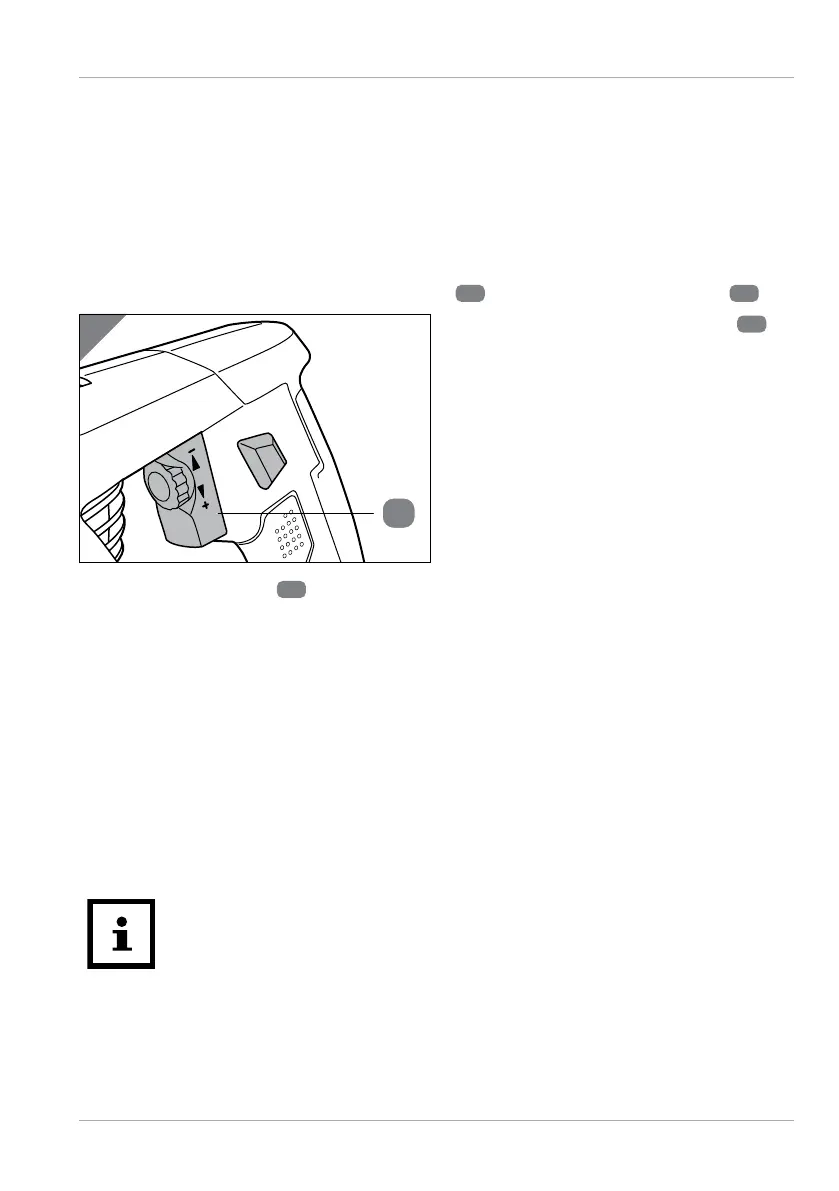
2. If necessary, set the maximum number of strokes using the stroke rate limiter (see
“Adjusting the stroke rate limit”).
3. Make sure that the product is plugged into a socket.
4. Pick up the product. Hold it by the handle
12
and the front handle surface
7
.
5
11
5. Press and hold the on/off switch
11
.
The product will run. Press the on/off
switch gently at first to start at a lower
stroke rate (see Fig. 5).
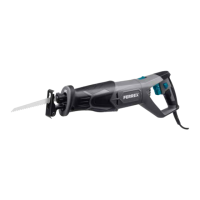
6. Place the saw blade
2
on the workpiece. Saw the workpiece at an even feed
rate. Slowly increase the pressure on the on/off switch to increase the stroke rate
and the speed of the inserted saw blade.
If the saw blade jams, switch off the product immediately. Use a suitable tool to
spread the saw gap and pull the saw blade out of the saw gap.
7. To switch off the product after sawing, release the on/off switch.
The product will gradually come to a stop. Do not put down the product while it is
coming to a stop. Hold the product steady and wait until the saw blade comes to a
complete stop. Only then can you put the product down.
8. Pull the mains plug out of the socket to disconnect the product from the power
supply.
The workpiece is now sawn.
• To prevent the product from overheating, take regular cool-down
breaks when working for long periods of time.
• To extend the cutting stability of the saw blade, you should take
regular breaks to let it cool down when sawing metal, or coat the
saw blade with cutting grease.
• The product is relatively loud during operation. Therefore, do not
use the product at unsociable times.