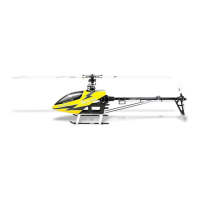
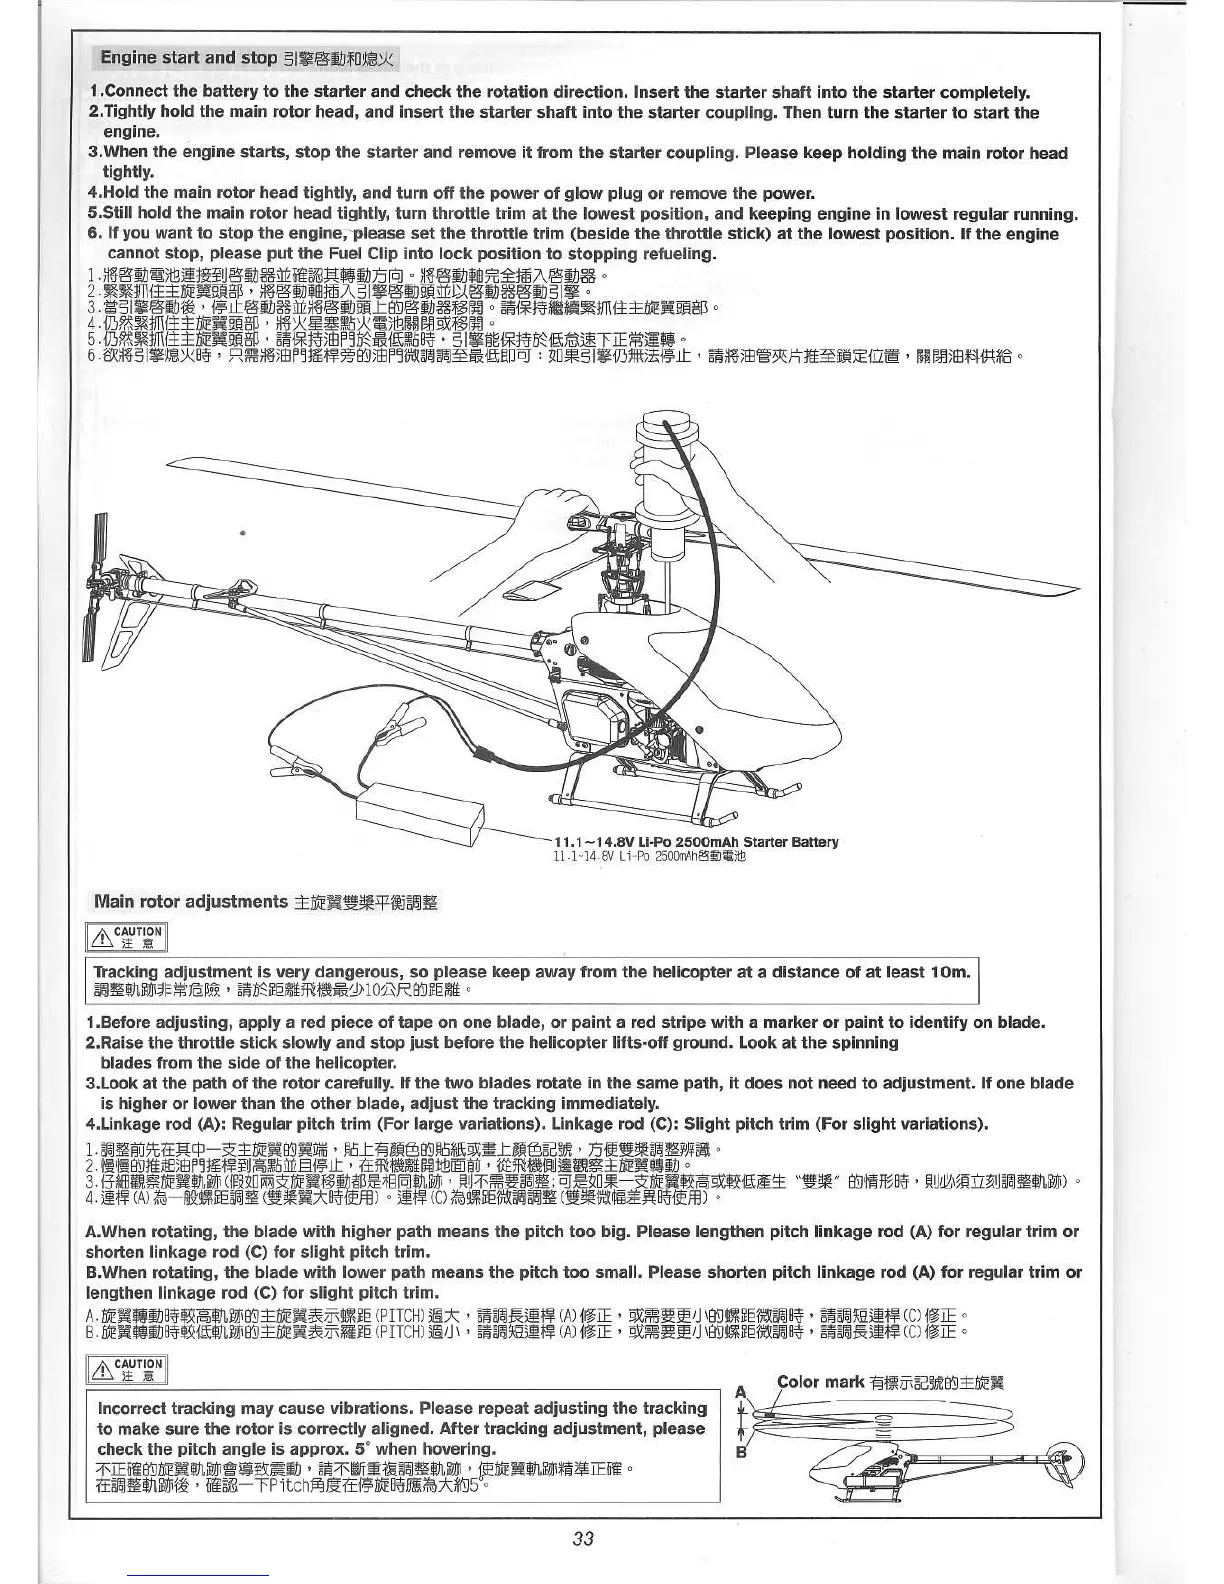
Engine start and stop ~1~.@:tDfOXI@*
1.Connect the battery to the starter and check the rotation direction. Insert the starter shaft into the starter completely.
2.Tightly hold the main rotor head, and insert the starter shaft into the starter coupling. Then turn the starter to start the
engine.
3.When the engine starts, stop the starter and remove it from the starter coupling. Please keep holding the main rotor head
tightly.
4.Hold the main rotor head tightly, and turn off the power of glow plug or remove the power.
S.Still hold the main rotor head tightly, turn throttle trim at the lowest position, and keeping engine in lowest regular running.
6. If you want to stop the engine;-please set the throttle trim (beside the throttle stick) at the lowest position. If the engine
cannot stop, please put the Fuel Clip into lock position to stopping refueling.
1.~~.@:tD~)tB~ME~U.@:tD3§ill'zlii8~~.tDDfOJ0~~.@:ItJ~I!J~~fill7\.@:tD3§0
2.~~1mi±±D!E~mi§13. ~~.@:tD~l!Jfill7\~I~.@:tDmiill'zJJ..@:tD3§.@:tD~l~0
3.~~I~'@:IM~ • i~lt.@:tD3§ill'z~~.@:tDmi1=B:\J.@:tD3§f~r;08~i*1~*ltU.~1mi±±Ii)j!~mi§130
4. iJJ~~1mi±±D!E~mi§~ . ~~*~~J:I1,o*~)tB~~~9Xf~r; 0
5. iJJ~~1mi±±D!E~mi§~ . 8~i*1~)fE~~D~~i~~.o8~• ~1~§~i*~D~f~g~~IE*~. 0
6.W<~~~I~X~,*8~' .R®~~)fE~~tffit~~B:\J)fE~~I~~~~~f~tln~ ; szO~~I~m;!ffl)~i~lt . 8~~~)fEg;3P:h11t~~~AEilZ~. ~~)fE*~f:!:!;M30
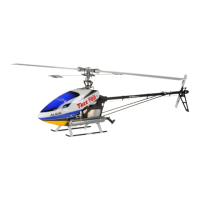
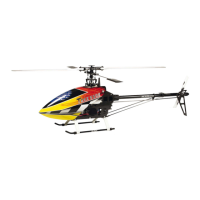
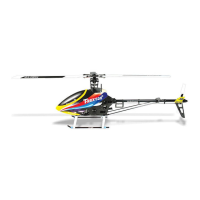
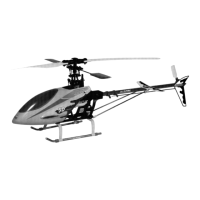
11.1 -14.8V Li·Po 2500mAh Starter Battery
11 1-14. 8V Li-Po 2500IJ\l\h@~~)tjJ
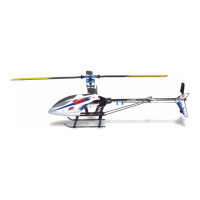
Tracking adjustment is very dangerous, so please keep away from the helicopter at a distance of at least 10m.
~~ttl,]EiJ)i~F*tB~~• 8~D~~eWJ!H!~~~1I10BRB:\J~ei¥MI0
1.Before adjusting, apply a red piece of tape on one blade, or paint a red stripe with a marker or paint to identify on blade.
2.Raise the throttle stick slowly and stop just before the helicopter lifts-off ground. Look at the spinning
blades from the side of the helicopter.
3.Look at the path of the rotor carefully. If the two blades rotate in the same path, it does not need to adjustment. If one blade
is higher or lower than the other blade, adjust the tracking immediately.
4.Linkage rod (A): Regular pitch trim (For large variations). Linkage rod (C): Slight pitch trim (For slight variations).
1.m1~WJ$1;1:E~CP-SZ:±D!E~B1J~i1iiIi. ~o1=~M§B1J,~D*J£9X.1=M§~['51fi' D@:J!~m1~~)¥~0
2.11~H~B1J1!U8)fE~~1ffitnUiei~.oill'z§i'it • 1:Em~i¥MIr;tt9[§jWJ. it£m~t~Hin~±D!E~.1tJ 0
3.f:H8Jn~D!E~ttl,WJ\(i~RSZO~SZ:D!E~f~ItJ'/3~~t§[q]ttl,]EiJ)i• flU/G~~m1~;
OJ ~SZO~-SZ:D!E~~~iei9X!~i~~!±."J!~" B1J'1~JB8~. flUiJZ',\~j'iJJ:P<UmI~ttl,]EiJ)i)0
4.jtt~ (A)1I0-Jtl9:t*~eml~(J!~~7:8~i~ffl) 0jtt~ (()1I0t*~el~m1m1~(J!~I~~~~~B~f~ffl) 0
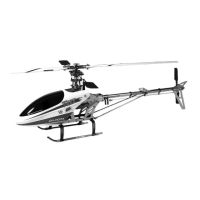
A.When rotating, the blade with higher path means the pitch too big. Please lengthen pitch linkage rod (A) for regular trim or
shorten linkage rod (C) for slight pitch trim.
B.When rotating, the blade with lower path means the pitch too small. Please shorten pitch linkage rod (A) for regular trim or
lengthen linkage rod (C) for slight pitch trim.
A.D!E~.ItJB~!~~tn1fiJJiB:\J±D!E~~~t*~e(PITCH)~7: . 8~~~~t~ (A)fI~IE. 9X®~~IJ \B:\Jt*~e~~B~' ~~~~H~t~ (() i~IE 0
B.D!E~.ItJB~!~f~tn1fiJJiB:\J±D!E~~~;m~e(PITCH)~IJ \ . 8~~~H~t~ (A)fl~IE . 9X®~~IJ \B:\Jt*~el~~B~• ~~~~~t~ (C)il~IE 0
Incorrect tracking may cause vibrations. Please repeat adjusting the tracking
to make sure the rotor is correctly aligned. After tracking adjustment, please
check the pitch angle is approx. SOwhen hovering.
/GIE~B:\JD!E~tn~~~~~tD·~~~~m~~tn1fiJJi·~D!E~ttl,1fiJJi~~IE~o
1:EmI~tn]EiJ)ij~. lii8~- ~Pitch}33~1:Ei~D!EB~1J!.:1I07:mJ5°0
33