4
-Set to channel 20@D band in FM.
-Press the PTT key on the microphone to transmit.
-At the moment, LCD would display SWR value which should be
as close as possible to 1. If this is not the case, re-adjust your
antenna to obtain a SWR value as close as possible to 1 (an
SWR reading between 1 and 1.8 is acceptable).
HOW TO USE YOUR RADIO
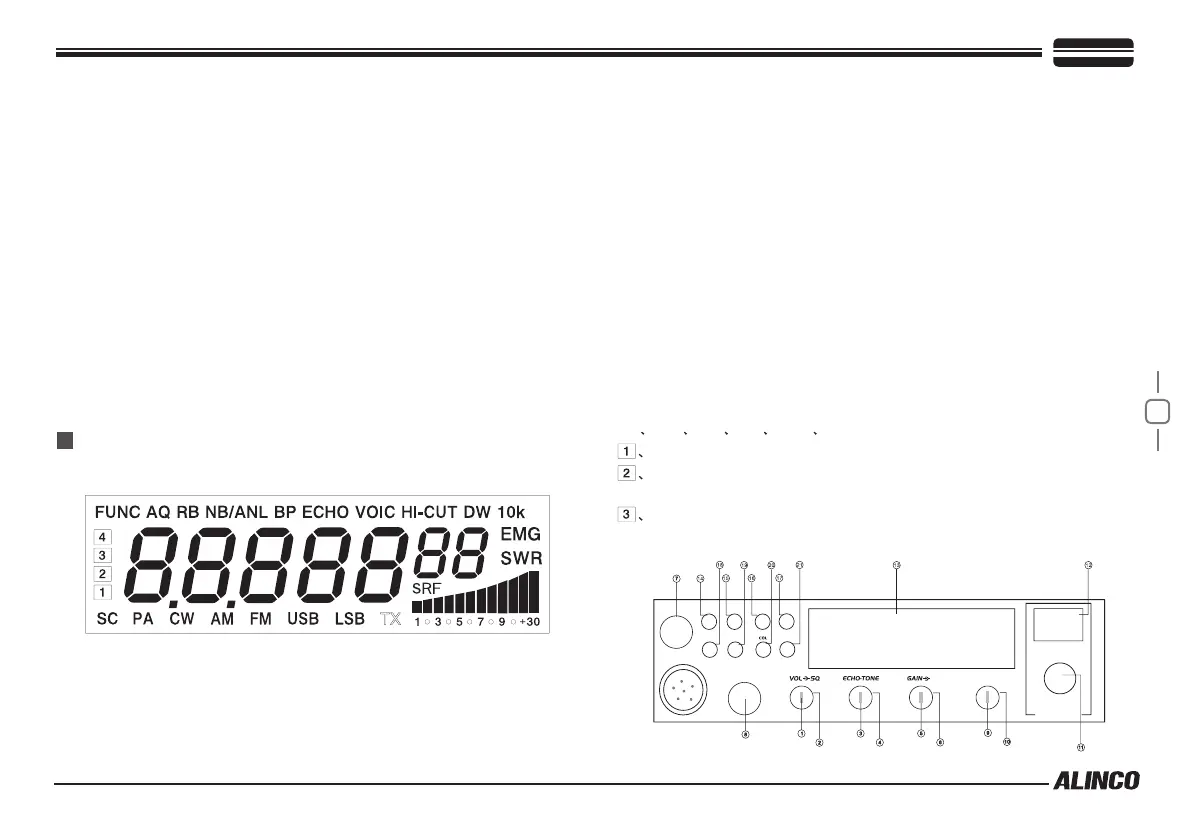
TX: Appears when radio is transmitting.
10K: Appears when +10KHz function is started.
EMG: Appears when EMG channel is used.
SWR: Appears when SWR is used.
SRF: Appears when S/RF is used.
SC: Appears when SCAN is used.
PA
CW AM FM USB LSB: Indicate different operating modes.
Appears when CLARIFIER function is FINE operation.
Appears when CLARIFIER FUNCTION is COARSE operation or RT
operation.
Appears when CLARIFIER FUNCTION is transmitting frequency
regulated.
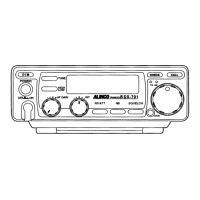
<LCD Display>
7 digits: Display frequency and any other information.
Indicating bars: Indicate RX RSSI, PWR, SWR.
The first decimal point: Appears when current channel is edited with
SCAN DEL.
FUNC: Appears after pressing FUNC key.
RB: Appears when Roger beep function is started (enabled).
NB/ANL: Appears when NB/ANL function is started (enabled).
BP: Appears when BP function is started (enabled).
ECHO: Appears when ECHO function is started (enabled).
VOIC: Appears when VOIC function is started. It is disabled in this
radio.
HI-CUT: Appears when HI
-
CUT function is started.
DW: Appears when DW function is started.
TX
BAND
F
E
D
C
B
A
B
B
MODE
PA
AM
CW
FM
US
LS
RB DW
BP
+10KH Z
LCDOFF
EMG
HI-CUT
TOT
S/RF
PUSH
CL ARIFIER
OFF OFF
RF
F
PWR
RF
LOCK
CO L
NB/ANL
FUNC
SCAN
SC.LI ST
CHNNEL
- Change the switch to position SWR (reading of the SWR level).
The reading on the meter should be as near as possible to 1. If
this is not the case, re-adjust your antenna to obtain a reading
as close as possible to 1.( An SWR reading between 1 and 1.8 is
acceptable).
-It will be necessary to re-calibrate the SWR meter after each
adjustment of the antenna.
HOW TO USE INTERNAL SWR METER
6.


 To Next Page