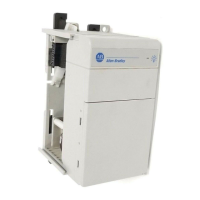
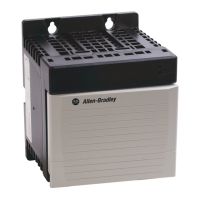
20 ControlLogix Redundant Power Supply
Publication 1756-IN573C-EN-P - October 2003
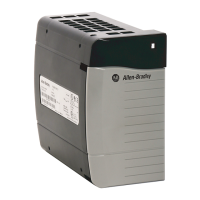
Troubleshoot with the Status Indicators
Your redundant power supply uses the following diagnostic status indicators (LEDs)
• Power - Green
• Non-red (non-redundancy) - Amber
to display possible problems with the supply. At initial power-up, the Power
indicator is illuminated.
Table 4 explains the diagnostic indicators and how you can use them to
troubleshoot your redundant power supplies.
Table 4 Using Status Indicators to Troubleshoot Your Redundant Power Supply
This comibination of
status indicators:
Means: Take this action:
Power - Solid green
Non-red - Off
Both supplies are operating properly. None
Power - Solid green
Non-red - Solid amber
This supply is operating properly but
is the only supply providing power to
the chassis adapter module.
Check the other supply.
Power - OFF
Non-red - Solid amber
All possible connections are made,
but the redundant power supply is
turned OFF.
Turn the supply ON. If the supply does not
turn ON, follow these steps:
1. Remove input power to supply
2. Wait 15 seconds
3. Reconnect input power
4. Turn supply ON. If the supply still
does not turn ON, replace it.
Power - OFF
Non-red - OFF
Any of the following conditions
may apply:
1. The supply is turned OFF.
2. Line voltage is not within
the specified range.
3. All connections are made,
but input power is not
supplied.
4. All connections are made,
including input power, but
output cable (1756-CPR2) is
not connected.
5. The supply is ON but
defective.
Take the appropriately numbered action for
each condition:
1. Turn the supply ON.
2. Verify that line power is in the
specified range. If the indicators
remain OFF, cycle power.
3. Verify that input power is supplied
and turn the supply ON.
4. Connect output cable and turn the
supply ON.
5. Replace the supply.
 Loading...