POINT I/O EtherNet/IP Adapter 9
Publication 1734-IN042F-EN-P - November 2018
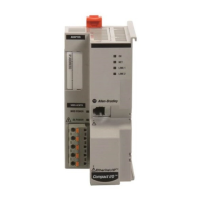
2. Press down firmly to install the adapter on a DIN rail, noting that the locking
mechanism locks the adapter to the DIN rail.
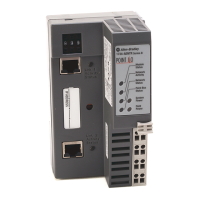
3. Set the network address thumbwheel switches to the desired value. See Set the
Network Address for more information on setting the IP address.
4. Slide the safety end cap up to remove it, exposing the backplane and power
interconnections.
Thumbwheel Settings
You can set the thumbwheels on the adapter to perform different functions. Refer to the
following table to see the valid thumbwheel settings and the corresponding function.
ATTENTION: Do not remove or replace an Adapter Module while power is
applied. Interruption of the backplane can result in unintentional operation or
machine motion.
ATTENTION: Allow 25.4 mm (1 in.) of space between adjacent equipment for
adequate ventilation.
ATTENTION: Do not discard the end cap. Use this end cap to cover the exposed
interconnections on the last mounting base on the DIN rail. Failure to do so
could result in equipment damage or injury from electric shock.
WARNING: If you connect or disconnect the communications cable with power
applied to this module or any device on the network, an electrical arc can occur.
This could cause an explosion in hazardous location installations.
Be sure that power is removed or the area is nonhazardous before proceeding.
Setting Function
001...254 Sets the network address.
801...864 Sets the chassis size (firmware revision 5.015 or later).
888 Restores default factory settings.
 Loading...