- 11 -
Network Setup
Please fill in the preferred IP address, sub network shade and the gateway info
of your local area network. If you don’t have relevant data on hand, please
check back with your network system administrator or ISP provider first.
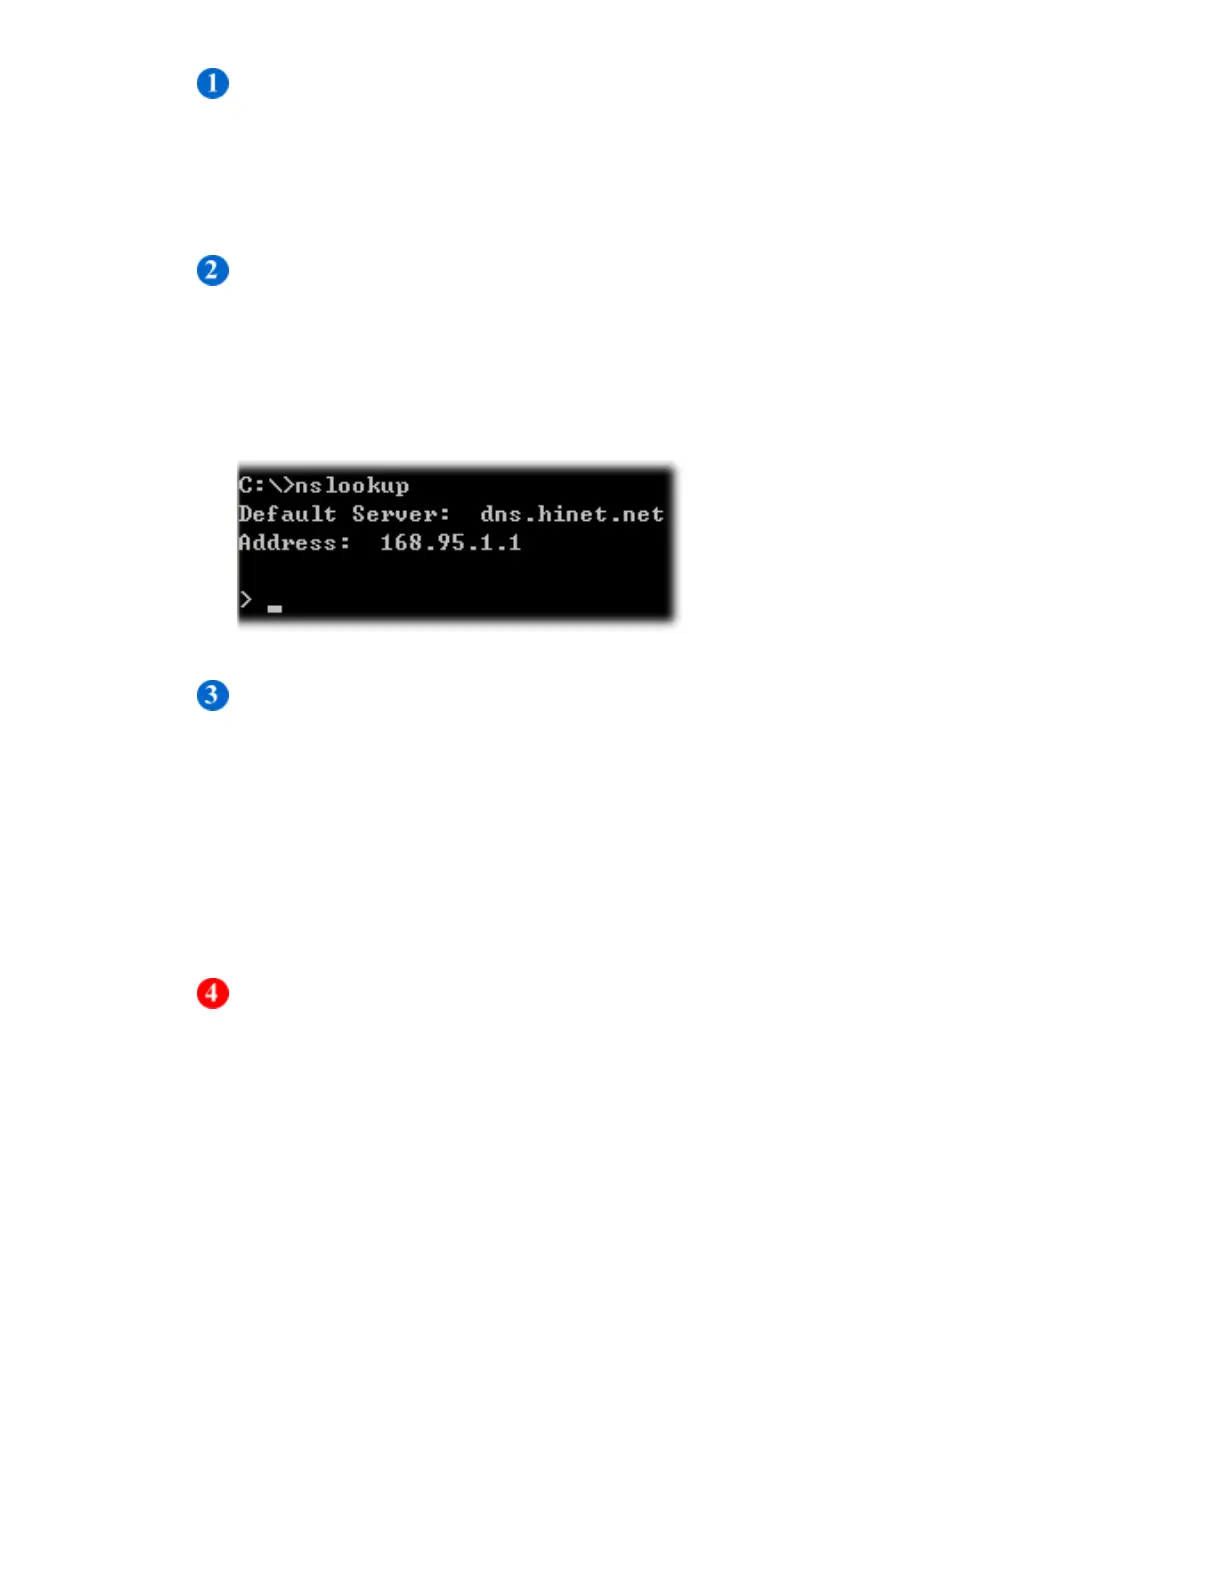
Domain Name Server Setup
Please fill in the DNS server information here provided by the administrator or
your ISP service provider. If you do not know the DNS server information on
your network, you may find out yourself by inputting C:\>nslookup in DOS
prompt.
Web Server Setup
When you log into this remote power control unit through a web
browser (e.g. Internet Explorer), you may change HTTPS communication port to
be other value like 8080 if you do not want to use the default port number 443.
And then you may re-login again to the remote power manager by re-entering
the IP address of the remote IP power unit plus the new HTTP port number you
just assigned (e.g. https://192.168.1.10:8080 in this case) .
After finishing all entry of network info, please make sure to store all setup data
into the unit by pressing the「Save」button on the web panel.
Note:
Ethernet Card Speed – Auto, 100M, 10M. User define according to requirement.
ICMP Echo Responses – If disabled this function, IP-P2 will not respond to ping.