Installation 5
Installation
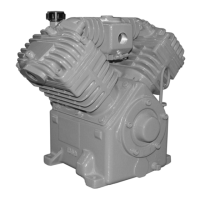
Compressor Installation
Component Installation
This section pertains to the installation of the air compressor, PTO, pump and
other related items. The instructions are intended as a guide to assist you with
particular installation. These instructions will provide only general information.
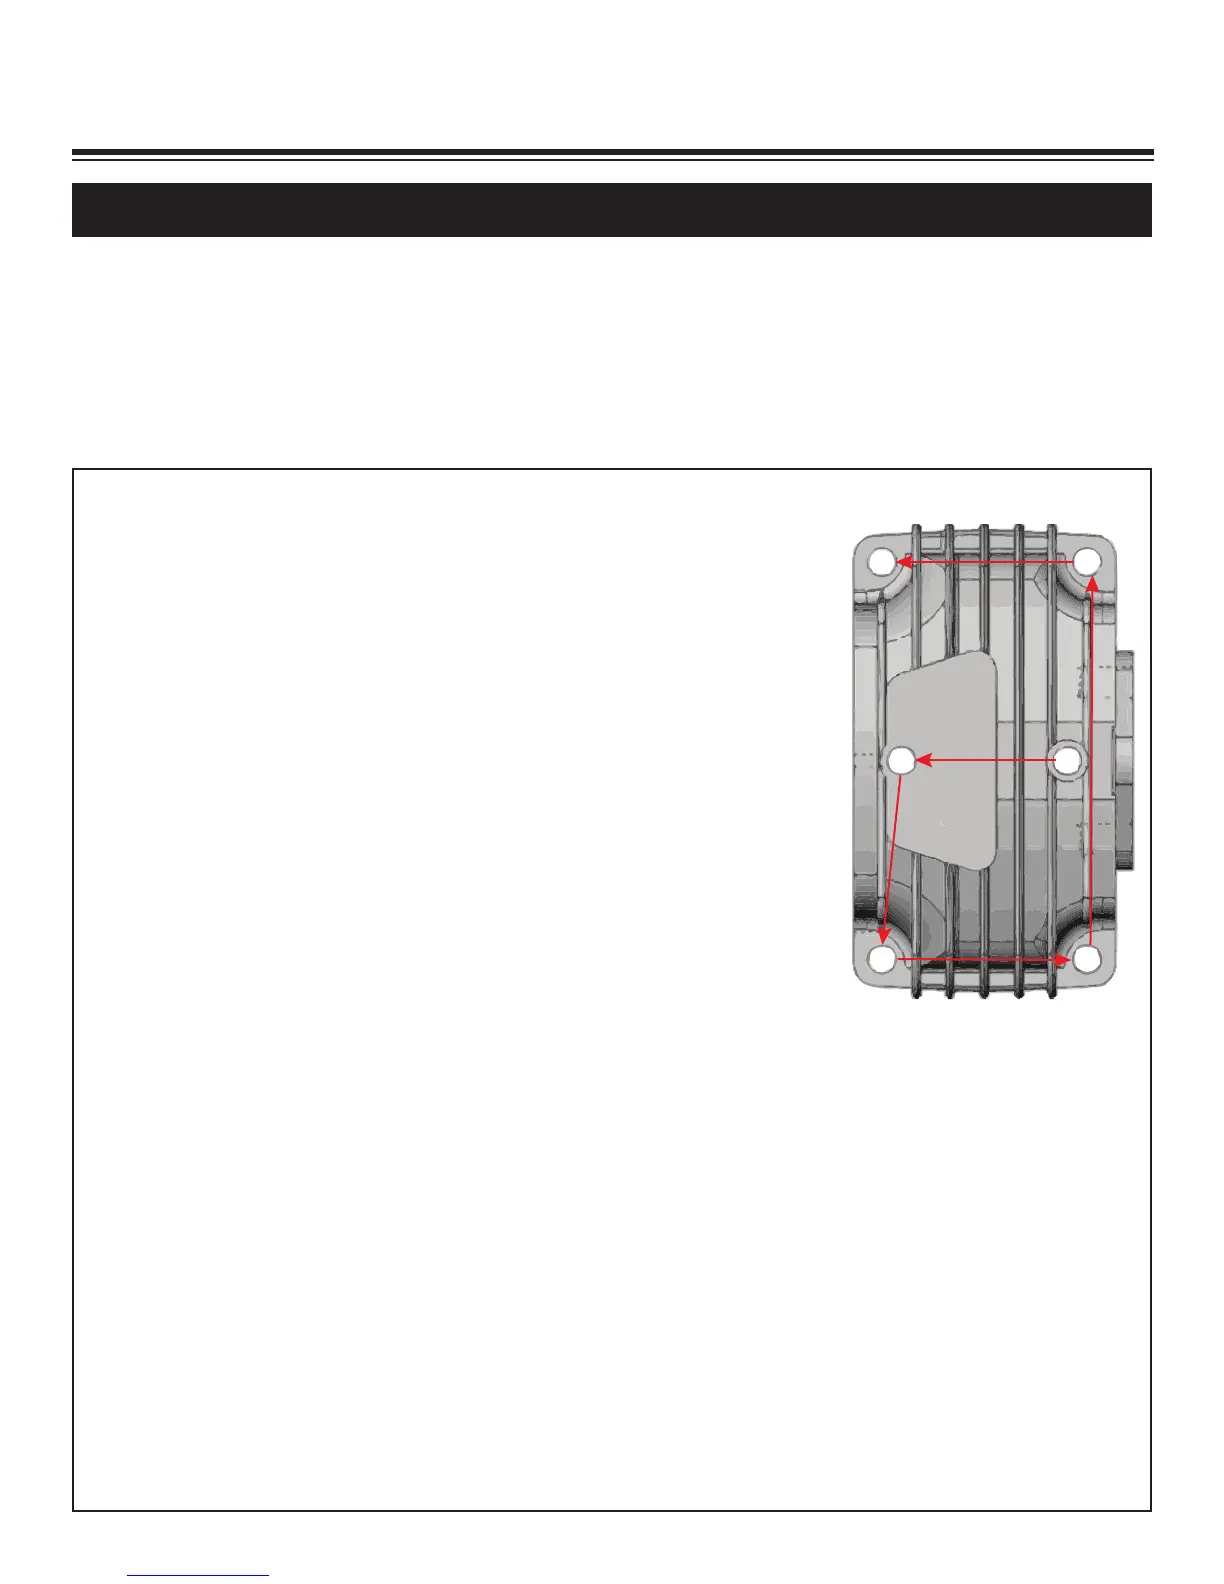
Torque and Procedure Chart
Head Assembly
Torque Value: 34 FT. LBS.
Procedure: Assemble head on the cylinder with head bolts
started only, not tight. Working in the pattern shown, torque
three times, increasing the torque each time as follows:
First Torque: 10 FT. LBS.
Second Torque: 20 FT. LBS.
Third Torque: 34 FT. LBS.
After five hours of use re-torque bolts to 34 ft-lbs.
Cylinder Assembly
Torque Value: 20 FT. LBS.
Procedure: After assembling cylinder over pistons and setting into place, tighten (6) cap
screws finger tight. In a criss-cross pattern, tighten bolts evenly so all bolts are hand snug.
Again in a criss-cross pattern torque each bolt to 20 ft-lbs., checking each bolt twice.
After five hours of use, re-torque bolts to 20 ft-lbs.
Connecting Rod Assembly
Torque Value: 18 FT. LBS.
Procedure: Assemble rod onto the crankshaft taking care to align the machined
surfaces together and tighten cap screws finger tight. Tighten bolts until hand tight and
torque to 18 ft-lbs. Check twice the torque reading before final assembly of the
cylinders.