EUROPE LoopSense Installation Commissioning & Operation
Page 19
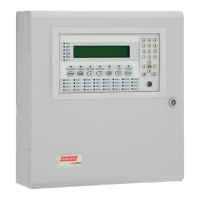
Cabling
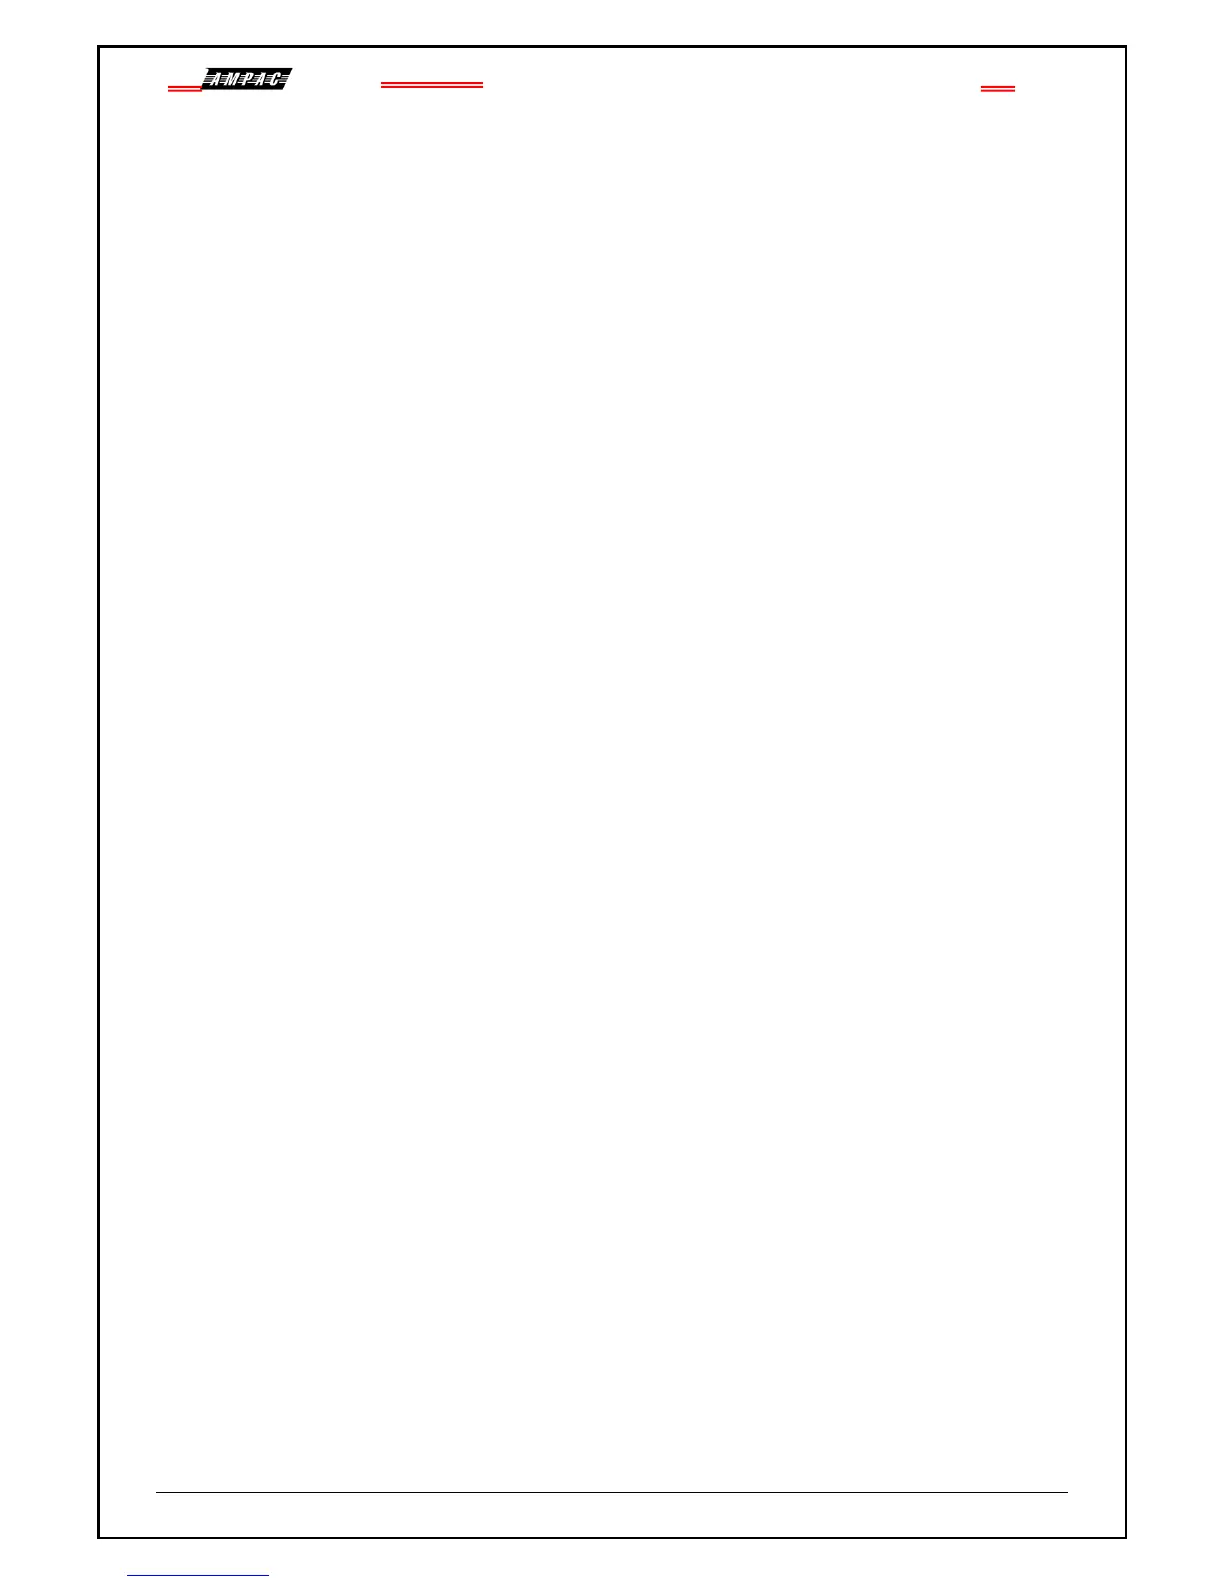
Front panel Control / LCD Interface
Network Connection (Future)
High Level Interface (Future)
Monitoring / Coms from the Power Supply.
Loop Activation Key for second loop
+/- 27VDC and earth from the Power Supply / Charger.
Coms and +/- 27VDC and earth to internal Add-Ons.
CD, RXD, TXD, DTR, 0V, DSR, RTS, CTS, RI