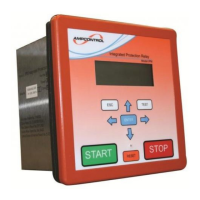
9.2 Changing Settings
The procedure for adjusting the settings is independent of where the values are stored.
a. Ensure the outlet is stopped.
b. For Group 2 Settings in HTU Mode, ensure the HTU-1 Termination Unit is online.
c. Display the parameter that has to be changed on the HDM Remote Display Module’s liquid
crystal display (level 8 or 9).
d. Momentarily operate the lock input. A warning message appears.
e. Press the enter button to acknowledge the warning message and to confirm that a change is
desired.
f. Use the left and right arrows to step through the allowable values until the desired new setting is
displayed.
g. Press the enter button to indicate that the value shown is the required new setting.
h. Momentarily operate the lock input. The display will show a confirming message, then return to
the viewing level.
If the up or down keys are operated during this procedure the HPB Relay aborts the modifying
sequence.
When changes have been made to the stored values, the old value and the new value are stored in the
event log. A separate log immediately proceeds this, recording the time and date that the change was
made.
When the relay has been selected for HTU Mode the HTU Remote
Termination Unit must be online (shown at level 2, position 1 on the
HDM) before Group 2 settings can be adjusted.