Assembly
1.
First, take the styrofoam container out of the cardboard carton and lay it on its side, paying attention to
which side is labeled up. Remove the tape and open the container carefully so as to avoid dropping and
damaging the optical items. Check carefully to ensure that all parts and accessories are intact.
2.
Check the packing list to ensure that you’re received all items:
-
One microscope body
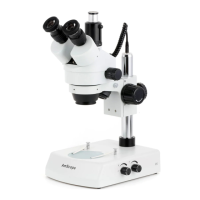
-
One binocular (B340) or one trinocular (T340) head
-
One trinocular photo port (for T340 only)
-
Four objective lenses: 4X, 10X, 40X, 100X
-
Two 10X eyepieces (additional eyepieces included with certain models)
-
One tension-adjustment spanner
-
Blue color filter (for LED models only)
-
Blue, green, yellow color filters (halogen models only)
-
One bottle of immersion oil
-
One spare fuse (halogen models only)
-
One spare 6V/15W bulb (halogen models only)
-
One dust cover
Note: If you have an LED model, there is no need to change light bulb on it. If the light is not working, please ensure
that the unit is plugged in and the power is on. If still not working, contact us, as there may be another cause. The
LED bulb is designed to far outlast the other components on the unit.
3.
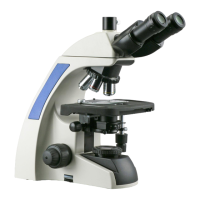
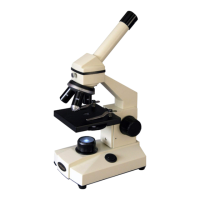
Remove the microscope body from the box and remove the plastic protective covering. The body of the
micro-
scope is composed of the base, the stage, the arm, and the nosepiece.
4.
Loosen the metal knob located directly above the nosepiece (the head-lock screw) completely. Place the head
(flat, circular side down) into the circular opening on top of the arm. Tighten the head-lock screw to secure the
head in place.
5.
For the trinocular model, screw the photo port onto the top of the microscope head (trinocular C-mount
port).
6.
Remove the ocular-tube dust-caps and slide the desired eyepieces into the ocular tubes. Be sure to avoid
touching the lens to ensure no artifacts appear in your image.
7.
Screw the objectives into the microscope nosepiece from the lowest magnification to the highest, again avoid-
ing touching the lenses.
8.
Plug in the microscope and turn it on.