Assembly
1.
First, take the styrofoam container out of the cardboard carton and lay it on its side, paying attention to which
side is labeled up. Remove the tape and open the container carefully so as to avoid dropping and damaging the
optical items. Check carefully to ensure that all parts and accessories are intact.
2.
Check the packing list to ensure that you’re received all items:
-
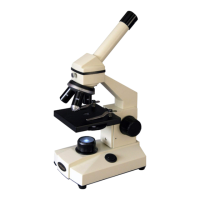
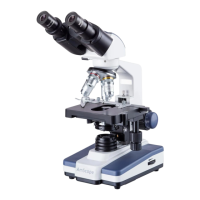
One Monocular Microscope Body & Head
-
Three
Achromatic
Objectives (4x, 10x, 40x)
-
10x Widefield Eyepieces
-
25x Widefield Eyepieces (for -C models only)
-
One Dust Cover
-
110V AC power adapter and 3 AA batteries
Note: LED models do not have a spare bulb, as the LED bulbs do not need replacing.
3.
Remove the microscope body from the box and remove the plastic protective covering. The body of the micro-
scope is composed of the base, the stage, the arm, and the nosepiece.
4.
Remove the eyepiece cover and place the 10X eyepiece into the tube.
5.
Plug in the microscope and turn it on. Power switch is at the back of stand. Light dimmer is the knob
behind the base light. If no light emerges from the light source, adjust the dimmer knob.
Power Switch Position and function:
I: Base Light
O: Light OFF
II: Top Light
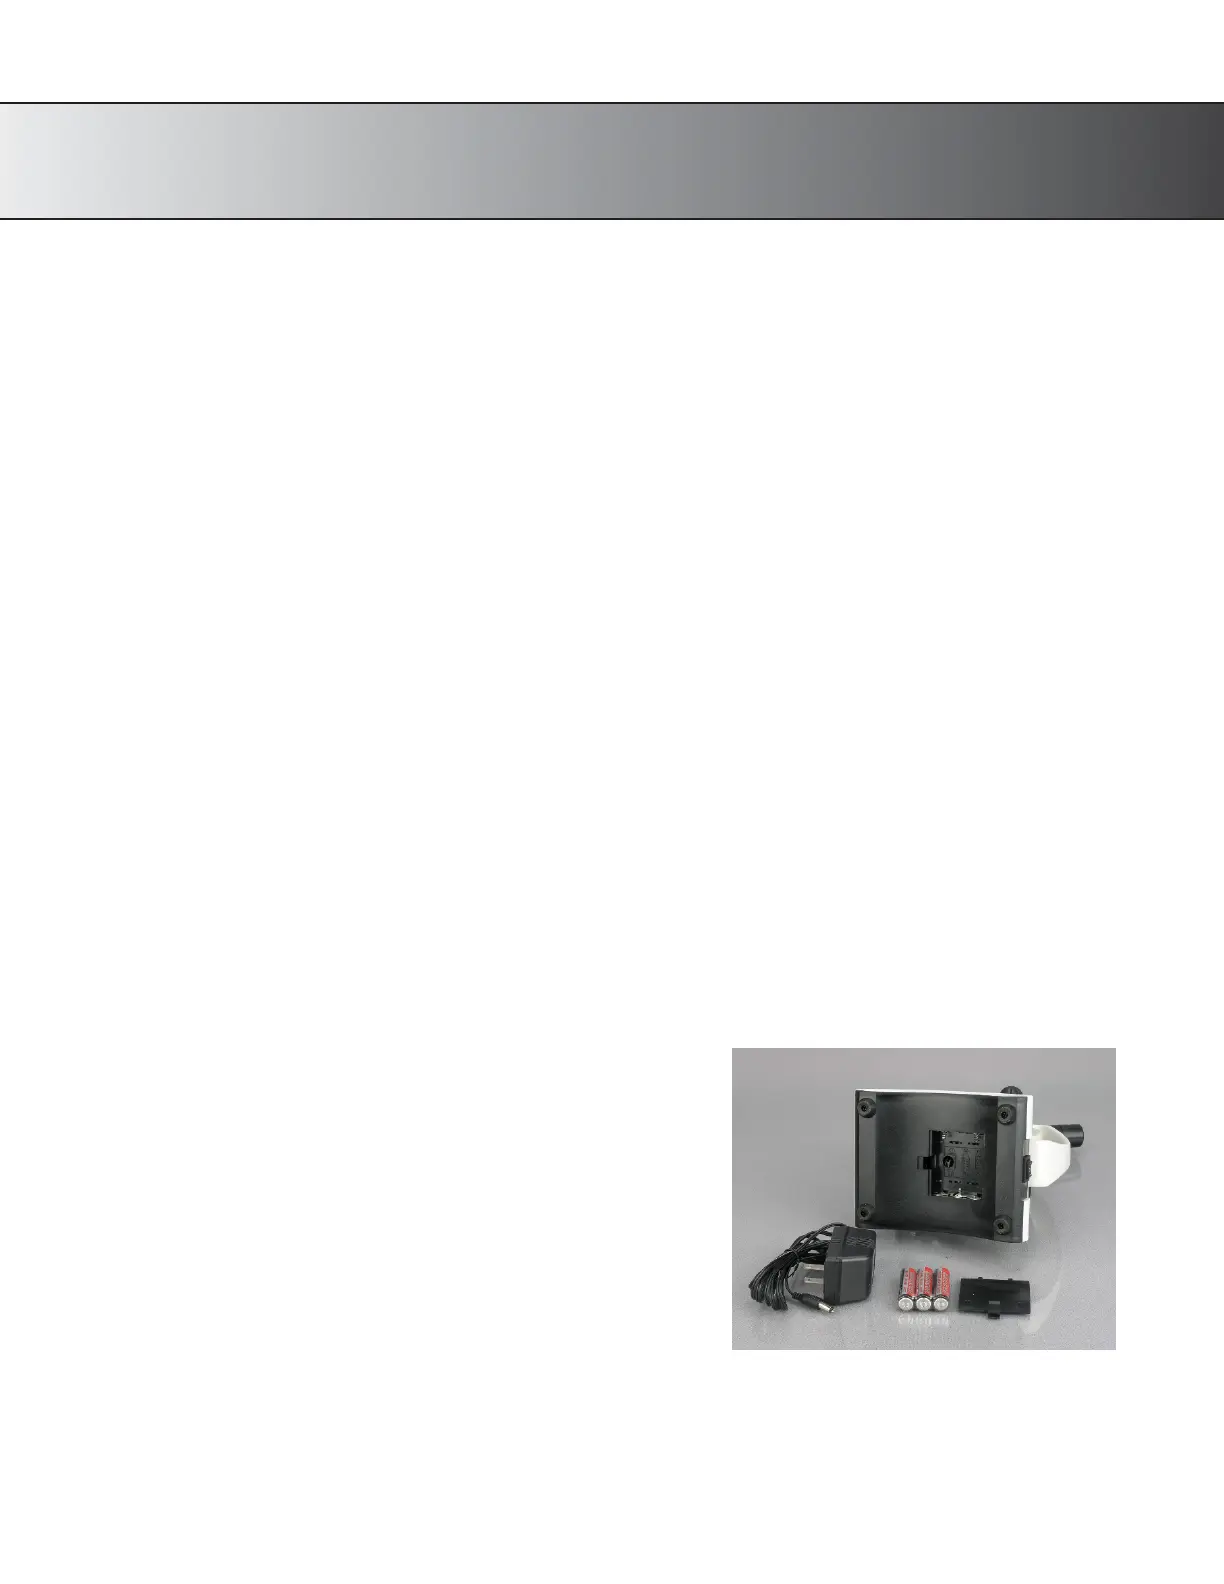
6.
To use battery power, install 3 AAA batteries at the bottom.