45
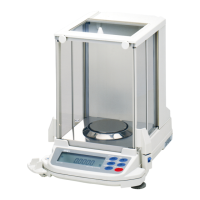
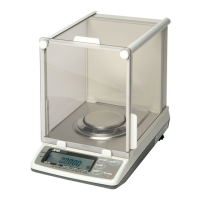
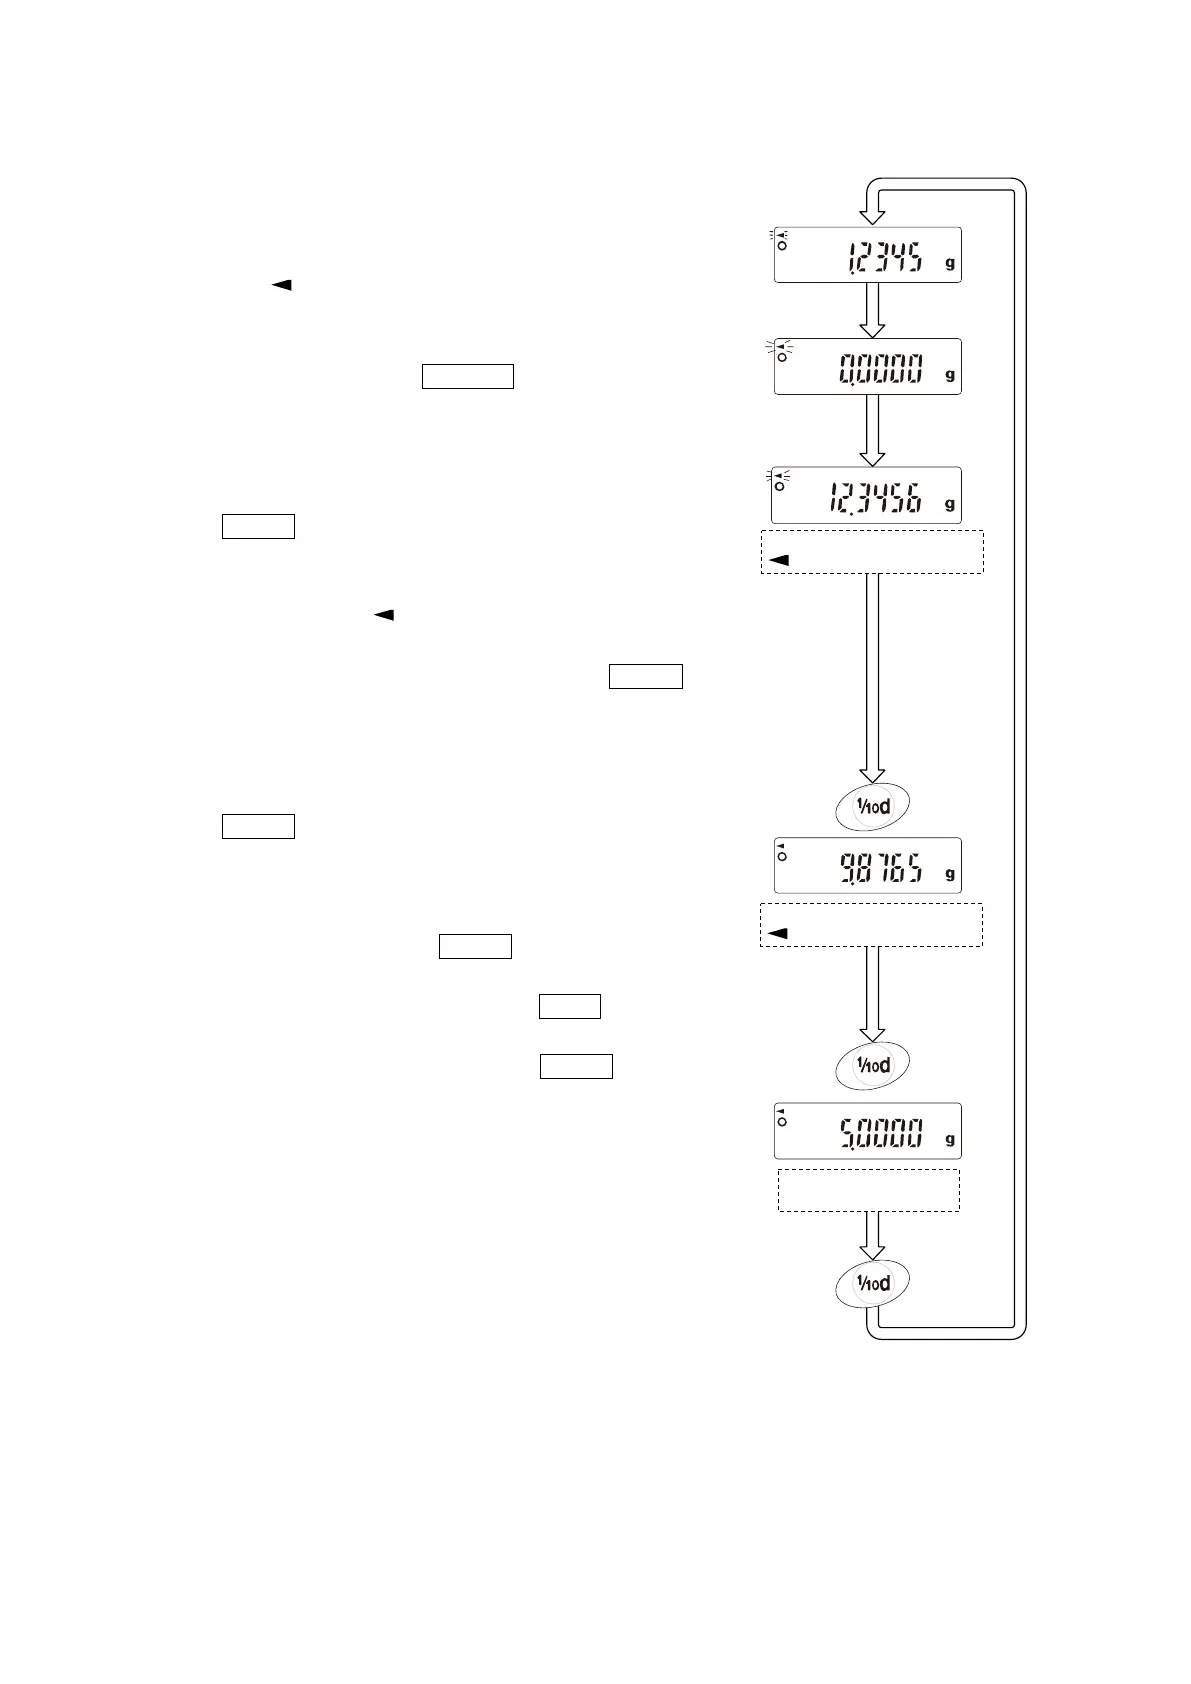
(7) Measuring procedure
Step 1 Confirm that the balance is in the mode to measure the
weight of the sample in air. (“g” displayed and processing
indicator “ ” flashing)
Step 2 Confirm that the balance indicates zero. If it does not
indicate zero, press the RE-ZERO key to reset the
displayed value to zero.
Step 3 Place the sample on the upper pan (in air). When the
value displayed on the balance becomes stable, press
the RANGE key to confirm the value (the weight of
samaple in air). The balance enters the mode to measure
the weight of sample in liquid (“g” displayed and
processing indicator “ “ illuminating).
Note: If a negative value or E (error) is displayed, the RANGE
key is disabled.
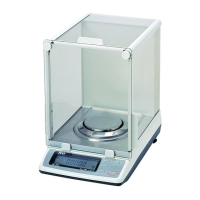
Step 4 Place the sample on the lower pan (in liquid). When the
value displayed on the balance becomes stable, press
the RANGE kye to confirm the value (the weight of
sample in liquid). The balance enters the mode to display
the density (“g” not illuminated).
Note: If E (error) is displayed, the RANGE key is disabled.
Step 5 To output or save the density, press the PRINT key. The
unit for outputting the density is “DS”. To measure the
density of another sample, press the RANGE key to
return to the mode to measure the weight in air and
repeat the procedure described above.
Note: If the liquid temperature or the type of liquid is changed
during measurement, reset th evalue of the liquid
density as necessary. For details, see “(2) Setting the
density of a liquid”.
Measuring the weight in air:
” ” flashing.
Measuring the weight in air:
” ” illuminated.
Displaying the density:
No “g” displayed.
 Loading...