6
Manufactured by: Ronstan Denmark ApS. - Jægervænget 36 - 7100 Vejle – Denmark - info@andersenwinches - www.andersenwinches.com
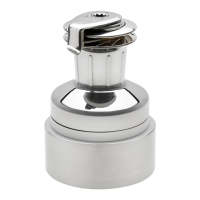
Installation
If in doubt about how to install your new
Andersen Compact Motor ask a qualified
tradesperson for help.
1. Select the position where the winch is
to be mounted. Make sure that the
surface is even and clean of any
visible dirt as an uneven surface can
damage the motor.
2. Using the template supplied with your
motor carefully drill the required holes
in the deck. Always position the motor
so that the drain hole is at the lowest
position in relation to the slope of the
deck. This is particularly important for
mast installations.
3. For below deck models, bolt the deck
plate in place and go to step 9. For
above deck models go to step 4.
4. For above deck models remove the
stainless
steel sleeve.
Ensure that
the 2 o-rings
on the top
and side of
the motor
are sitting in
their
relevant
grooves.
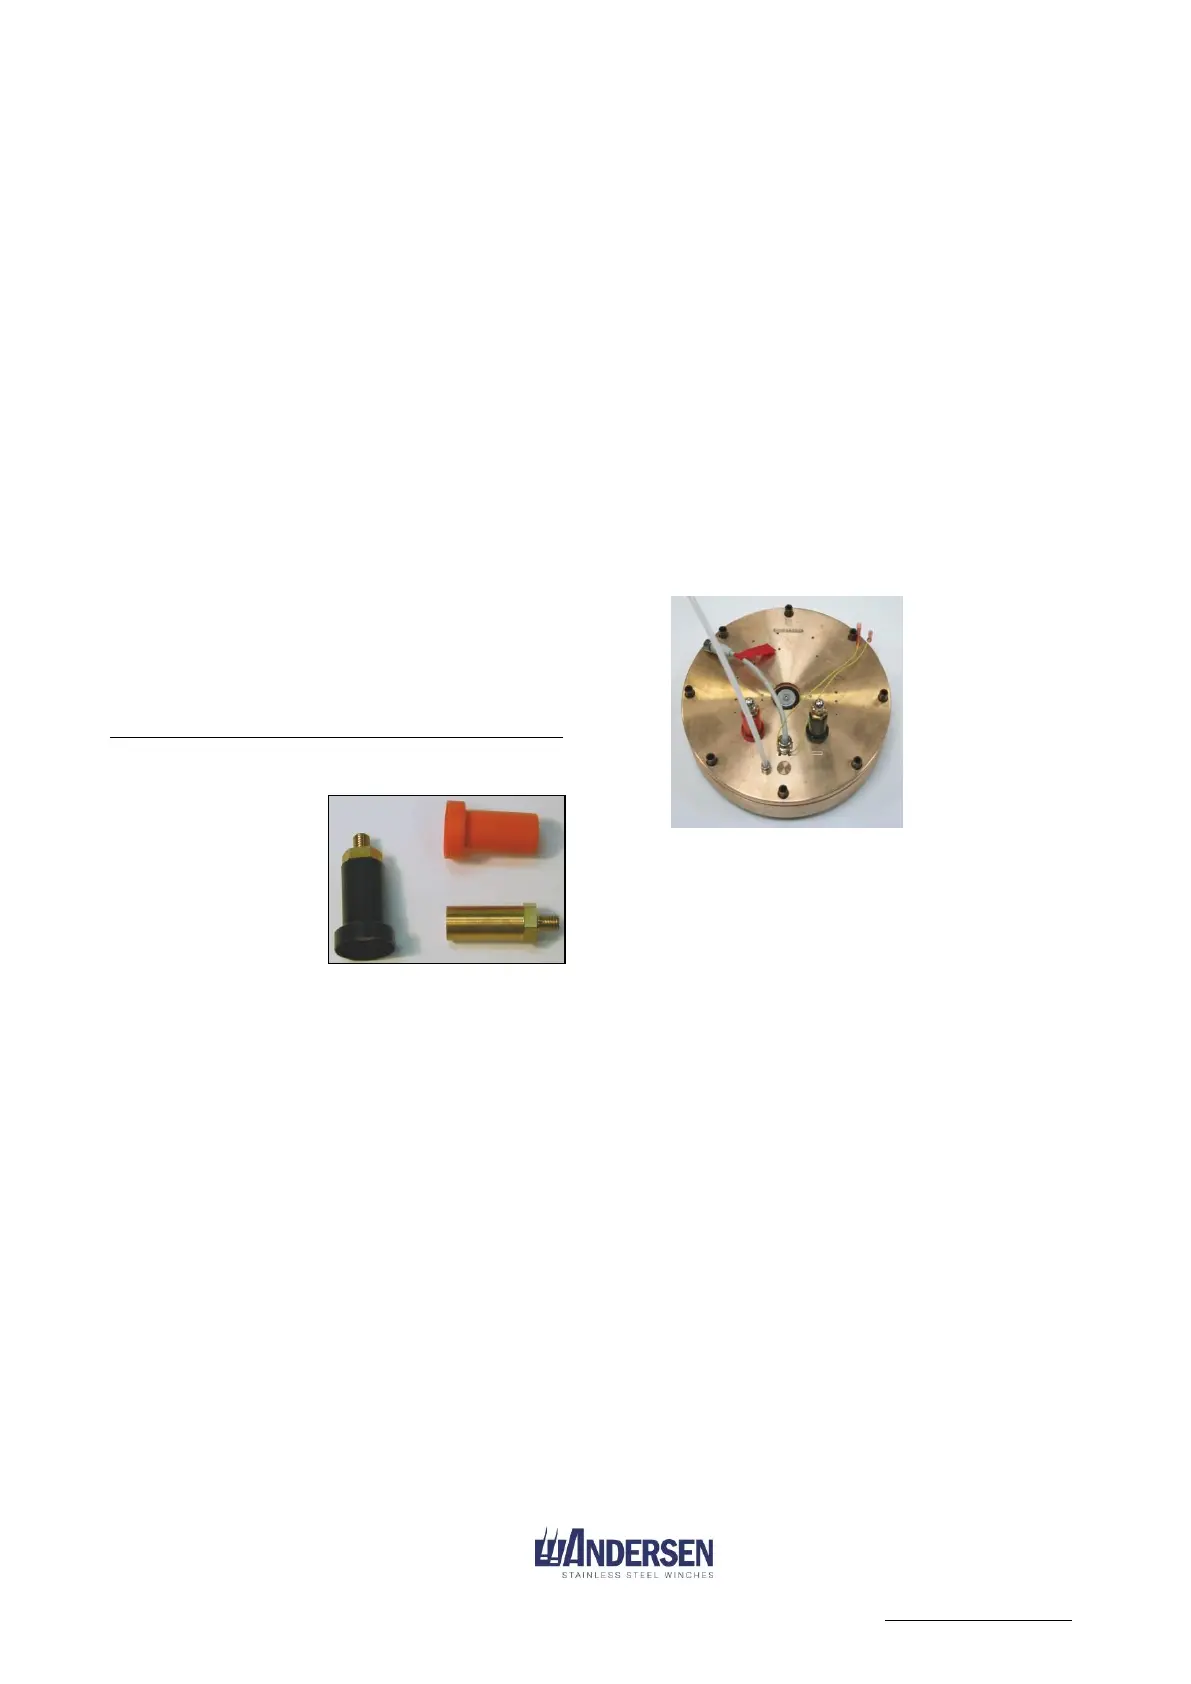
5. Attach the terminal extensions to the
power terminals (tighten with max
12Nm torque). Ensure that the red
extension is connected to the red
positive terminal and the black
extension to the black negative
terminal. The terminal extensions can
be shortened to suit your deck
thickness.
6. Connect the drain hose, and make sure
that the hose has continuously fall
from the motor to its end, so no water
can be kept in here. The drain hole is
both a breathing hole for the motor
and an outlet for any condensation water in
the motor (which should not exceed more
than a few drops per week). If the motor is
situated in a position where damage of boat
linings or other equipment could occur then
lead the hose to the bilge, sink or another
appropriate outlet. In most cases, this does
not apply and the hose can be cut off just
below the deck
7. Thread the control cable, terminal
extensions and drain hose through the deck
and bolt the motor to the deck inserting the
plastic washer provided between the deck
and motor. The bolts are not included with
the motor.
For 52/58/62ST: Use ISO 4762-A4-70-M6
bolts, length 78mm + thickness of the deck
+ thread.
For 68/72ST: Use ISO 4017- A4-70-M10
bolts, length 81mm + thickness of the deck
+ thread, or M10 bolts mounted from below.
Always use corresponding nuts where
possible. Avoid using threaded aluminium
plate, as aluminium may not have the
required strength. All threads must be at
least as strong as the corresponding stainless
steel nut. When inserting the bolts place a
small amount of silicone under the bolt head
to ensure that water does not run down the
bolts and under the motor. The base of the
motor should also be sealed with silicone so
that water on the deck cannot run beneath
the motor.
For 68/72ST: 2 control buttons are needed!
red and black for
Above deck motors
for 52/58/62
Above deck models
These models are
installed with 10mm
studs in the base of the
motor. The Ø6,2mm
boltholes must be
counter sunk 10,2mm x
11mm deep into the deck