Referring to the above table, mark, drill and prepare the wall fixings for the
mounting plate using the screw pack provided. The supplied screws MUST be used.
If the supplied screws are not suitable for the mounting surface, use a screw of the
same size and head design, the screws used must be non corrosive. For mounting
plate C: Utilise the slotted fixing holes to align and to avoid hidden cables.
2
If fitting mounting plate B or D, for ease of installation, after positioning
the cable (as per point 3), screw to the finished wall surface then utilise the
silicone injection points to gently feed silicone into the channels.
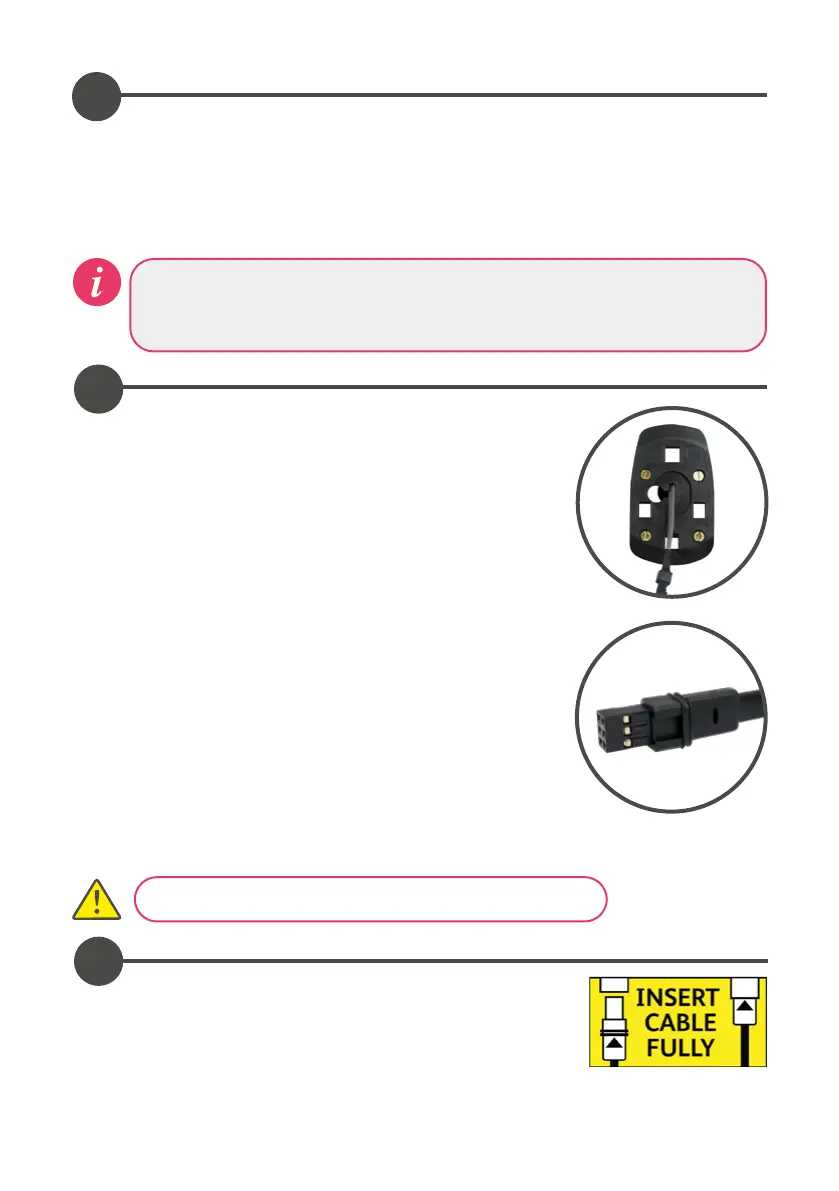
The key way of the cable must be facing to the right.
Lining up the keyways of the data cable and the
controller, push the data cable plug into the back
of the controller. Ensure both rubber skirts are
recessed into the connection (see diagram). To make
a watertight fitting, ensure the rubber seal is no longer visible. If required, utilise
a blunt flat bladed screwdriver or similar tool to push the connection fully home.
4
Ensure the data cable is correctly positioned as shown.
Feed the controller connection end of the data cable
through the hole in the mounting plate, ensuring
enough length to correctly connect into the back of
the controller.
Run a bead of silicone sealant in the mastic groove on
the back of the mounting plate. Ensuring the surface
area is clear of debris press into position on the finished
wall surface. N.B. For mounting plate C remove the paper
liner on the foam gasket. To prevent the data cable from
receding into the hole, secure the cable into the narrow
middle slot of the mounting plate. Fix the mounting plate
to the wall. The supplied screws MUST be used. If the
supplied screws are not suitable for the mounting surface,
use a screw of the same size and head design, the screws
used must be non corrosive.
For mounting plate C: Use the spirit level to align.
3