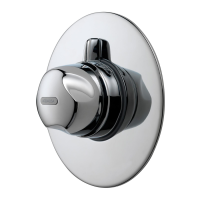
For mounting plate A, B and D: To ensure a watertight seal, we recommend
running a thin bead of silicone around the top half of the concealed controllers
once it has been secured to the mounting plate.
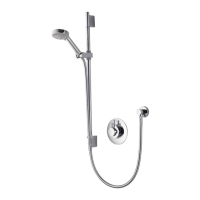
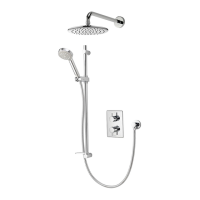
Proceed overleaf to sections Aqualisa SmartValve
TM
Setup followed by
Controller Comissioning Instructions.
Lock the controller onto the mounting plate with the fixing screw located at the
base of the controller using a small Pozidrive screwdriver.
6
For mounting plate A, B and D: After correctly inserting the data cable, oer the
controller
onto the mounting plate whilst feeding the cable back through the slot. Gently but
firmly, push the controller down to secure and locate onto the mounting plate.
For mounting plate C: After correctly inserting the data cable, oer the controller
up to the mounting plate whilst feeding the cable back through the slot. Position
the controller into the mounting plate with the power symbol at the 7 o’clock
position. Using the palm of your hand, gently apply pressure to the screen to locate
the controller evenly into the mounting plate.
With the other hand use the lever to rotate the controller counter clockwise until it
stops and is seated in the mounting plate, and the power symbol is at the 6 o’clock
position.
Visually check all the way around the two mating components to ensure there are
no gaps and the controller is correctly fitted.
5