DO NOT use a compression fitting or soldered joint to connect the outlet pipe
to the top of the exposed product. The black push fit elbow provided MUST be
used. This connection MUST be sited in a position that is safely accessible for
commissioning, servicing and maintenance purposes.
Failure to meet these requirements will invalidate the warranty.
4
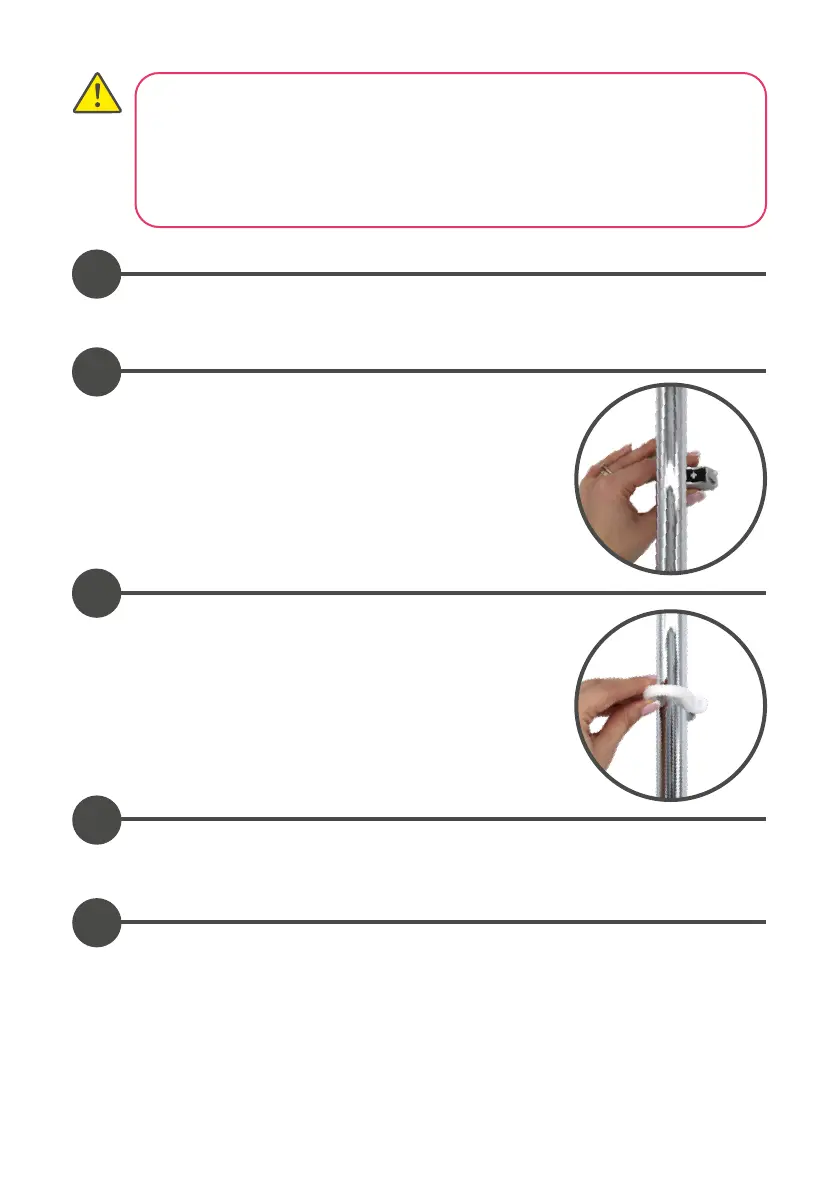
Temporarily slide the gel hook up the rail ensuring it is positioned above the lower
fixing bracket assembly.
5
Place the lower bracket support pillar into position
ensuring the locking lug is correctly fitted into the
locating hole in the rail.
6
7
8
Carefully slide the fixing bracket over the rail
onto the support pillar.
Ensuring the rail assembly has been passed through the hole in the ceiling and is at
the desired height, mark the screw holes and remove the fixing bracket.
Prepare suitable fixings and slide the fixing bracket back over the rail onto the
support pillar. Secure to the wall using the screws provided (if suitable).