9
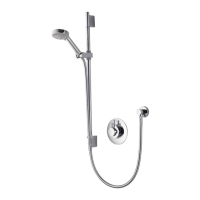
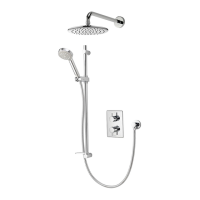
Place the upper rail bracket support pillar into the
desired location ensuring that both the hose restraint
and the handset holder are below the upper rail wall
bracket position.
10
11
12
Slide the fixing bracket over the rail onto the support
pillar and repeat fixing procedures 7-8.
Carefully slide the rail end covers onto the fixing
brackets flush with the finished wall surface and click
the sides firmly into position.
Slide the ceiling plate up to the ceiling to cover the
entry hole.
Proceed overleaf to sections Aqualisa SmartValve
TM
Setup followed by
Controller Comissioning Instructions.