Universal shower kits installation guide page 8
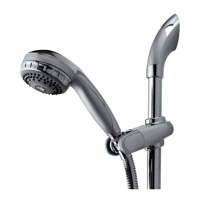
Secure the spigot into the ⁄÷™” female fitting
allowing it to project to a length of 31-46mm
measured from the finished surface using the
washer and back nut as required. A 12mm
hexagonal key can be inserted into the front
of the spigot to facilitate tightening.
2
If the spigot is to be secured before tiling then the depth of the tiles must be
taken into consideration.
The ⁄÷™” BSP tail can be trimmed to length if required.
!
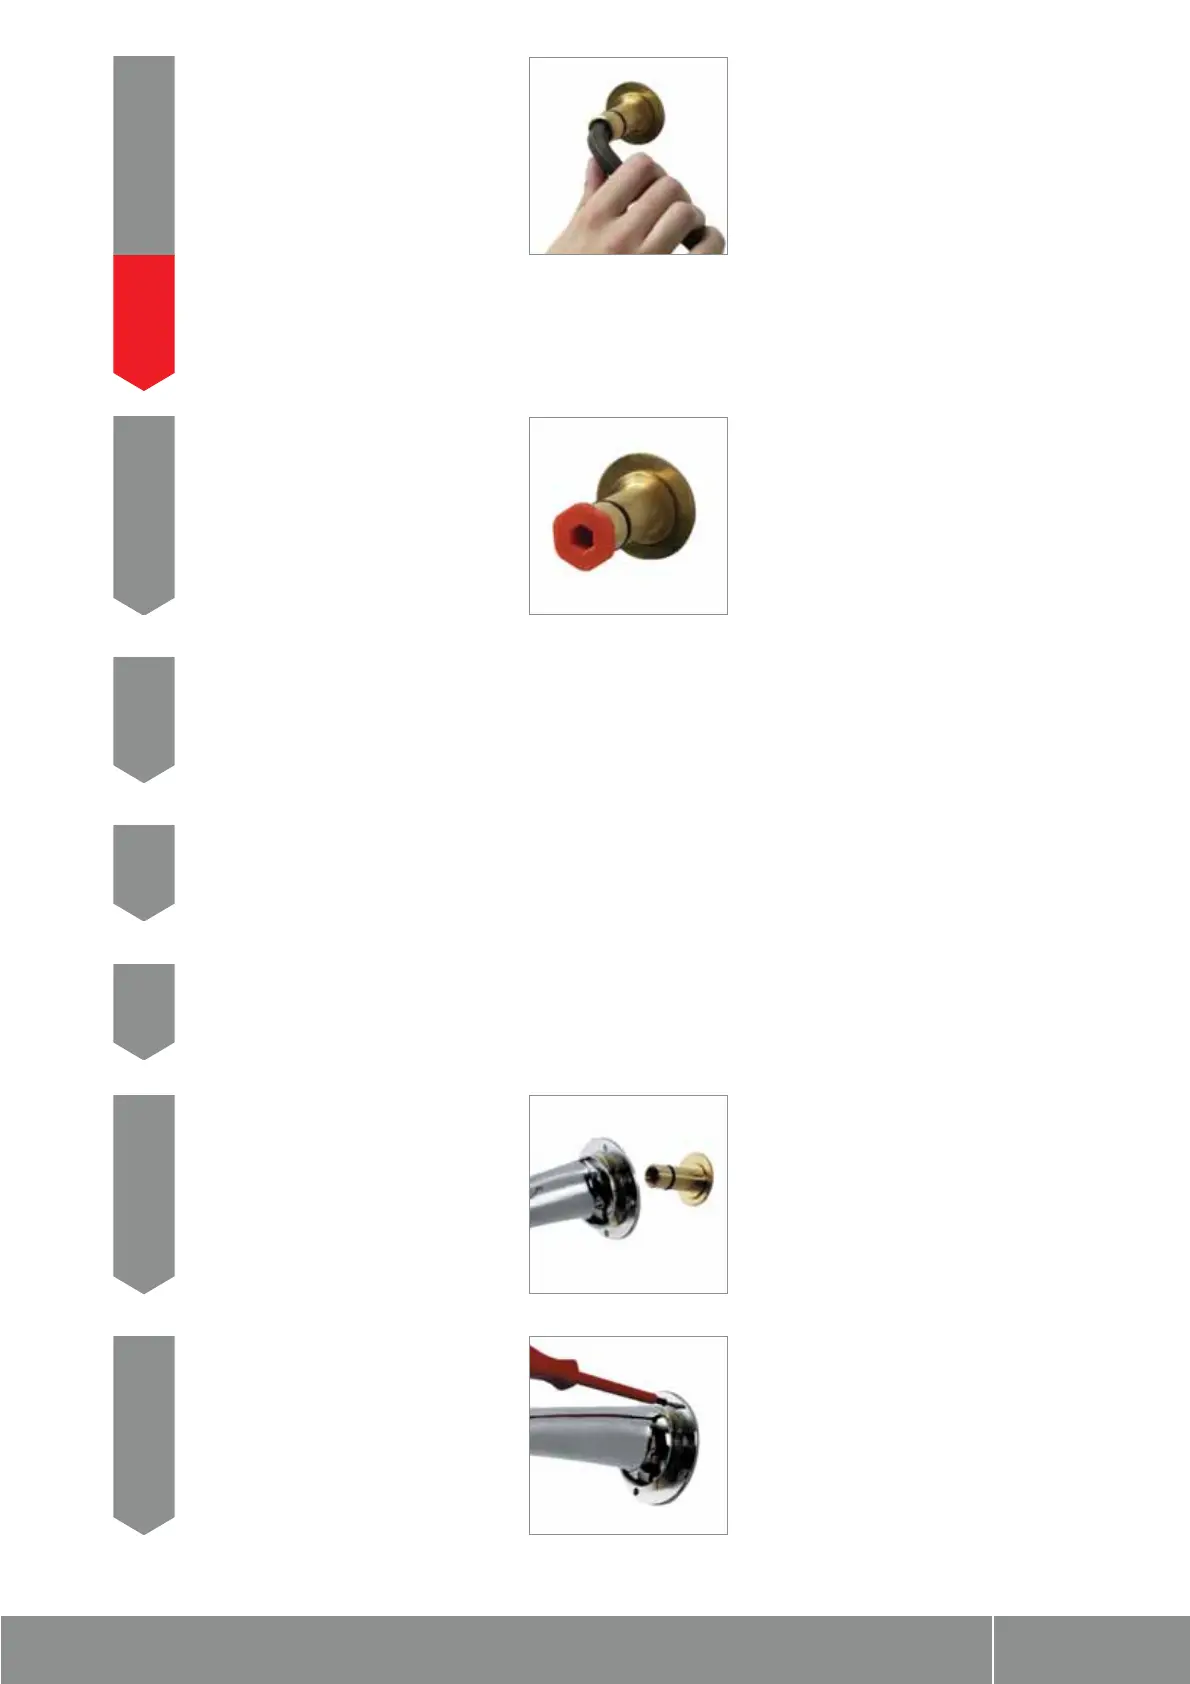
Insert the red ‹÷•” BSP plug into the front of the
spigot and tighten. Turn on the shower valve to
pressurise the system and thoroughly check the
outlet assembly for any leaks.
3
Turn off the valve and leave the plug in place to prevent ingress of debris
during the making good process. No parts of the shower system should be
cemented into the wall.
4
Carefully slide the cover plate down the fixed head arm to give clear access
to the fixing plate.
5
Carefully remove the plug from the fixing spigot remembering that the
system contains water that may be under pressure.
6
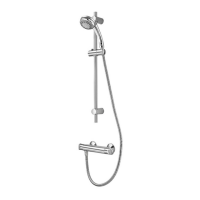
Ensuring that the spigot ‘O’ ring is clean
and slightly lubricated (using a silicone based
lubricant or petroleum jelly), slide the fixed
head arm over the mounting spigot until it
meets the wall surface.
7
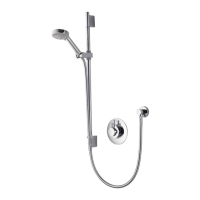
Set the arm into position and mark the fixing
points. Remove the arm and drill and prepare
the wall fixings. Refit the arm and secure it to
the wall using the screws provided.
8