2.2.2 —
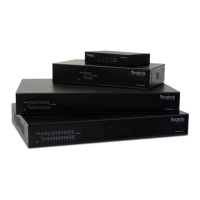
AN-100-SW-R-5
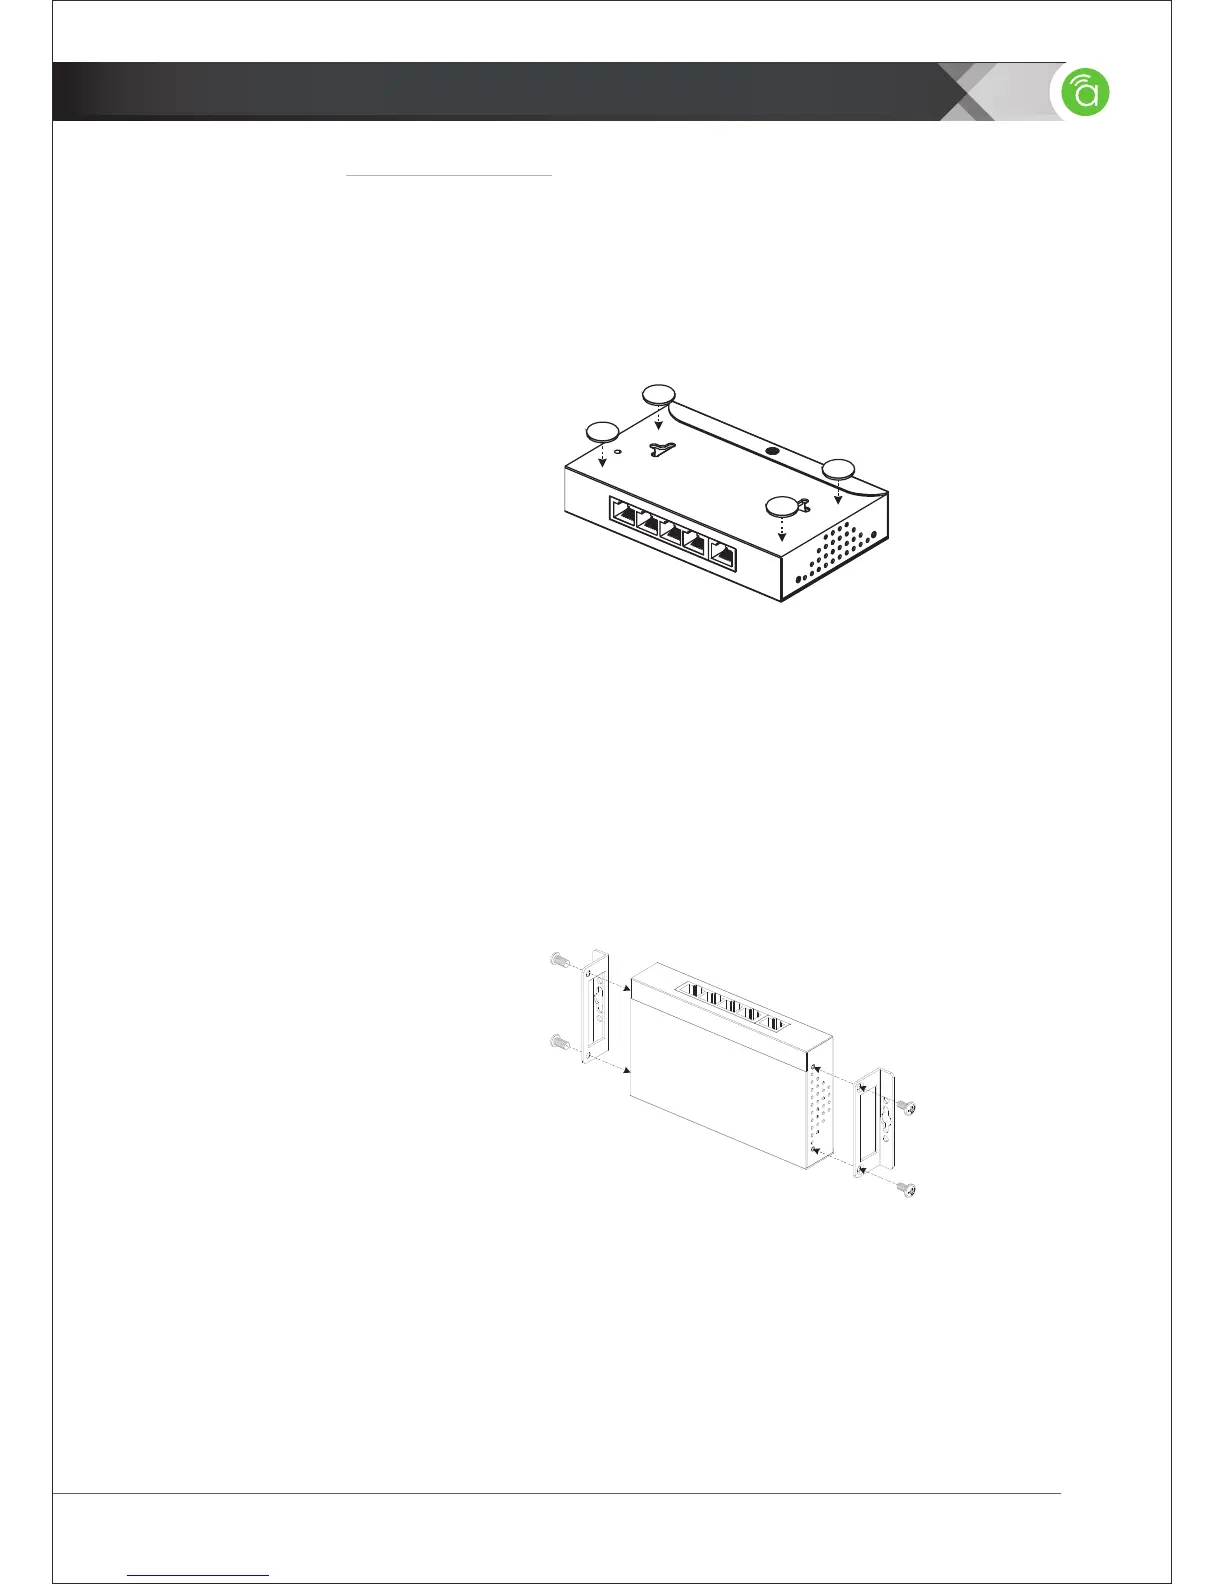
Placement Options
2.2.2.1 Shelf Mounting
To shelf-mount the network switch, rst place the included adhesive feet on the bottom
of the unit as shown below. Then, place the switch in the desired position. Make sure
the shelf or surface used is at and stable.
2.2.2.2 On-Wall Mounting
The switch may be mounted on a wall or any other surface by using the included
mounting ears. This allows for a low-prole installation for the switch, eliminating the
need for extra shelving or racks when providing a network switch solution. To wall-
mount the switch:
1. Locate the included wall-mounting ears and screws from the packaging and a
#2 Philips screwdriver.
2. Attach the ears to each side of the switch as shown:
3. After attaching the ears, mount the switch on the wall in the desired location as shown
using screws or fasteners (not included) rated for use in the surface material, and
capable of supporting the weight of the switch.
Figure 5. AN-100-SW-R-5 Rubber Foot Installation
Figure 6. AN-100-SW-R-5 On-Wall Mounting
2 | INSTALLATION
 Loading...