15-02-2019 Page 27 of 44 ARB Copyright 2019 3789507
If you have any queries regarding the installation of this product please contact the distributor from whom it was purchased, or alternatively the ARB office in your state.
Head Office – ARB Corporation Ltd VIC: 42-44 Garden Street, Kilsyth, Victoria, 3137 Tel: (03) 9761 6622 Fax: (03) 9761 6807
WA:(08) 9244 3553 NSW: (02) 9821 3633 ACT: (02) 6280 7475 SA: (08) 8244 5001 QLD: (07) 3872 3872 NT: (08) 8947 2262 TAS: (03) 6331 4190
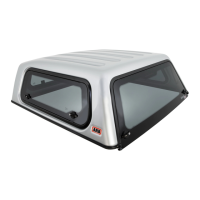
4.27) Place into the hole M6 x 20mm screw, with M6 x
25mm flat washer, and on the inside of the tub’s
return flange an M6 flange nut and do up to
9Nm.
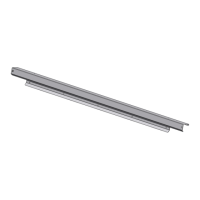
4.28) Do up the M8 torx screw in the mount rail to
22Nm. Release the G clamp.
4.29) Refit the lock mechanism covers as removed
in step 4.22 and ensure wiring inside is coiled up
neatly and cannot interfere with the latch
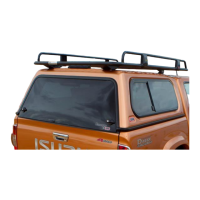
4.30) If a Pop out window is optioned on the
canopy, locate the slots in the mid pint of the
centre mount rail and repeat steps 4.24 to 4.27.
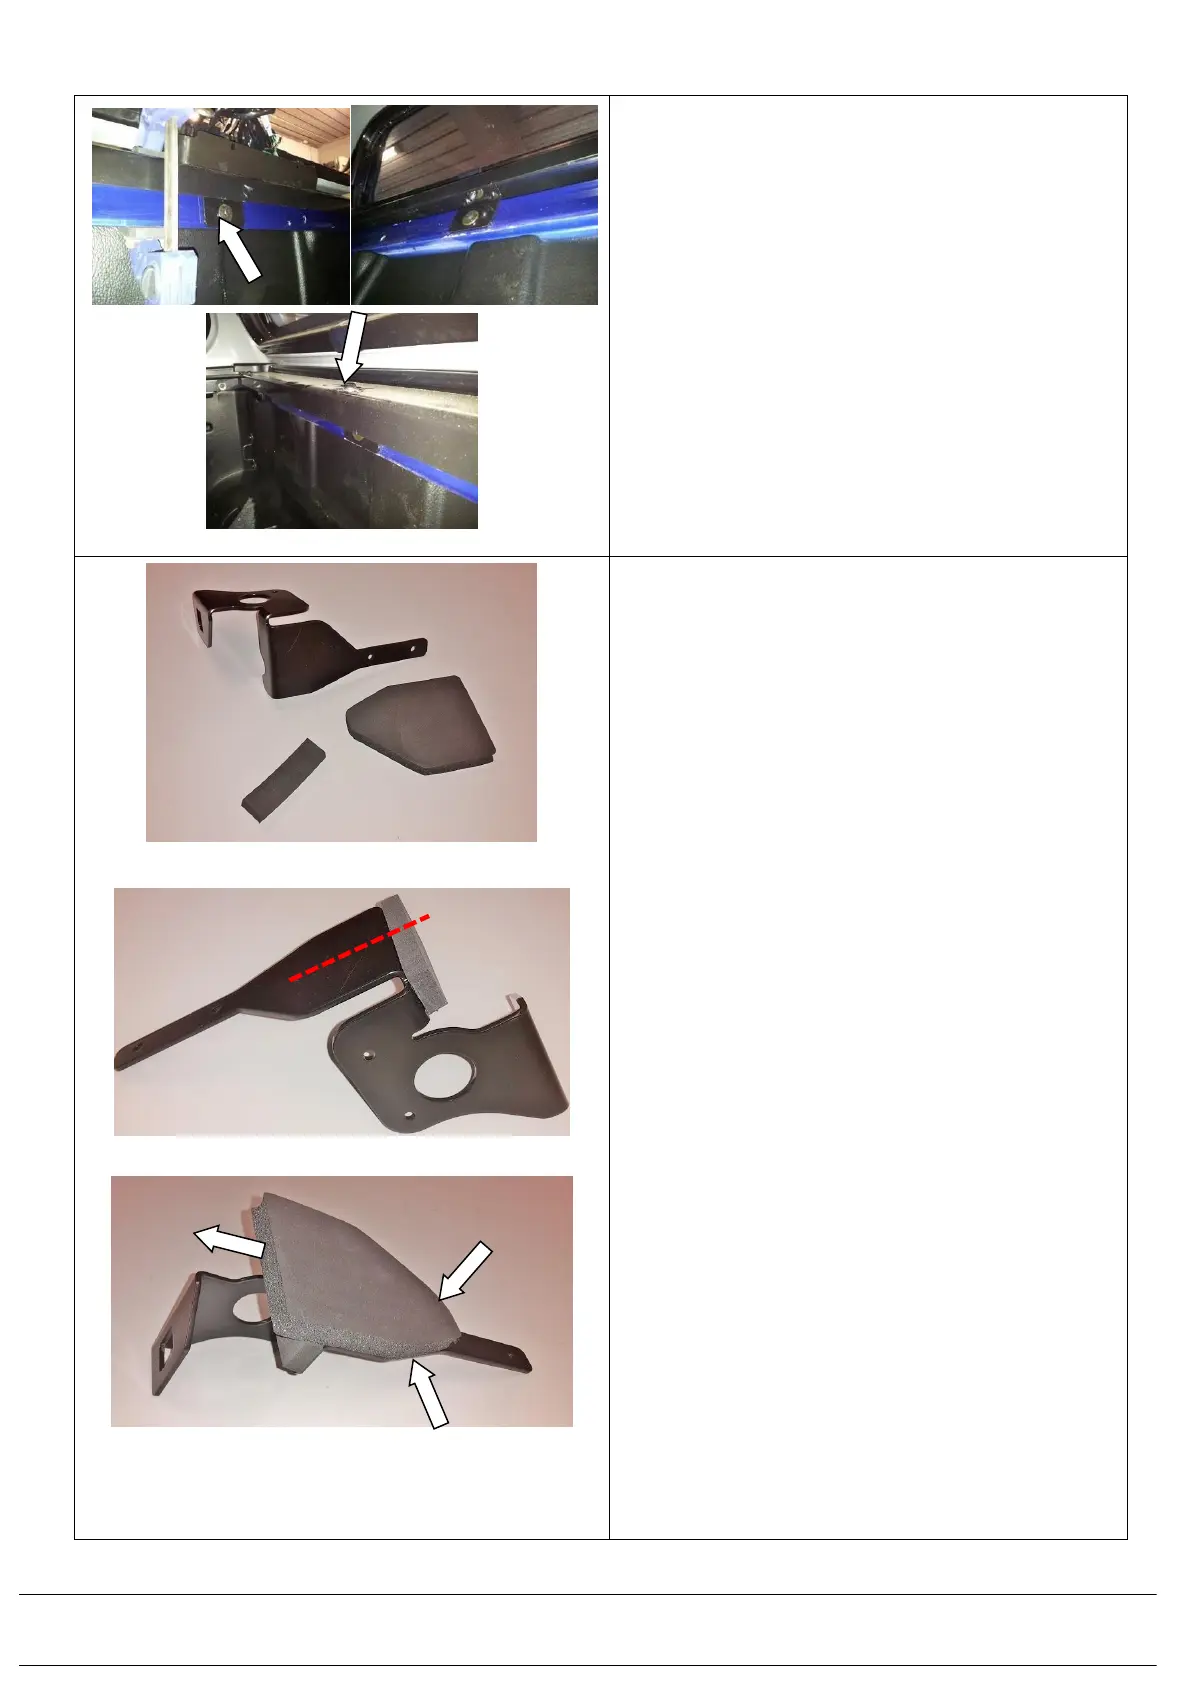
4.34) Collect form the hardware kit a pair of
668PD079R&L brackets, a pair of self-adhesive
blocks strips (668PD025) and a pair of corner
seal foam pads (668PB023). (Shown opposite is
enough parts for the RH bracket assembly)
4.35) Shown opposite is the RH bracket to be
assembled. Apply one foam block strip to the top
of the bracket as shown. Ensure the leading
edge of the foam block along it’s side is aligned
to the face of the bracket.
4.36) Then using the 668PB023 foam pad as shown
by align the “V” shaped edges of the lower
portion of the bracket.
The foam tape pad will hang out at the top.
Which is done purposefully, to seal the
canopy once the brackets and canopy are
fitted.
Repeat the assembly for the opposite hand of
bracket