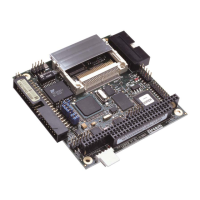
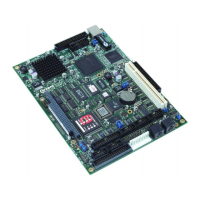
VIPER Getting started
Using the audio features
There are four audio interfaces supported on the VIPER: amp out, line out, line in and
microphone. The line in, line out and amp interfaces support stereo signals and the
microphone provides a mono input. The amplified output is suitable for driving an 8Ω
load with a maximum power output of 250mW per channel. Connections are routed to
PL6 - see the sections Audio
(page 38) and PL6 – Audio connector (page 65) for further
connector details.
Using the USB ports
The standard USB connector is a 4-way socket, which provides power and data signals
to the USB peripheral. The 10-way header PL7 has been designed to be compatible
with PC expansion brackets that support two USB sockets. See the sections USB
interface
(page 42) and PL7 – USB connector (page 65) for further details.
Using the Ethernet interface
The SMSC LAN91C111 10/100BaseTX Ethernet controller is configured by the
RedBoot bootloader for embedded Linux or VxWorks, and by Windows CE .NET once it
has booted. Connection is made via connector PL1. A second connector PL2 provides
activity and link status outputs for control LED's. See the sections 10/100BaseTX
Ethernet
(page 43), PL1 – 10/100BaseTX Ethernet connector (page 61) and PL2 –
Ethernet status LED's connector
(page 61) for further details.
Using the PC/104 expansion bus
PC/104 modules can be used with the VIPER to add extra functionality to the system.
This interface supports 8/16 bit ISA bus style peripherals.
Arcom has a wide range of PC/104 modules, which are compatible with the VIPER.
These include modules for digital I/O, analog I/O, motion control, video capture, CAN
bus, serial interfaces, etc. Please contact the Arcom sales team if a particular interface
you require does not appear to be available as these modules are in continuous
development. Contact details are provided in Appendix A – Contacting Arcom
, page 72.
In order to use a PC/104 board with the VIPER it should be plugged into PL11 for 8-bit
cards and PL11/PL12 for 8/16-bit cards. See the sections PC/104 interface
(page 48)
and PL11
& PL12 – PC/104 connectors (page 67) for further details.
Before powering up the system, check that the jumper settings on the card for I/O
address and IRQ settings do not conflict with any devices on the VIPER. The ISA
interface on the VIPER does not support DMA. See the section Interrupt assignments
,
page 25
, for details about PC/104 interrupt use.
The VIPER provides +5V to a PC/104 add-on-board via the PL11 and PL12 connectors.
If a PC/104 add-on-board requires a +12V supply, then +12V must be supplied to the
VIPER Power Connector PL16 pin 4. If –12V or –5V are required, these must be
supplied directly to the PC/104 add-on board.
The VIPER is available with non-stack through connectors by special order. Contact
Arcom (see Appendix A – Contacting Arcom
, page 72) for more details.
© 2004 Arcom Issue H 12