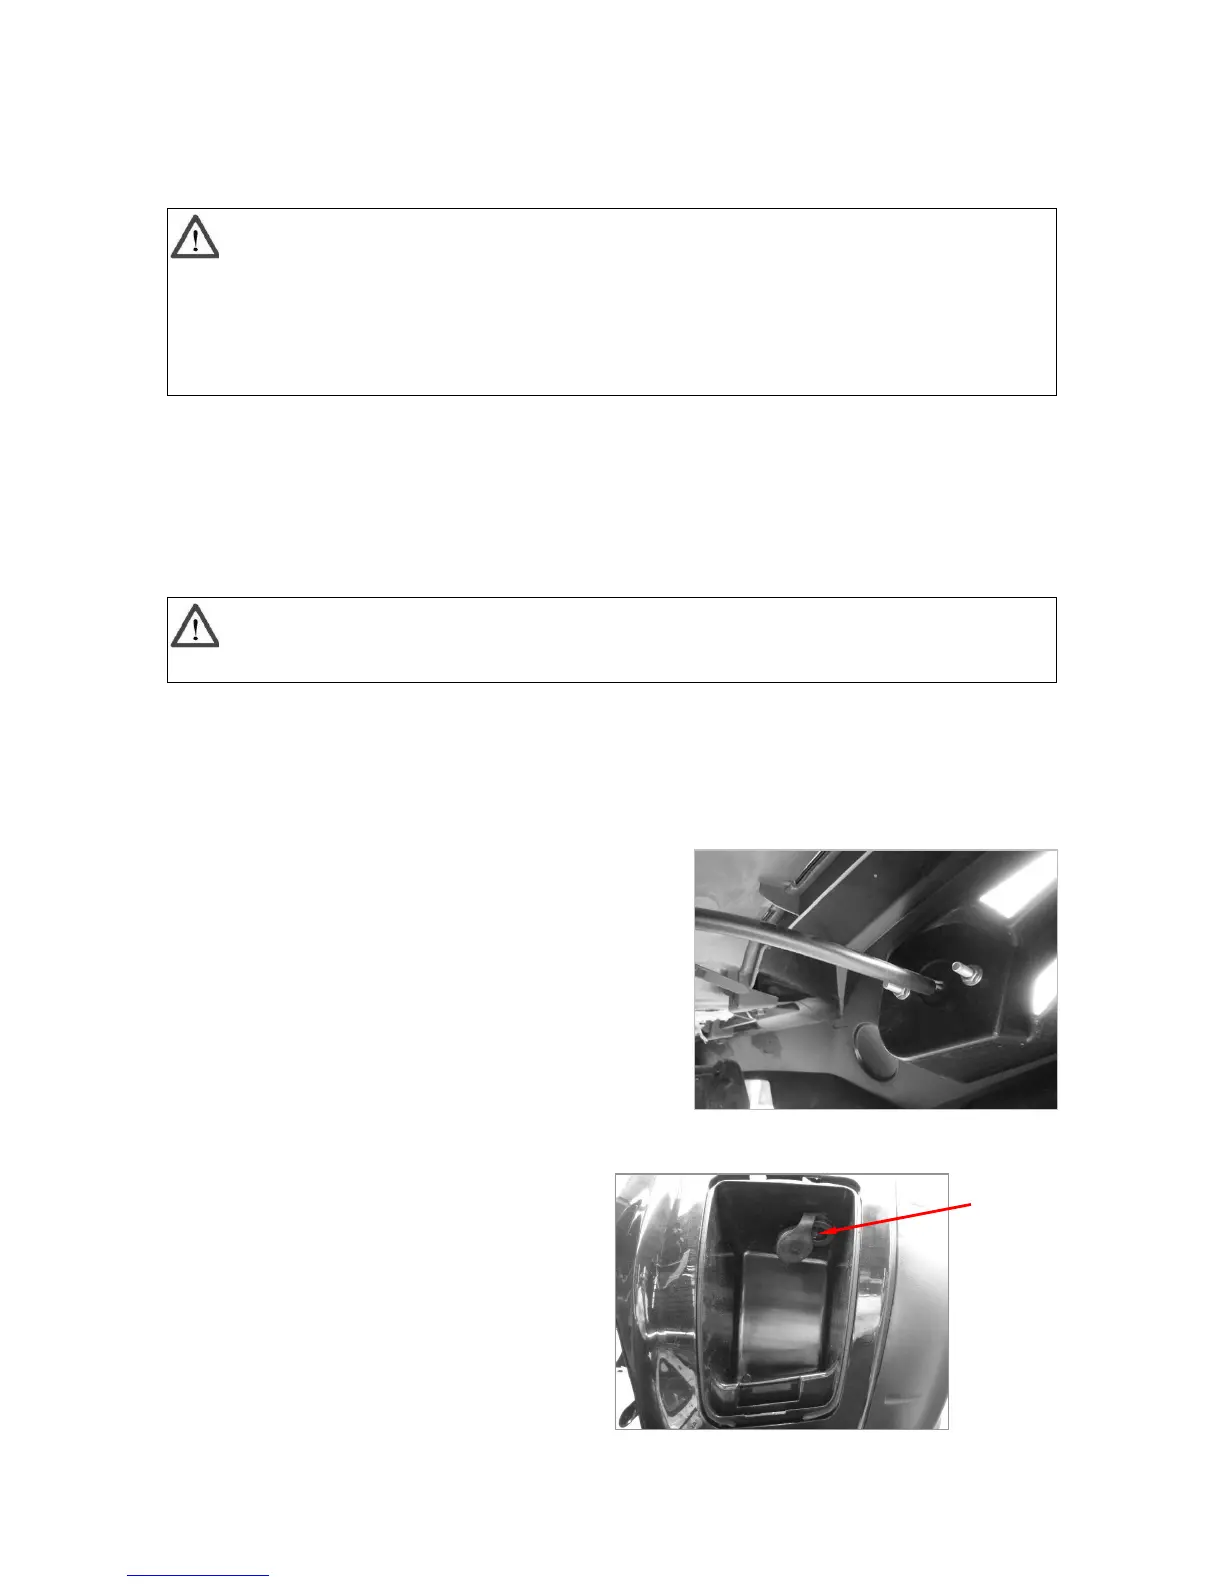
3. Removing the headlight bulb holder by pushing it in and turning it
counterclockwise.
4. Remove the burnt out bulb by pulling it out.
5. Insert a new headlight bulb into the bulb holder by pushing it in.
6. Install the bulb holder by pushing it in and turning it clockwise.
7. Install the bulb holder cover and the cover at the rear of headlight bulb
holder cover is securely fitted over the bulb holder and seated properly.
8. Adjust the headlight beam if necessary.
Adjusting a headlight beam
To raise a headlight beam, turn the headlight beam adjusting screw in clockwise.
To lower a headlight beam, turn the adjusting screw in counterclockwise.
20. REPLACING THE TAIL/BRAKE LIGHT BULB
If the tail /brake light bulb burns out, replace it as follows.
1. Disconnect the wiring of tail/brake light.
2. Remove the two nuts and washers at the rear of
the tail/brake light and pulling it off.
3. Replace and install the new tail/brake light
and connect the wiring.
4. Tighten the two bolts and washers.
21. AUXILIARY DC JACK
The auxiliary DC jack is located at the front
right side of the ATV. The Auxiliary DC jack
can be used for suitable work lights,
radios…etc. The auxiliary DC jack should
only be used when the engine is running
and light switch is set to “OFF”. When the
auxiliary DC jack is being used the electric
current should not exceed 5 A.
1. Set the light switch to “OFF”.
2. Turn the accessory off.
3. Start the engine.
DC jack
CAUTION!
Do not touch the glass part of the headlight bulb to keep it free from oil, otherwise the
transparency of the glass; the luminosity of the bulb and the bulb life will be adversely
affected. Thoroughly clean off any dirt and fingerprints on the headlight bulb using a cloth





 To Next Page