17
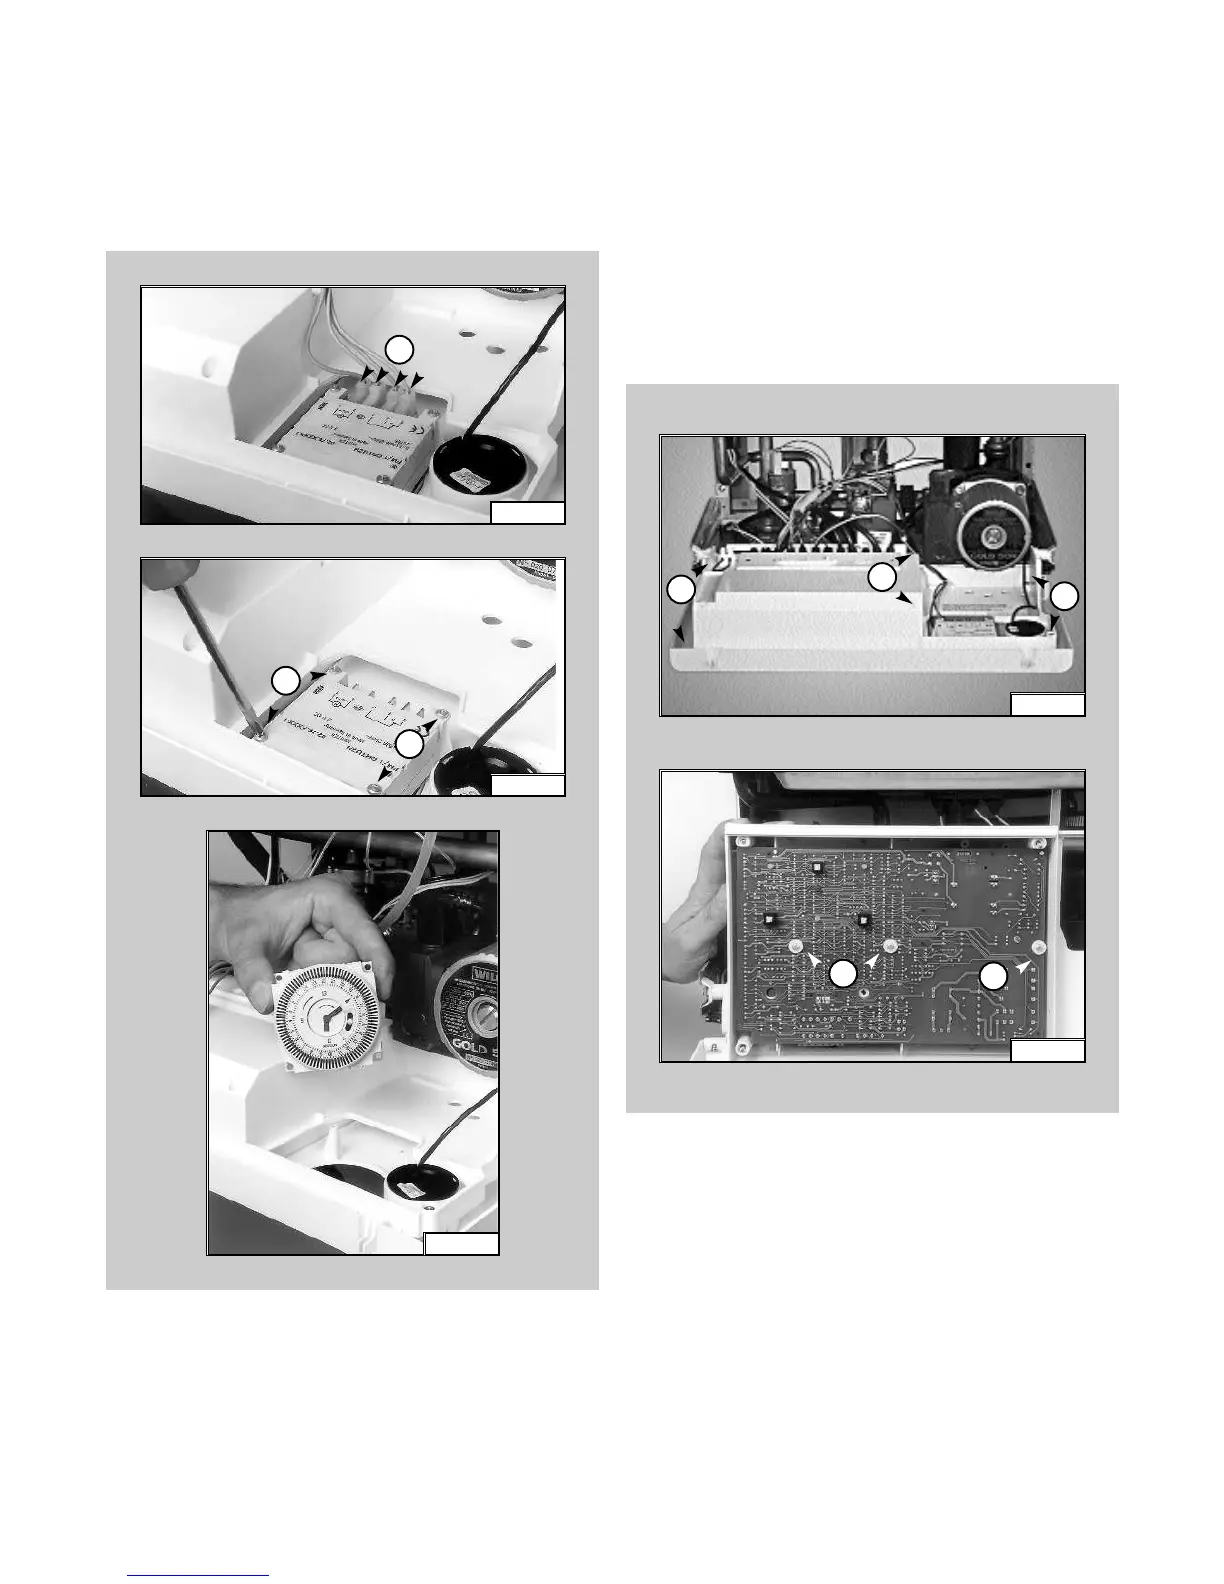
1.6.3 Removing the P.C.B.
1. Isolate electricity;
2. Remove the inspection cover from the reverse of the
control panel;
3. Unplug all electrical connections from the P.C.B.
4. Remove the screws “R1” (FIG. 1.59);
5. Separate the facia panel from the rear of the control
panel ;
7. Remove the screws “S1” and remove the P.C.B.
(FIG. 1.60).
FIG. 1.59
R1
R1
R1
FIG. 1.60
S1
S1
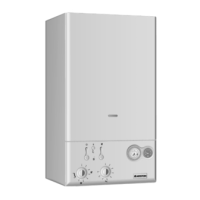
1.6.2 Removing the time clock
1. Disconnect the electrical connections “P1” from the
clock (FIG. 1.56);
2. Remove screws “Q1” (FIG. 1.57);
3. Lift out the time clock from the control panel (FIG. 1.58).
FIG. 1.56
FIG. 1.57
FIG. 1.58
P1
Q1
Q1
 Loading...