Do you have a question about the Ariston microGENUS II 31 MFFI and is the answer not in the manual?
Read instructions carefully for proper installation, use, and maintenance.
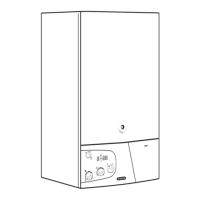
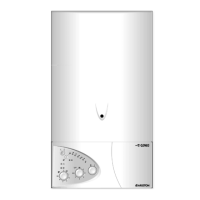
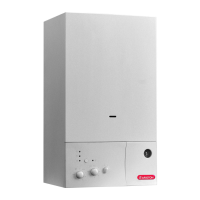
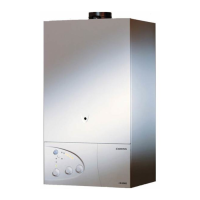
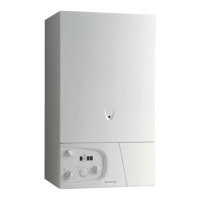
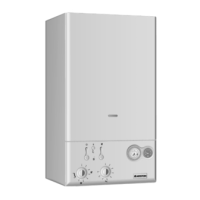
Provides a visual overview of the appliance components and their layout.
Details relevant safety and installation standards for GB and IE.
Guidelines for selecting the appropriate location for the boiler.
Specifies the physical dimensions and connection points of the appliance.
Defines the minimum safe clearances required around the appliance.
Instructions for the correct procedure to mount the boiler on the wall.
Details on safely connecting the boiler to the electrical supply.
Instructions for connecting the gas supply pipework to the boiler.
Guidance on connecting central heating and domestic hot water circuits.
Information on routing, terminating, and ensuring the integrity of the flue system.
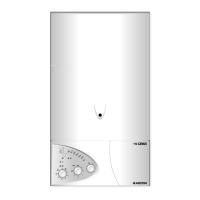
Explains the function of each button and indicator on the control panel.
Details the boiler's display and lists common fault codes and their causes.
Procedure to remove the front casing panel for internal access.
Instructions for connecting external thermostats or programmers.
Provides wiring schematics and component identification for the system.
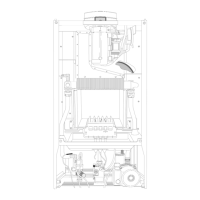
Illustrates the internal water flow and component layout.
Checks and preparations required before initial boiler start-up.
Procedure for turning on the boiler and initial operational checks.
Details on setting and adjusting boiler parameters for optimal performance.
Procedure for analysing combustion by-products and settings.
Monitoring flue exhaust and air intake pressure for proper operation.
Explains the boiler's safety shutdown mechanisms and indicators.
Instructions for safely draining the heating and domestic hot water systems.
Notes on completing required documentation for commissioning.
Final checks to ensure correct operation after commissioning.
Guidance for installers on how to instruct end users on boiler operation.
Procedure for converting the boiler between natural gas and LPG.
Steps to set the minimum and maximum gas pressures for boiler operation.
Lists essential annual checks for safety, performance, and component integrity.
Guidance on identifying and replacing faulty components.
Steps to access internal components, including removing panels.
Procedure for accessing and removing components within the combustion chamber.
Steps to remove the combustion chamber cover.
Instructions for removing the burner and its jets.
Procedure for safely removing ignition and detection electrodes.
Detailed steps for removing the main heat exchanger.
Procedure for disconnecting and removing the air pressure switch.
Instructions for disconnecting and removing the fan assembly.
Procedures for accessing and removing the gas valve components.
Steps to remove the spark generator from the gas valve.
Detailed instructions for removing the Honeywell gas valve.
Procedures for accessing and removing components in the water circuit.
Steps for removing the domestic hot water secondary heat exchanger.
Procedure for removing the pump pressure switch.
Instructions for removing the safety valve.
Procedure for removing the automatic air vent.
Steps for disconnecting and removing the circulation pump.
Procedure for removing the pressure gauge.
Steps for removing the expansion vessel.
Procedure for removing the overheat thermostat.
Instructions for removing the central heating temperature probe.
Procedure for removing the domestic hot water temperature sensor.
Steps for removing the diverter valve actuator.
Procedure for removing the domestic hot water flow switch.
Procedures for accessing and checking components within the control system.
Instructions for locating and checking the boiler fuses.
Steps for safely removing the main and display printed circuit boards.
Procedure for removing the time clock component.
Diagnostic flow charts to identify and resolve common boiler faults.
A list of common spare parts with their key numbers and part numbers.
Detailed technical specifications for the boiler models including performance and dimensions.
| Mounting | Wall-mounted |
|---|---|
| Fuel Type | Natural Gas / LPG |
| Output | 31 kW |
| Central Heating Output | 31 kW |
| DHW Output | 31 kW |
| Efficiency | 93 % |
| Max operating pressure | 3 bar |
| Ignition | Electronic |
| NOx emissions | Class 5 |