WARNING: Electrocution hazard. To avoid personal injury or
death from electrocution, remove all sources of power and
allow stored energy to discharge before installing or removing
equipment.
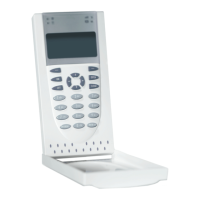
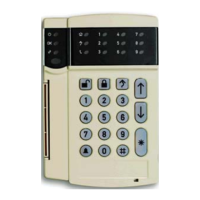
Open the keypad, following the steps shown in Figure 6.
Unscrew the locking screw. Using a screwdriver, carefully prise
open the keypad near to the housing bottom corners. Open the
housing bottom first, top next.
Connect cable to RAS back plate. See also “Connections” on
page 3.
Attach the base to mounting surface using provided screws,
including pry-off tamper screw, which fixes the pry-off tamper
element (Figure 3, item T). If rear cable entry window is used
or blocked (through the base), cut or drill a hole in the
mounting surface for cable access.
Note: VdS compliant installations require the keypad to be
mounted with 6 fixing screws in mounting points A (see
Figure 3). The pry-off tamper is required for VdS Class C
compliance.
Set the RAS address using DIP switches 1 through 4 (see
“RAS DIP switch settings” below). Set the bus termination
switch (DIP switch 5), if required. Terminate the bus cabling.
Place the RAS cover onto the base, top first, and snap in
place. Tighten the locking screw at the base until the RAS
cover is firm. Do not overtighten.
Figure 5: Open keypad housing
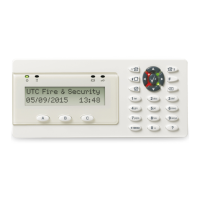
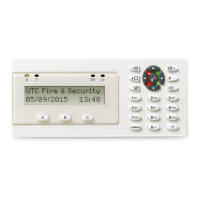
Connecting control panel to keypad
Refer to the appropriate ATS control panel installation guide for
instructions.
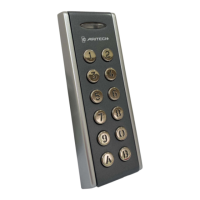
Tamper switch
Tamper switch is shown in Figure 5 as item 4.
The rear tamper switch must be sealed for the system to work
correctly. The tamper switch is sealed by mounting the RAS
onto the mounting plate. In operation, the LCD display will
show “RAS Tamper” when not sealed.
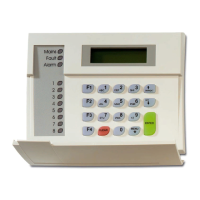
RAS DIP switch settings
A row of DIP switches is located on the rear of the RAS
(Figure 5, item 3) and is used for setting the RAS address and
the bus termination (TERM) condition. These settings are
described in the following sections.
• TERM switch: Use switch 5 to set TERM to On, if needed.
There must be no more than two TERM switches or links
set to On for any bus. Refer to the control panel
installation guide for details about the use of TERM
switches or links.
• RAS address: Set the RAS address using switches 1 to 4.
See Figure 2.