9
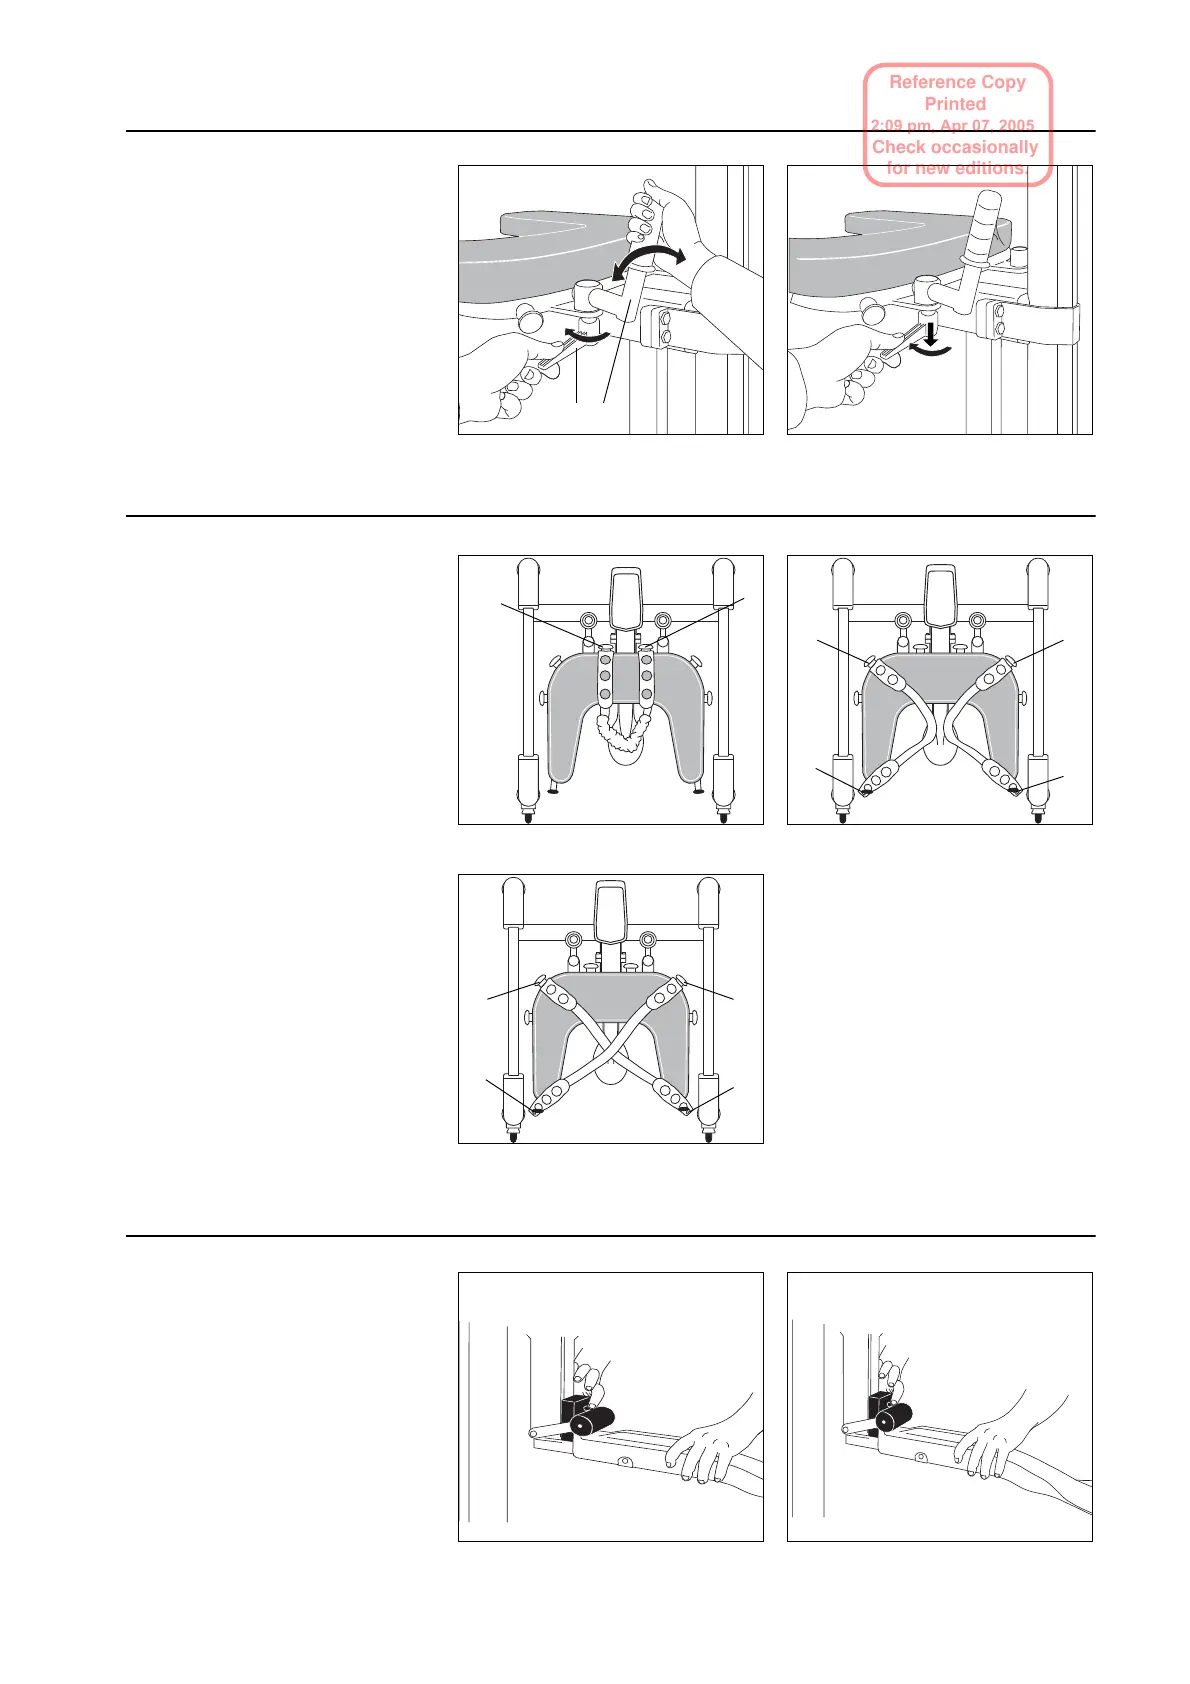
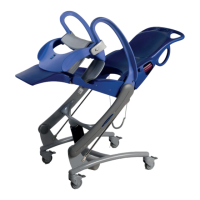
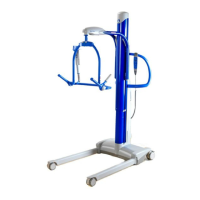
The two hand grips are ergonomically
designed to provide a firm grip for the
patient .
1 Loosen the locking lever (A) and
adjust the hand grips (B) in both
position and angle. Fasten the lock-
ing lever.
2 Place the lever in desired position by
pushing it down while turning it.
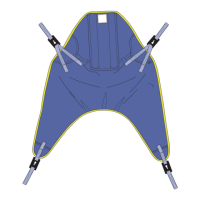
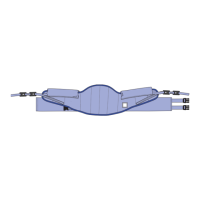
As standard equipment the Walker has
three individually adjustable safety straps
for body weight reduction and for added
resident security.
1 The back strap is attached to the
knob on the front of the support
table (A). Pass it over the support
table, behind the resident’s back and
over the support table again. Attach
to the other knob on the front of the
support table (B). Make sure the
padding is placed in a convenient
position.
2 Suspension straps, male residents:
Attach the suspension strap to the
knob (C). Pass it under the resident
and attach it to the knob in front (D).
Repeat on the other side of the Wal-
ker.
3 Suspension straps, female residents:
Attach the suspension strap to the
knob (E). Pass it under the resident
and attach it to the knob on the other
side (F). Repeat on the other side of
the Walker.
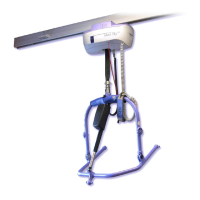
The spade seat is used when lifting the
resident.
1 Attach the spade seat to the support
table by gentle pushing it into the
quick coupling.
2 Loosen the spade seat by pressing
the ejector when holding the spade
seat with the other hand.
1
A B
2
1
A
B
2
D
D
C
C
3
F
F
E
E
1 2
Reference Copy
Printed
Check occasionally
for new editions.