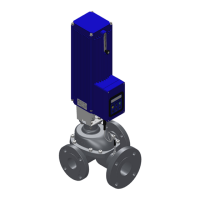
2.2 Assembly of G1 onto Other Valves
Please contact Armstrong for the assembly of the G1 onto other valves. A variety of standard mounting kits and
custom mounting kits are available for mounting the Emech actuator onto other valves.
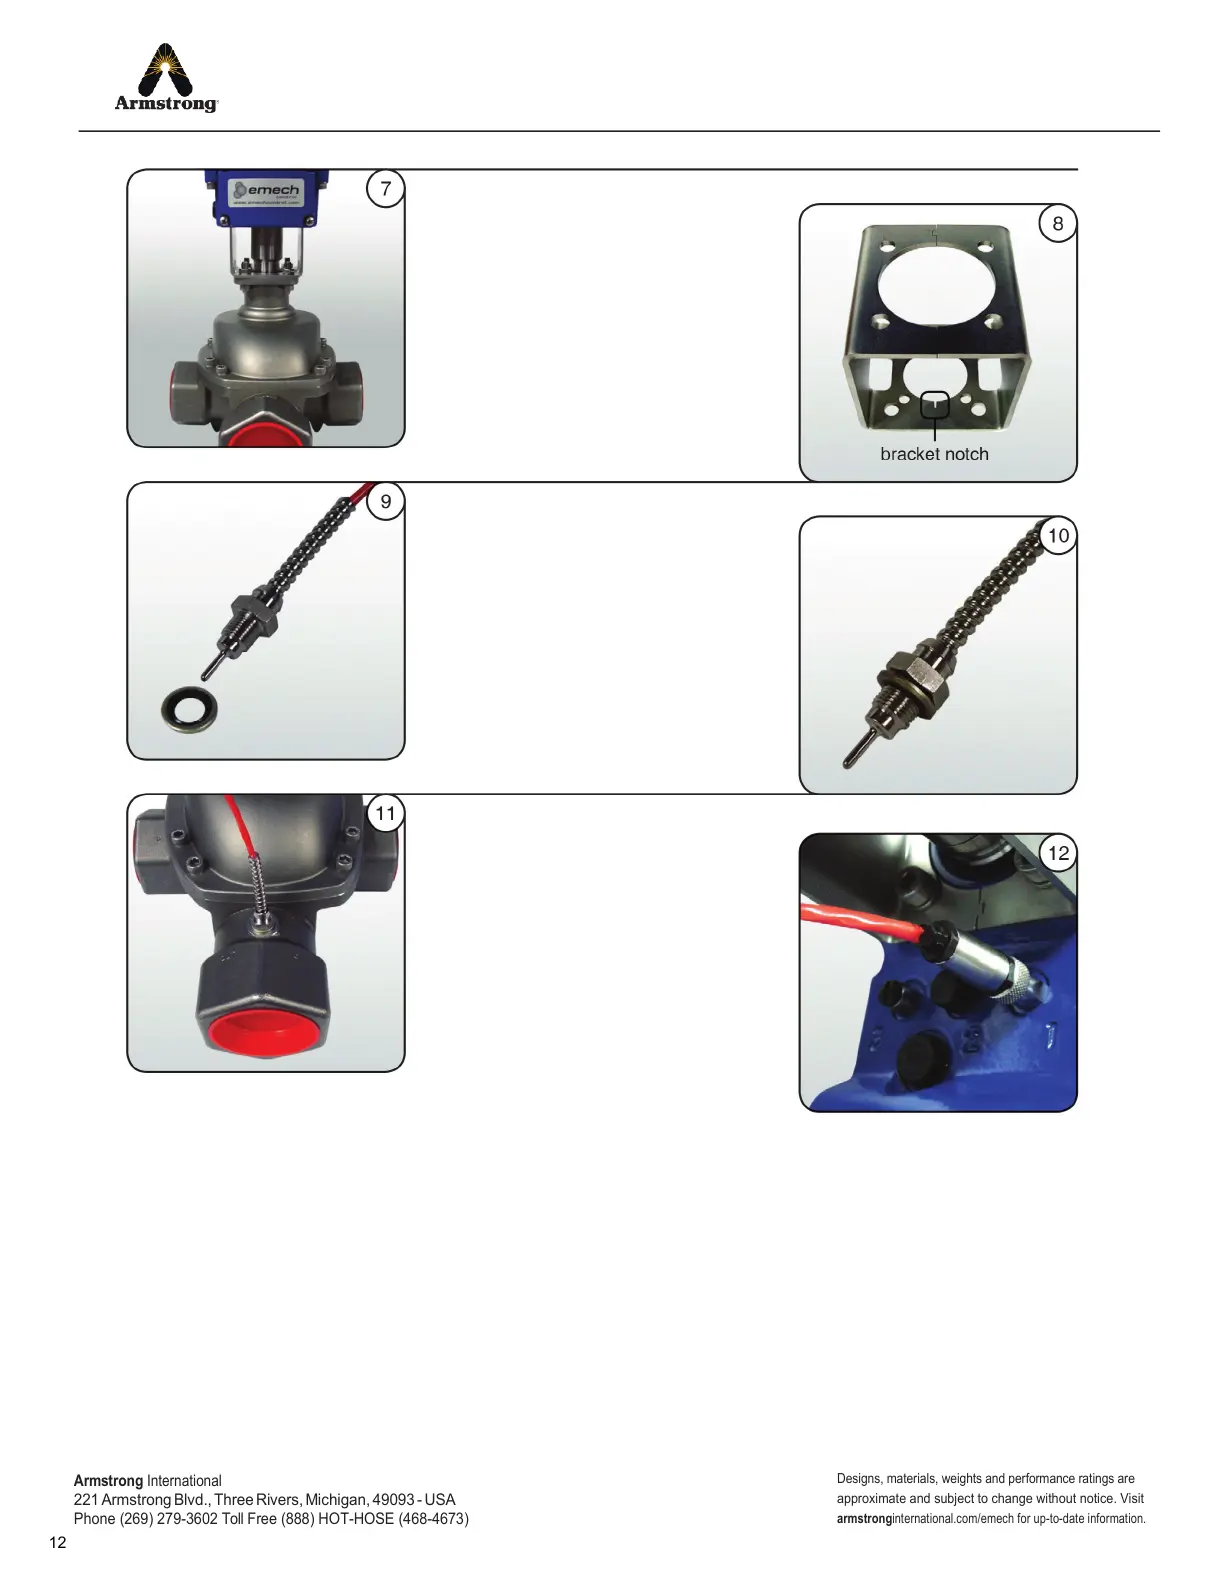
Place the actuator on the valve in the
desired position (image 7). The zero mark on
the coupling (image 4) should align with the
notch on the bracket (image B).
Insert one M8 X 25 socket cap screw
into one of the mounting holes with
M8 Spring Washer and Nut. Insert the
remaining three cap screws and fasten.
Ensure the bonded washer (image 0) is on
the sensor (image 10).
Screw the sensor into the outlet port of
the valve (image 11) and tighten before
connecting the the sensor to the actuator.
Plug the sensor connector into the actuator
input port labelled “1” and hand tighten . The
actuator is now assembled
correctly (image 12).
WARNING!! DO NOT USE A WRENCH
TO SCREW THE SENSOR INTO THE
ACTUATOR.
See section 5.0 of the actuator
Installation, Operation and Maintenance
manual for software configuration
Armstrong
International
221
Armstrong Blvd., Three Rivers, Michigan, 49093 - USA
Phone (269) 279-3602 Toll Free (888) HOT-HOSE (468-4673)
Designs, materials, weights and performance ratings are
approximate and subject to change without notice. Visit
armstrong
international.com/emech for up-to-date information.
 Loading...