3834887
4
3834887
5
General installation and maintenance instructions
Valves with Positioner
D
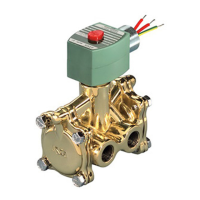
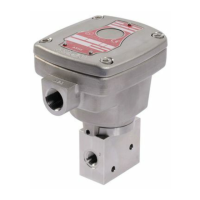
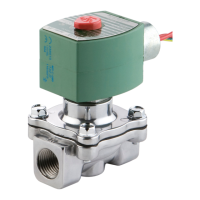
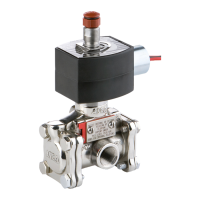
(2/2 and 3/2) - series 290-390
GB
2- Preparation of the new unit:
Unit identifi cation
spare parts kit no. (Positioner
D
only
)
cable gland
(câble Ø 5-10 mm)
connection M12
Fail position maintained, single loop
0-10 V 60568108 60569108
4-20 mA 60568308 60569308
Fail close, single loop
0-10 V 60568118 60569118
4-20 mA 60568318 60569318
Fail close, double loop
0-10 V 60568418 60569418
4-20 mA 60568518 60569518
Mounting kit
all C140423 C140423
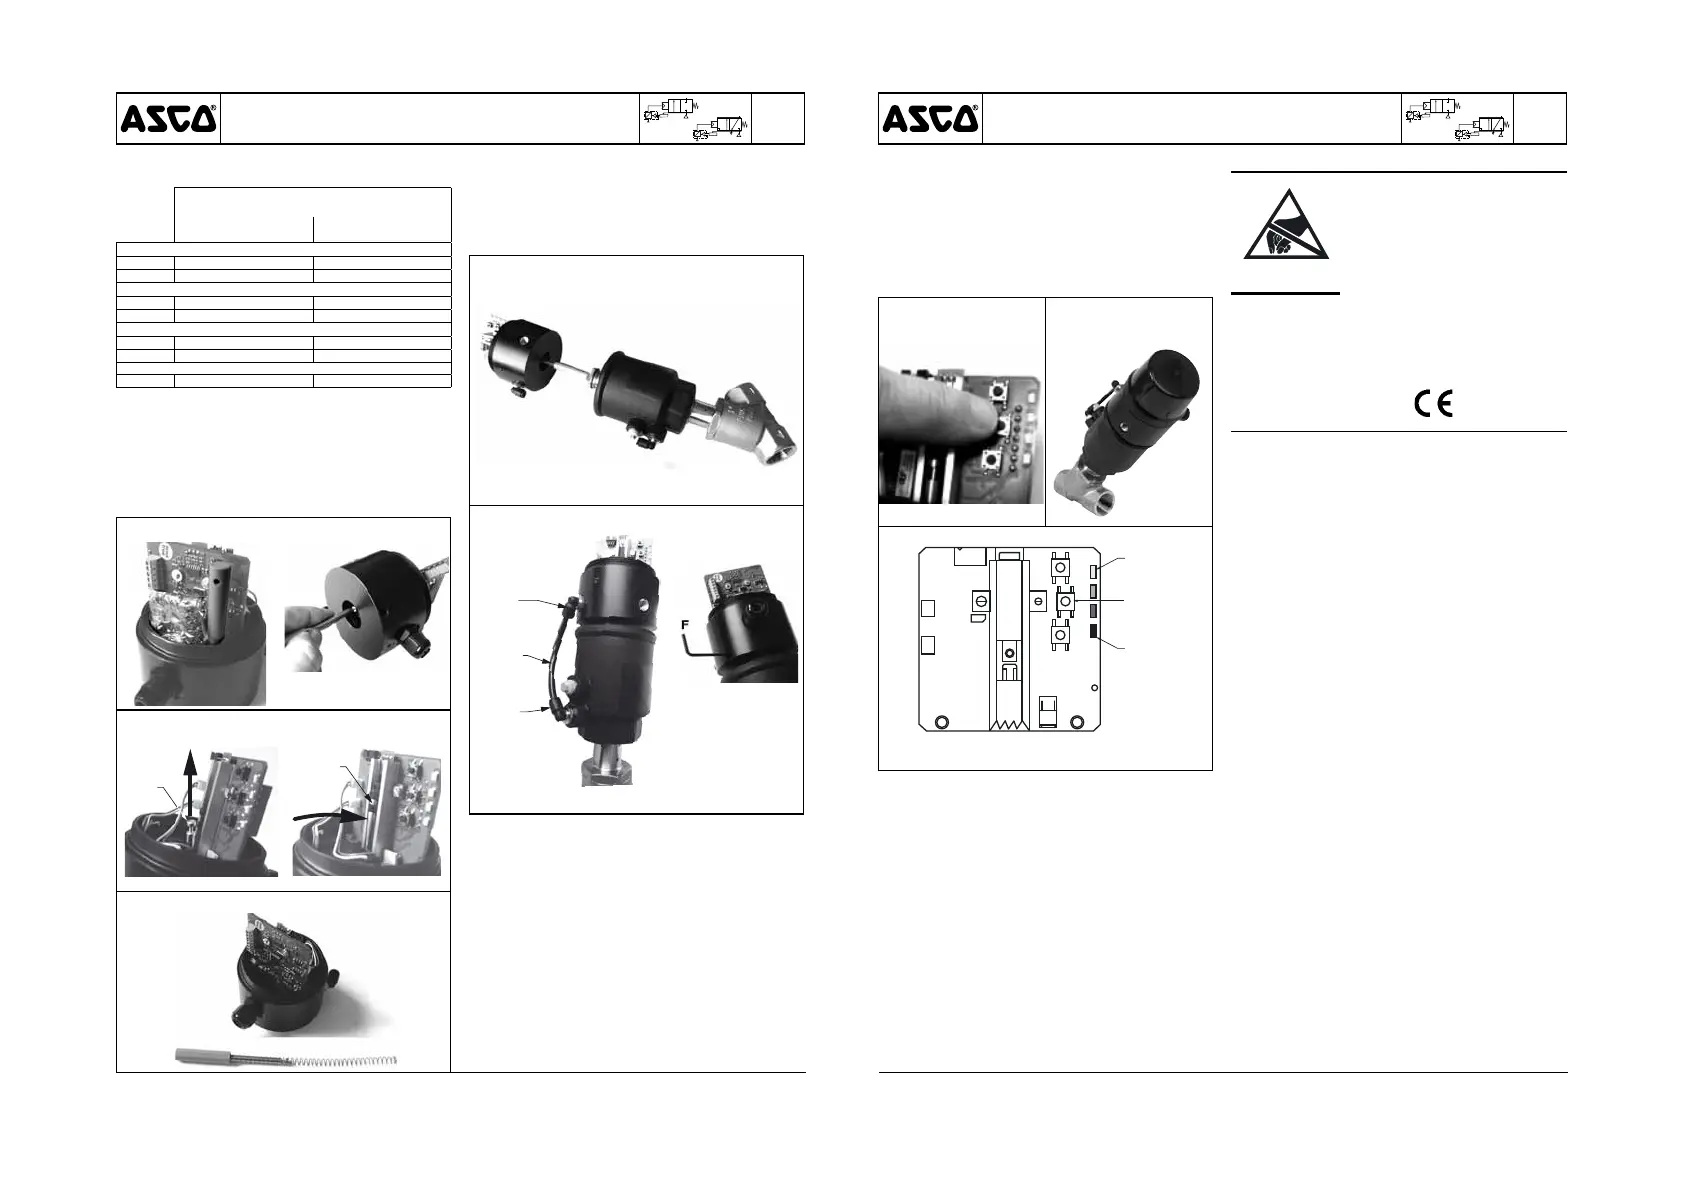
a. Remove the cover and its seal to gain access to the stem and its
spring (fi gs. 9 and 13).
b. Put the stem and its spring in place (manually hold the compressed
spring on the stem) (fi g. 10).
c.
Clip the end of stem no. 7 into the holder on the potentiometer by
tilting the stem away and placing it back upright (fi gs. 11 and 12).
d. Re-install the two pneumatic connections from the old unit on
the new unit, or use mounting kit no.
C140423 (see pages with
drawings).
Fig. 9 Fig. 10
Fig. 11 Fig. 12
Rep. 7
Rep. 7
Fig. 13
3- Mounting on valve (fi g. 14)
a. Make sure that screw F is loose.
b. Assemble the unit onto its support.
c.
Orient pneumatic connection no. 5 so that it faces pilot orifi ce no.
9 of the valve and connect tube no. 10 (fi g 15).
d. Fix the unit into position with screw F; be sure to observe a tight-
ening torque of 1,5 Nm (fi g. 16).
Fig. 14
Fig. 15 Fig. 16
Rep. 5
Rep.10
Rep. 9
4- Connections
Make all electrical and pneumatic connections in accordance with
the general instructions.
In case of use with a 4-20 mA setpoint, send a value > 4 mA (e.g.
5 mA) in order to start the initiation cycle.
General installation and maintenance instructions
Valves with Positioner
D
(2/2 and 3/2) - series 290-390
GB
ESD
This product contains electronic com-
ponents sensitive to electrostatic dis-
charge. An electrostatic discharge gen-
erated by a person or object coming in
contact with the electrical components
can damage or destroy the product. To
avoid the risk of electrostatic discharge,
please observe the handling precau-
tions and recommendations contained
in standard EN 100015-1.
Do not connect or disconnect the
device while it is energised.
CAUTION
OBSERVE
PRECAUTIONS
FOR HANDLING
ELECTROSTATIC
SENSITIVE DEVICES
5- Adjustment of the new unit
a. Apply electrical power and air pressure.
b. Press middle button no. 12 for more than 3 seconds until LED
1 (yellow) and LED 4 (orange) fl ash to automatically start the
initialisation procedure (fi gs. 17 and 19).
c. Release the button and leave the device to automatically run the
initialisation cycle (several openings and closures).
d. After approx. 1 minute, the valve stops in the preset setpoint posi-
tion. If there is no setpoint, the valve closes in airtight position.
e. Put the cover and its seal back in place; be sure to observe a
tightening torque of 5 Nm.
Fig. 17 Fig. 18
78M05
LED 1
Rep. 12
LED 4
Fig. 19
MAINTENANCE
Prior to any maintenance work or putting into operation, power
off the Positioner
D
, depressurise and vent the valve to prevent
the risk of personal injury or damage to equipment.
Preventive maintenance The profi led disc seal is available as a
spare part for series 290 2/2 NC valves, see following pages.
Series 390 3/2 NC valves are equipped with a standard disc, see
specifi c I&M sheet.
This product complies with the essential requirements of EMC
Directive 2004/108/EC and Low Voltage Directive 2006/95/EC. A
Declaration of Conformity is available on request.

 Loading...