ASD Document 600541 Rev. G 28 TerraSpec® User Manual
www.asdi.com Chapter 4 Fiber Optic Interface
Step 9 Use the mouse to select the checkbox for the LED to turn on: VNIR, SWIR1,
or SWIR2. One or more may be selected at once.
Note: If a range is selected that the spectrometer does not have, that
particular LED will not be available to turn on. Nothing will be
harmed.
Step 10 Select the Check button which turns on the selected LEDs.
Step 11 Look through the magnifier to see which fibers light up.
• Count the number of fibers that show light. Refer to Details about the
Fiber Optic Cable and LEDs.
• If applicable, use the checkboxes and the Check button shown in
Figure 4-8 to turn on and off different LEDs to help determine which
range might be affected.
Note: The RED LED for VNIR may be hard to see when the other
ranges are enabled.
Step 12 When you are finished, shutdown the Fiber Check application.
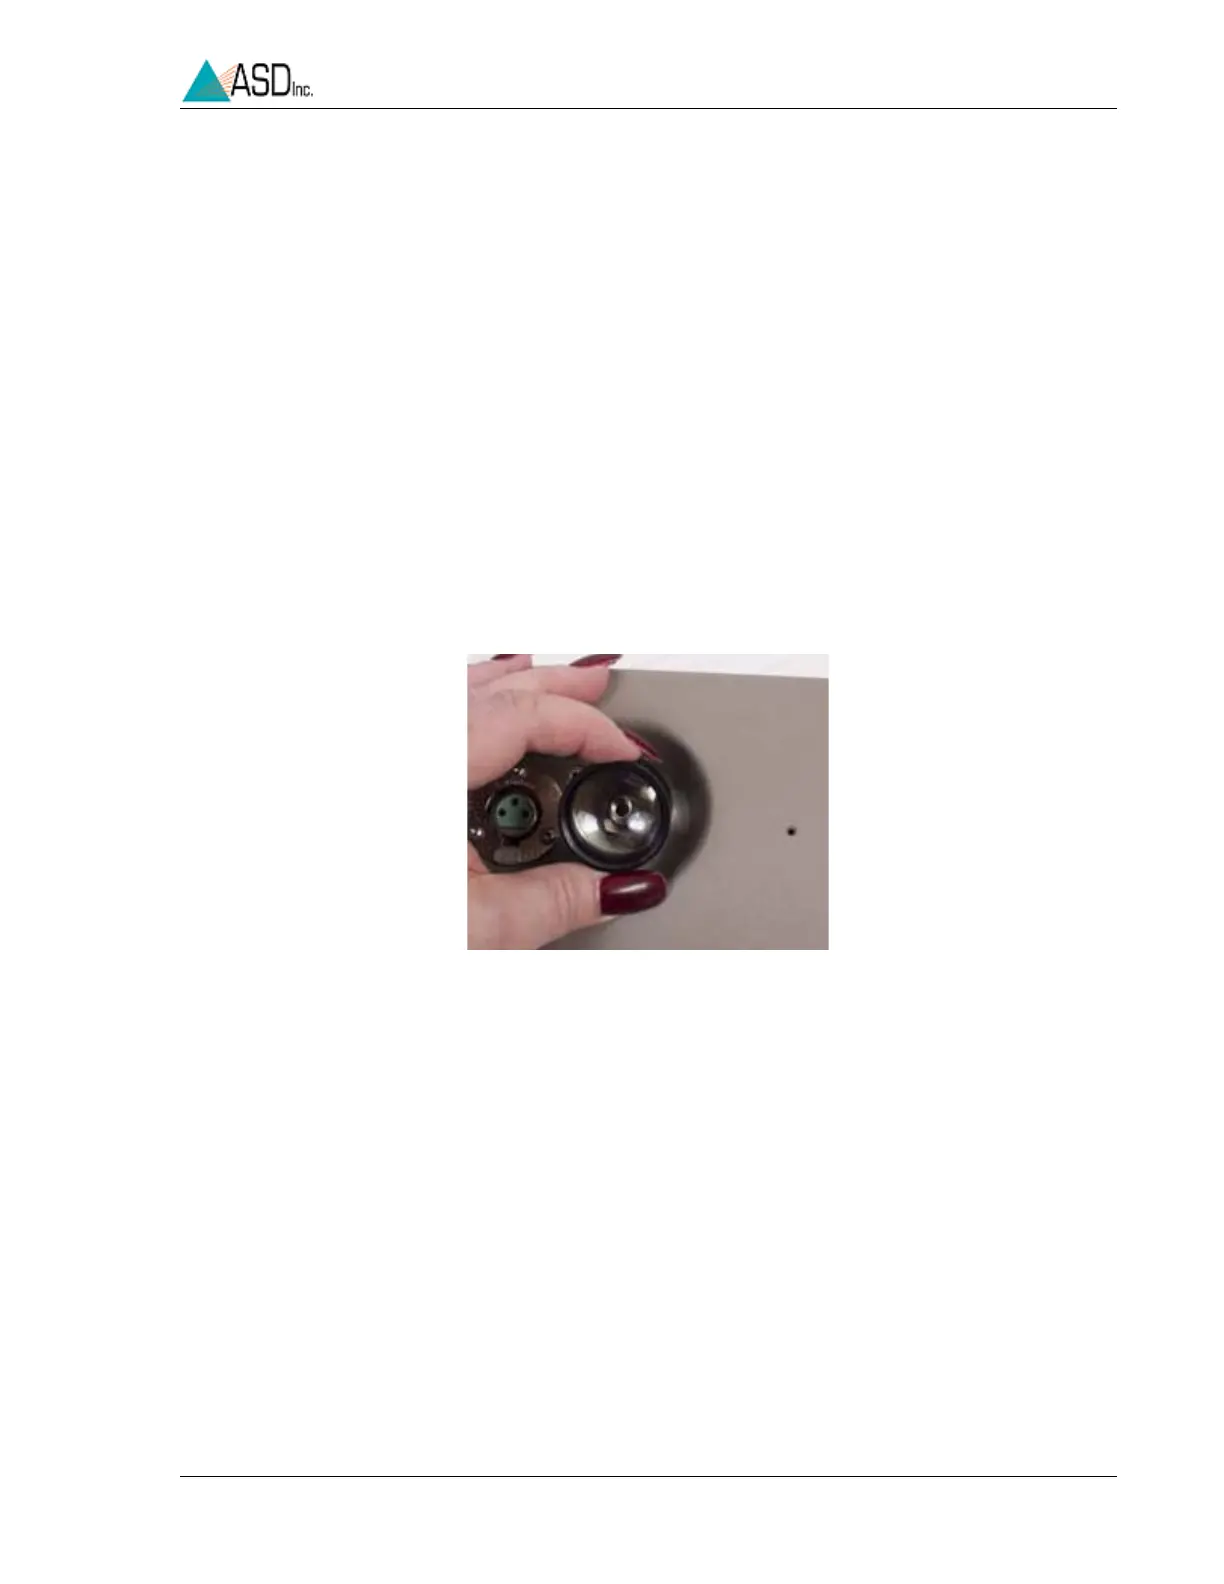
Step 13 Carefully remove the magnifier and re-attach the bundle matcher and fiber
optic port using the 9/16 nut driver.
Step 14 Inspect the external fiber optic cable disconnected from the instrument.
1 Unscrew the lens from the magnifier and place it onto the short magnifier
assembly
Figure 4-9 Internal spectrometer LED shining to test internal fiber
optic cable.