10
English
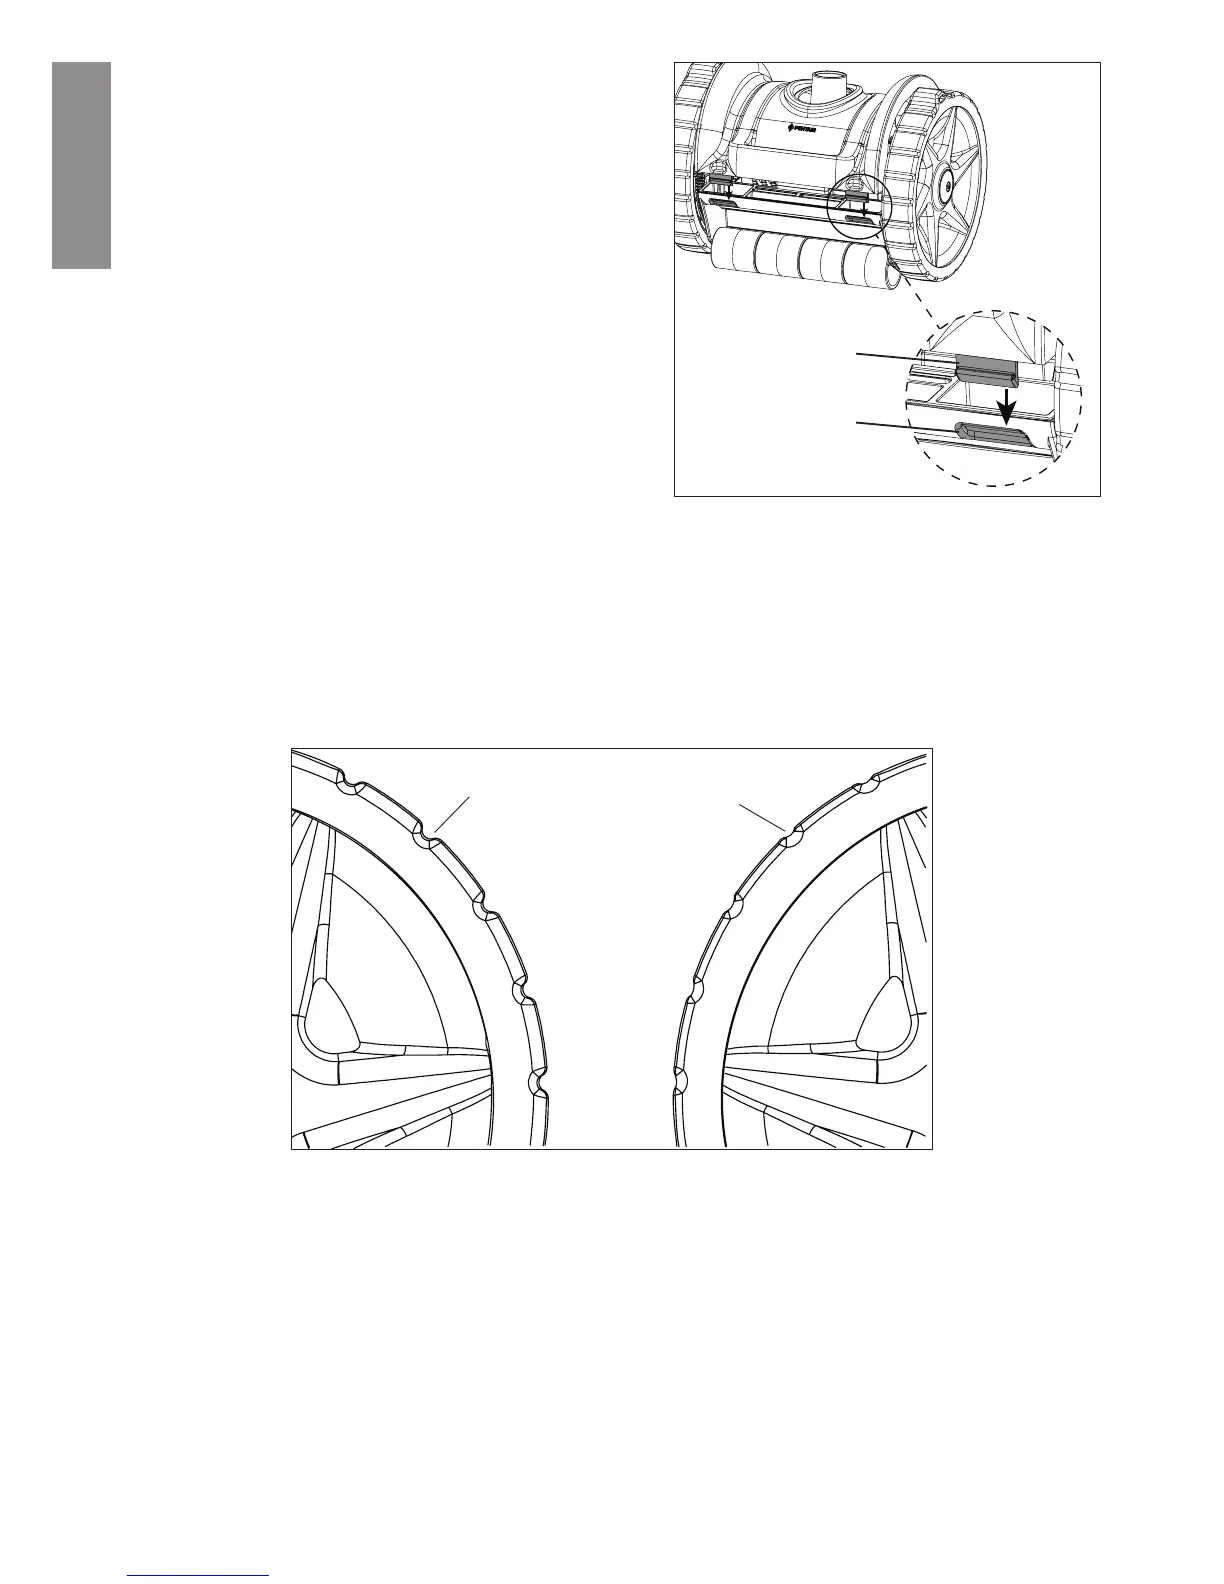
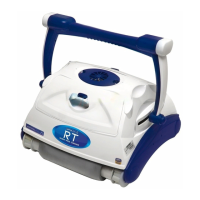
Figure 17
Cover Tabs and Corresponding Body Slots
Top Cover
Tab
Cleaner
Body Slot
5. Remove any visible obstrucons from the turbine and turbine
cover.
6. Replace the turbine cover with the swivel assembly oriented
towards the front of the cleaner. See Figure 16.
7. Visually inspect the rest of the cleaner and remove any debris
that may be in the gears, drive shas, swivel assembly, etc.
8. Repeat step 2 (turning the right wheel) to insure that the cleaner
runs smoothly.
9. Place the top cover over the swivel assembly.
10. Place the tabs on the back side of the top cover into the slots on
the back side of the cleaner body (see Figure 17). Once these
tabs are seated in the slots the front of the cover will fall into
place.
11. Lock the top cover onto the cleaner body with the locking buckle
on the front of the cleaner.
Tire Replacement
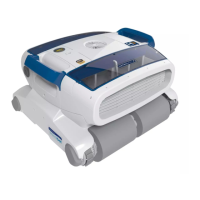
Aer prolonged use it may become necessary to replace the S5™ Sucon Side Pool Cleaner’s rubber res. When the re surface
has worn into the re’s grooves the re is in need of replacement. See Figure 18.
To remove the cleaner re:
1. Turn the pool pump o and remove the cleaner from the pool.
2. Disconnect the cleaner from the leader hose.
3. Place the cleaner on a at work surface and fold the re o of the wheel from top to boom.
Note: Remove the re by hand. Using other objects (screwdrivers, Allen keys, etc.) to remove the re may damage the wheel.
Excessively Worn
Tire: Outer surface
of the re has
nearly worn to the
boom of the re’s
grooves.
New Tire: Outer
surface of the re
is well above the
boom of the
re’s grooves.
Figure 18: Tire Wear Comparison
To install the replacement re:
1. Place the cleaner on a at work surface and seat the top of the rubber re onto the top of the wheel. Be sure that the
back lip of the re is resng at on the inside edge of the wheel.
Note: Replace the re by hand. Using other objects (screwdrivers, Allen keys, etc.) to replace the re may damage the
wheel.
2. Stretch the boom of the re over the boom of the wheel. Be sure that the back lip of the re is resng at on the inside
edge of the wheel.
3. Fold the back lip of the re onto the back of the cleaner wheel along the enre cleaner wheel. The re should lie at on
the top surface of the wheel.