GENERAL OVERVIEW
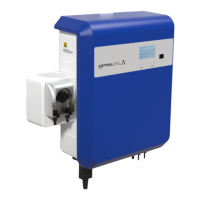
Congratulations! You have purchased an AstralPool VX series Chlorinator. Please read the instructions carefully and your
purchase will provide you with years of trouble free use.
Your AstralPool VX Chlorinator works by converting some of the salt in your pool into chlorine which starts to destroy algae,
bacteria and viruses in your pool water thereby sanitising your pool. As part of the process, the chlorine is converted back
into salt and hence salt is not consumed.
Your VX Chlorinator control has many features to ensure simple operation of your chlorinator and filtration system. It has a
clever Spa mode to ensure that the right level of chlorine is produced whilst you are enjoying a spa.
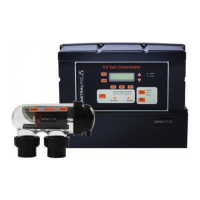
The VX “T” Series chlorinator has an internal electronic time clock designed to operate the filtration pump up to 4 time
periods Monday to Friday and 4 time periods Saturday/Sunday. This model should not be connected to an external time
clock where power is disconnected on a regular basis. The “T” series has a battery backup which is designed only to
maintain timer setting memory in the event of an infrequent and short power interruption.
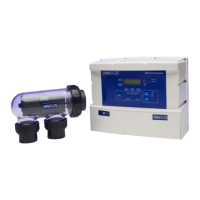
The VX “S” Series chlorinator does NOT have an internal time clock and is designed specifically for connection to an
external time clock or switching device. It has no internal time clock.
Note: The Chlorinator is not intended for use by young children or infirm persons without supervision. Please ensure that
young children are supervised to ensure that they do not play with the Chlorinator.
CHLORINATOR CONTROL INSTALLATION
The VX Chlorinator control has a Rating of IP24 enabling it to be installed outdoors. Regulations require that the control is
not allowed to be located within 3 metres of the pool water.
The control should be installed in a well ventilated position ideally away from direct sunlight. Ensure that the unit is not
located near pool chemicals as fumes may damage the control.
Included in the kit are two green masonry plugs and screws. When installing on a brick or concrete wall, use a 7mm
masonry drill. Mounting Screws should be 180mm apart and located at least 1500mm above ground level. A drilling
template is provided on page 6.
When installing the control on a post, first attach a flat waterproof panel at least 300mm wide by 500mm long. Make sure
the control is located centrally on the panel and sits flat.
Plug the 3 pin plug into a suitable weatherproof outlet and then plug the pump into the 3 pin socket in the Chlorinator
control.
Note: The pump current rating must not exceed 8 amps.