4 Installation
4.1 Shipping and Handling
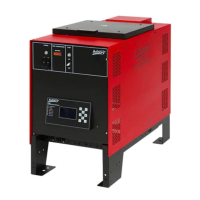
The KB melt units may be shipped with the supply hoses and the
applicator heads or handguns already connected. The melt units are
either shipped in a corrugated box or bolted to a wooden pallet.
The supply hoses are coiled around the melt unit and the applicator
heads or handguns wrapped in packaging envelopes. A 1/4-inch
hex wrench for the flow control valve, and a binder containing
system manuals and warranty information are shipped with the
units.
4.2 Supporting the Melt Unit
Position the melt unit so that servicing is convenient and the
control panel is easily accessible. Using the base mounting holes,
bolt the melt unit down to the mounting surface. The mounting
surface must be level and flat to prevent warping of the melt unit,
and misalignment of the pump and motor shaft. The melt unit must
be properly bolted down to prevent accidental upset and possible
injury.
4.3 Component Installation
For safe and proper installation and to avoid accidental
pressurization, make certain that all controls are in the Off
position. Read section 5.1: Controls and Indicators before
installing any components.
10 KB30, KB50 and KB100 Series Hot Melt Units 19600-159 Rev. A 04/09/09 © Copyright Astro Packaging 2009
 Loading...