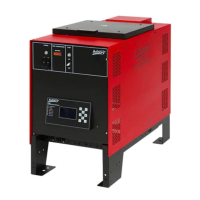
8.2 Hose Controller Replacement - Bimetallic
1. Follow section 8.1, steps 1-7, for hose replacement.
2. Disconnect melt unit power and open front control panel.
3. Disconnect controller wires.
4. Remove the two 6/32 screws fastening the controller to the
electrical mounting panel.
5. Attach hose to the JIC fitting as specified in section 4.3.
6. Reconnect melt unit power, switch hose power switch On, and
adjust controller as indicated in section 5.3.1.
8.3 Pump Motor Replacement
1. Switch Off system power switch and disconnect melt unit
power.
2. Remove back panel (and housing for 170 rpm motor on KB30
melt units).
3. Disconnect motor electrical connector and remove fast-on
connectors from capacitor.
4. Remove motor with mounting bracket as a whole assembly
from the melt unit.
5. Remove motor shaft coupling. Remove motor from mounting
bracket.
6. Reassemble melt unit with new motor.
7. Turn motor On (system warmed up) and observe motor and
drive shaft coupling for misalignment. Loosen and retighten
motor mounting bracket to realign as necessary.
NOTE: Motor must turn the pump shaft counterclockwise (looking
down on the pump shaft).
8. Replace housing (for 170 rpm motor on KB30 melt units) and
back panel.
© Copyright Astro Packaging 2009 KB30, KB50 and KB100 Series Hot Melt Units 19600-159 Rev. A 04/09/09 41

 Loading...