4-2
Chapter 4: RAID Support
Chapter 4
4.1.2 Installing Serial ATA hard disks
The motherboard supports Serial ATA hard disk drives. For optimal performance, install
identical drives of the same model and capacity when creating a disk array.
To install the SATA hard disks for a RAID conguration:
1. Install the SATA hard disks into the drive bays.
2. Connect the SATA signal cables.
3. Connect a SATA power cable to the power connector on each drive.
4.1.3 Intel
®
Rapid Storage Technology in UEFI BIOS
To enter the Intel
®
Rapid Storage Technology in UEFI BIOS:
1. Enter the BIOS Setup during POST.
2. Go to the Advanced menu > PCH Storage Configuration, then press <Enter>.
3. Set the SATA Controller Mode Selection item to [RAID Mode].
4. Go to the Boot menu > CSM (Compatibility Support Module) > Launch CSM, then
set the item to [Disabled].
5. Save your changes and exit the BIOS Setup, then enter the BIOS Setup again.
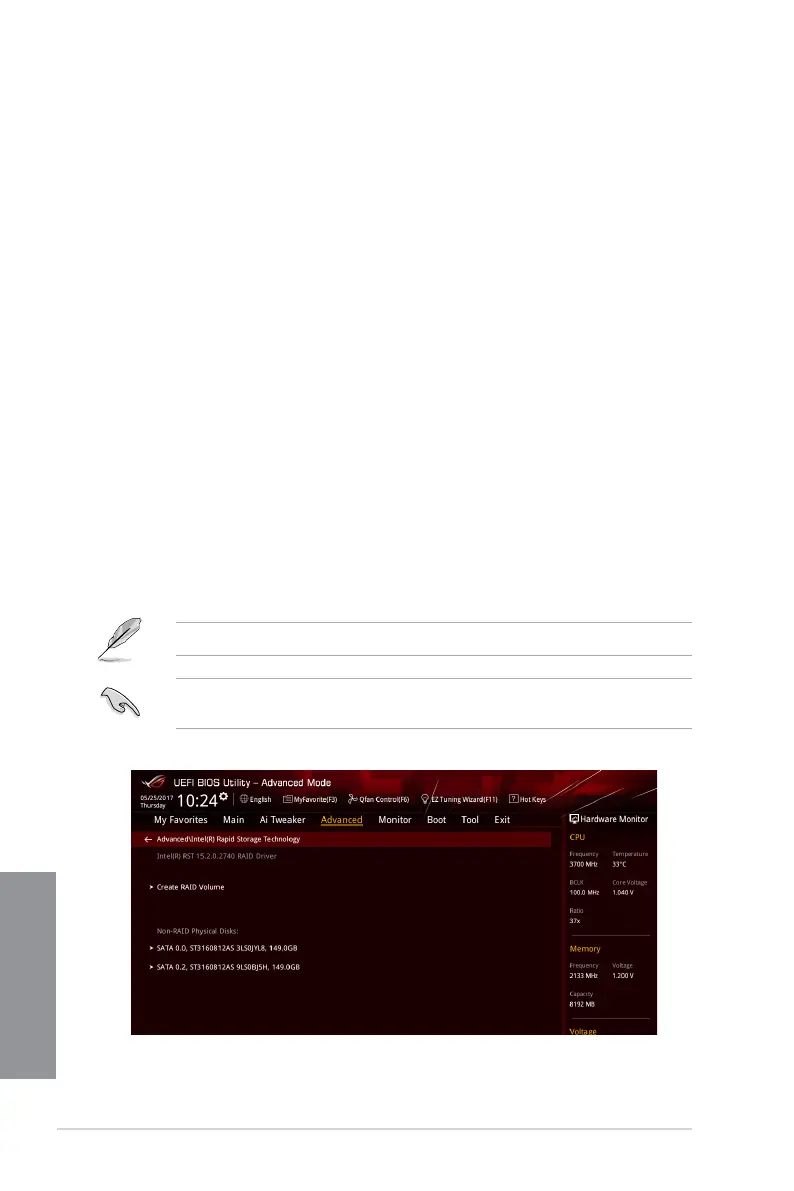
6. Go to the Advanced menu > Intel(R) Rapid Storage Technology, then press <Enter>
to display the Intel
®
Rapid Storage Technology menu.
Refer to Chapter 3 for details on entering and navigating through the BIOS Setup.
Due to chipset limitation, when SATA ports are set to RAID mode, all SATA ports run at
RAID mode together.