Getting started
Installation options
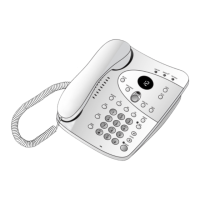
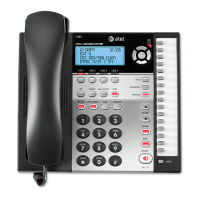
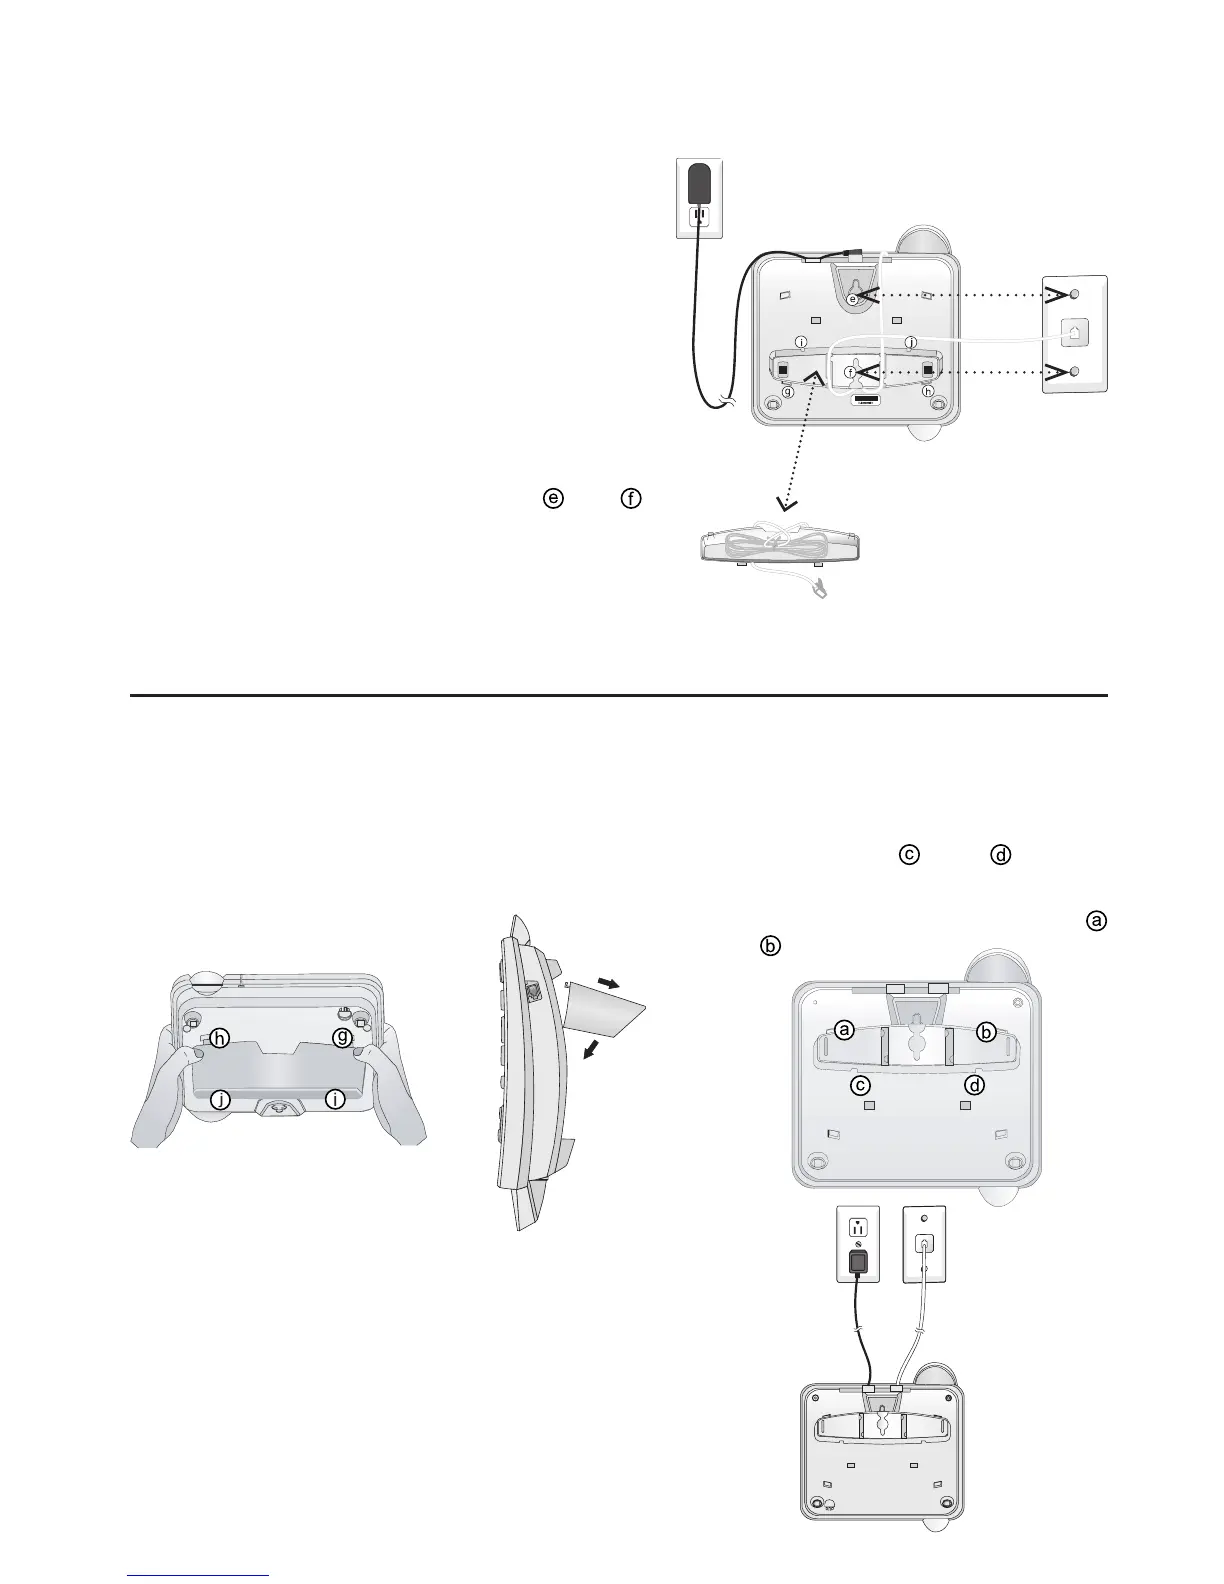
3. Connect the telephone line cord and
power adapter to the jacks on the back of
the telephone base. Bundle the telephone
line cord, and secure it with a twist tie
before placing it inside the bracket. Please
see the picture on the right.
4. Plug the power adapter into an electrical
outlet not controlled by a wall switch. Plug
the telephone line cord into a telephone
wall jack. To mount the telephone on the
wall, position the mounting holes and
over the telephone outlet mounting studs.
Press and slide the bracket down firmly
so the telephone is held securely on the
telephone outlet mounting studs.
Tabletop installation
To return the bracket from the wall installation to tabletop position, follow the
directions below.
1. Remove the telephone base from the
wall. Unplug the cords from the wall
jacks. Remove the bracket from the
telephone base.
2. Rotate the bracket to tabletop
position, insert the bracket
tabs into slots
and
on the
telephone base, then press the
other bracket tabs into slots
and
.
3. Route cords through slots. Plug the
other end of the telephone line cord
into a telephone wall jack. Plug the
large end of the power adapter into
an electrical outlet not controlled by
a wall switch.
7
Place the bundled telephone
line cord inside the bracket.
 Loading...