CS1708A / CS1716A User Manual
6
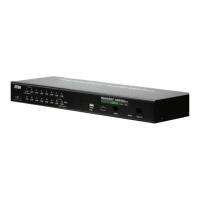
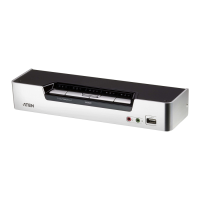
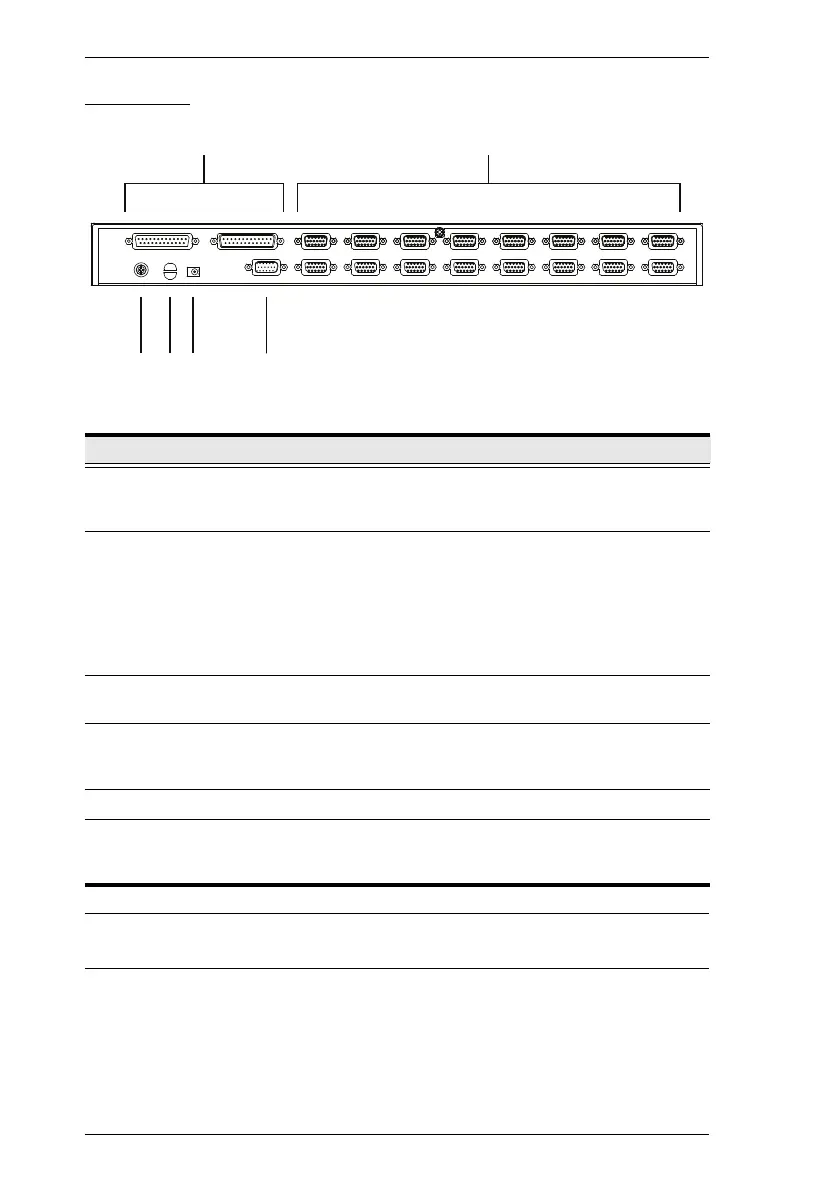
Rear View
Note: The CS1716A is pictured above. The CS1708A rear panel is the same as
the CS1716A, except that it has 8 KVM ports instead of 16.
No. Component Description
1 Daisy Chain Ports When daisy chaining units, the cables plug in here.
The port on the right is the Chain Out port; the one on
the left is the Chain In port.
2 KVM Ports The cables that link to the computers plug in here.
Note: The shape of these 15-pin connectors has been
specifically modified so that only custom KVM cables
designed to work with this switch can plug in.
(See Cables, page 3, for details.) Do NOT attempt to
use ordinary 15-pin VGA connector cables to link
these ports to the computers.
3 Grounding Terminal The grounding wire used to ground the CS1708
A /
CS1716
A attaches here.
4 Cable Tie Slot If you want to use a cable tie to gather the cables
together, you can run it through this slot to attach it to
the unit.
5 Power Jack The power adapter cable plugs in here.
6 Console Port The custom console cable set that is provided to
attach the console monitor, keyboard, and mouse
plugs in here.
 Loading...