Manual, Robotic Tool Changer Third Generation Teaching Aids
Document #9610-20-3370-02
Pinnacle Park • 1031 Goodworth Drive • Apex, NC 27539 USA • Tel: 919.772.0115 • Fax: 919.772.8259 • www.ati-ia.com • Email: info@ati-ia.com
13
5.2 Service Procedures
The following procedures provide instructions for component replacement and adjustment.
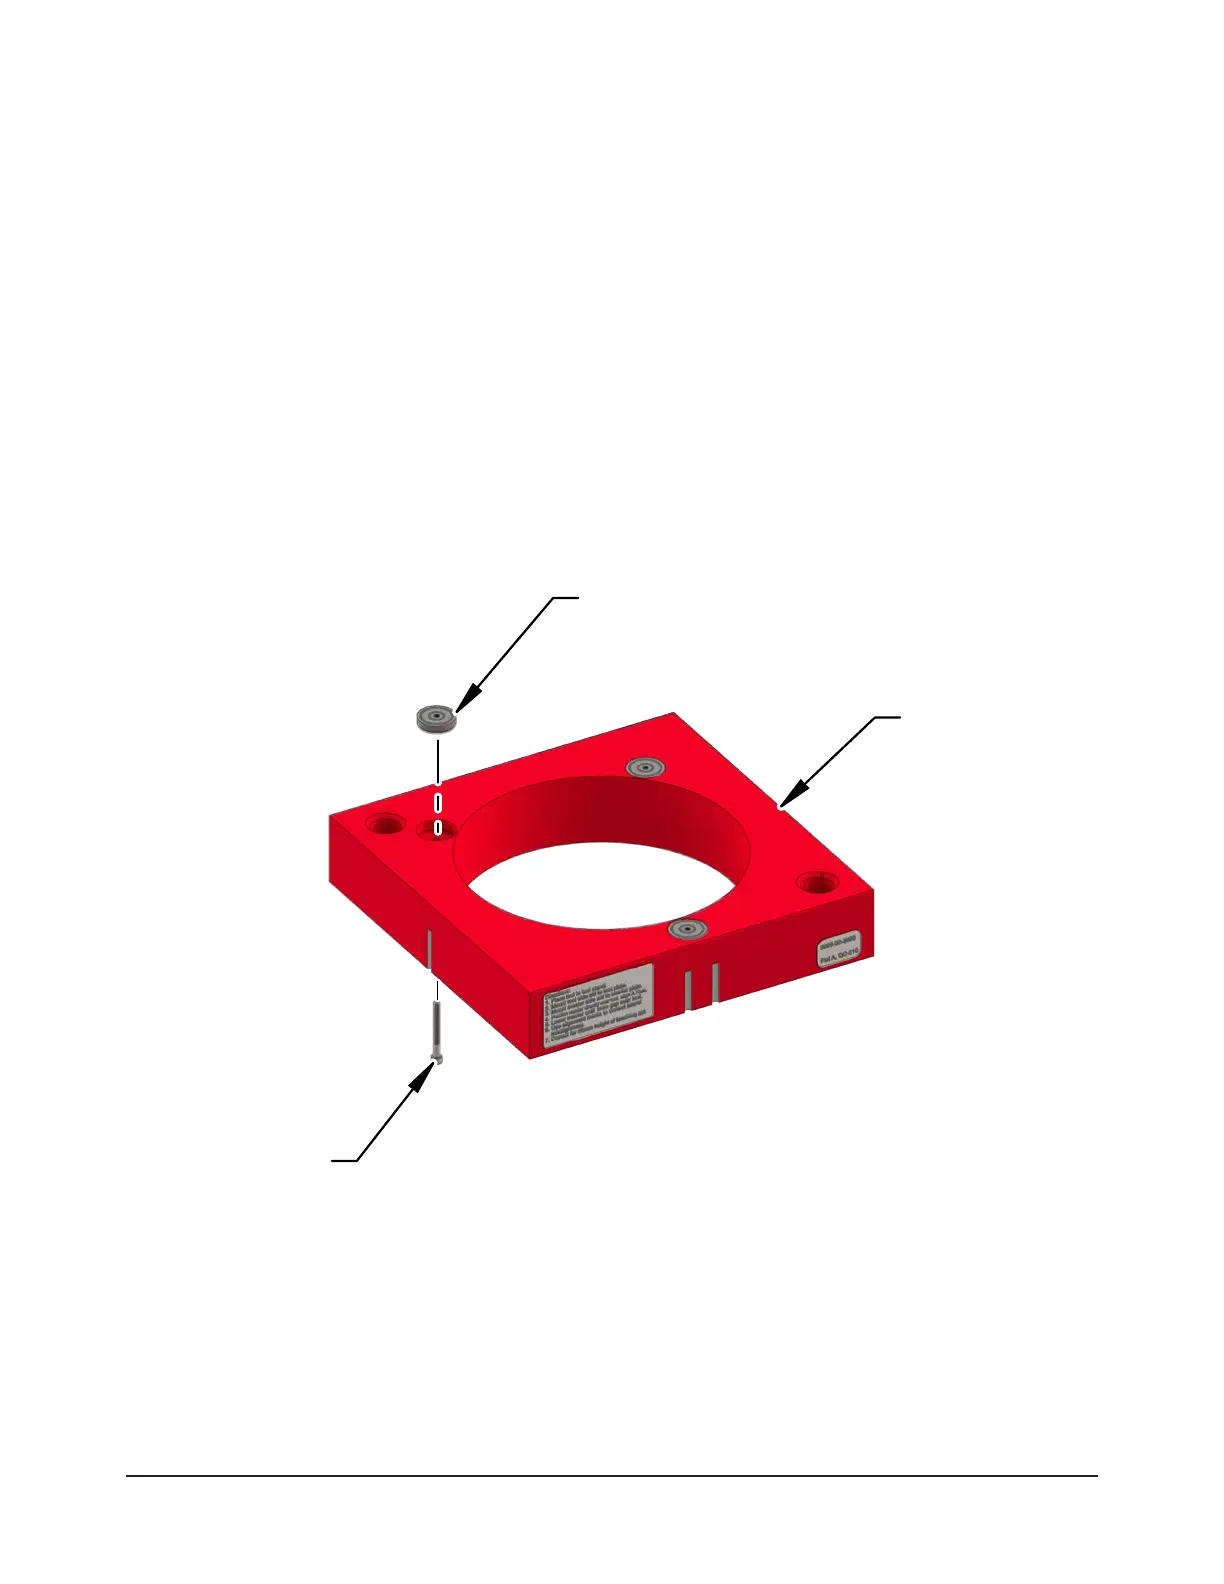
5.2.1 Replacing Magnets
Parts required: Refer to Section 6—Serviceable Parts
Supplies required: Loctite
®
Primer 7649 and Loctite 262, 3/32 (for 4-40 Socket Head Cap Screw),
torque wrench
1. Using the appropriate Allen wrench, remove the fasteners from the Teaching Aid plate. Refer to
Figure 5.1.
2. Remove the magnets that require replacement.
3. Place the new magnet(s) in the Teaching Aid plate.
4. Apply Loctite Primer 7649 and Loctite 262 to the fastener threads.
5. Insert the fasteners into the Teaching Aid plate. Using the appropriate Allen wrench, thread into
the magnet. Tighten to 12 in-lbs (0.8 Nm).
Figure 5.1—Adjustment or Installation of Magnets
Magnet
Teaching Aid
Socket Head
Cap Screw

 Loading...