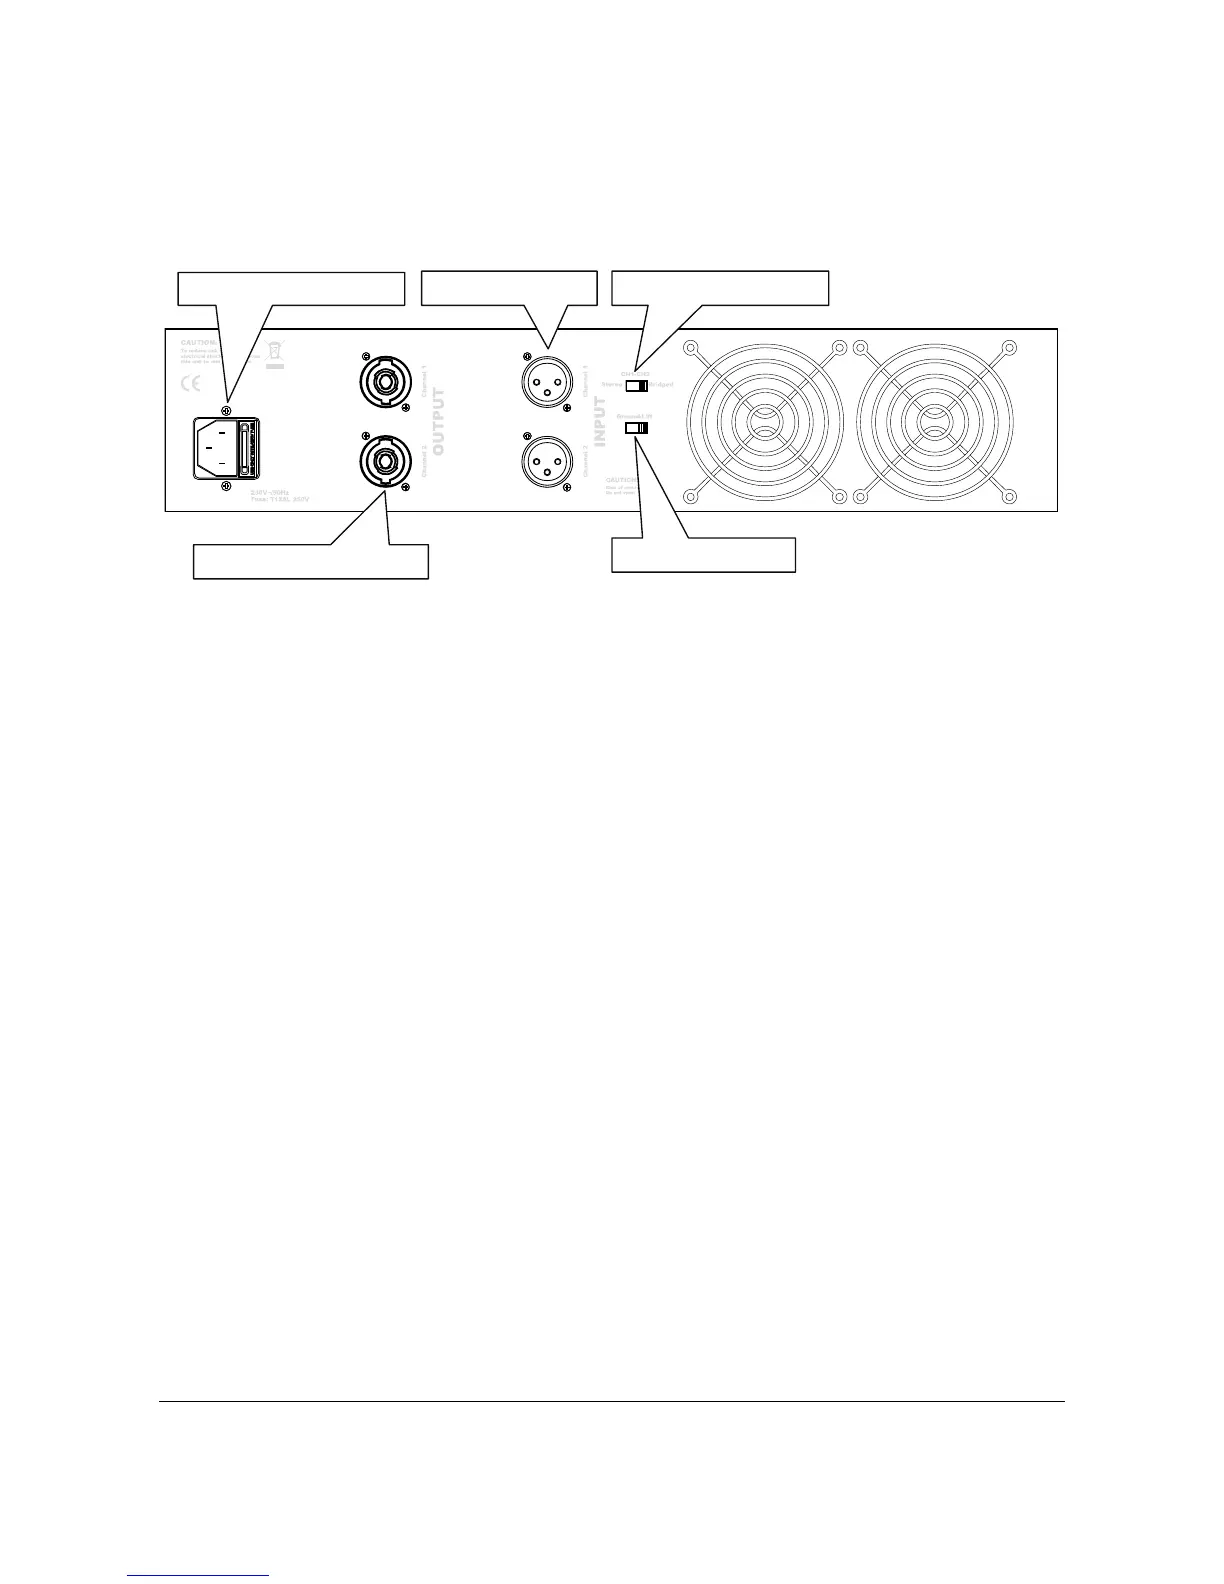
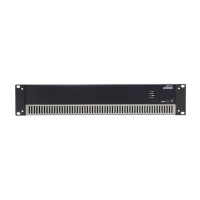
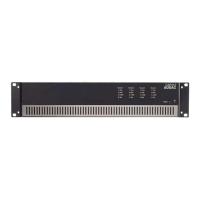
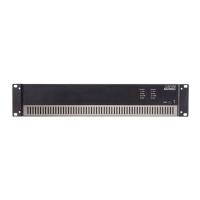
Rear panel overview
Description
4. Power inlet:
The mains power supply (230~240V / 50~60 Hz) has to be applied to this AC power inlet. The
connection is made by an IEC power connector and is fitted with a fuse. When replacing the fuse,
make sure the value of the replacement fuse matches the value of the original fuse.
(T6.3AL/250V for D2, T8AL/250V for D3, T10AL/250V for D4 & T12AL/250V for D5)
5. Loudspeaker connections:
The loudspeakers should be connected to these output connectors. The loudspeaker output
connections are performed using Speakon connectors. For standard stereo applications, the
loudspeakers should be connected to the +1 and -1 terminals of the Speakon connectors. More
information about the connection possibilities can be found in the next chapter, connecting the
amplifier.
6. Input connections:
The input connections of the amplifier are performed using balanced XLR connectors. Every
channel has an XLR input connector whereto the signal coming from the source should be
connected. The wiring should be done according to international standards. (Pin 1: Ground, Pin 2:
Hot (Signal +), Pin 3: Cold (Signal -))
4.