RXV100
Deployment Guide 20 Document #: LTRT-18195
2. Tips:
• Don’t point your camera at a busy background. This includes busy patterns or
interior and exterior windows that have a lot of traffic.
• Don’t mount cameras at extreme heights and then point them down like surveillance
cameras. Mounting cameras at extreme heights may cause eye contact issues and
skew the images of people. Detections may also become a problem.
3. Position the device on the TV display. If you have two displays, i.e., content sharing and
video, position the device on the video display so that there’ll be eye contact.
4. Connect the camera using the supplied three-meter-long USB cable to the RXV100Hub.
5. Configure RXVCam50M/L settings using the Remote Control; see the RXVCam50 User’s
Manual for detailed information.
Note: It’s not necessary to configure or select the camera in the Peripheral menu. The
Peripheral page refers only to use of an optional ‘content’ camera.
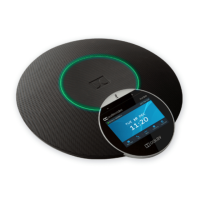
2.3 RX50
If the RXV100-B40 bundle is purchased, the RX50 is included. Developed in partnership with
Dolby®, the device serves as a peripheral speaker producing clear, natural-sounding voice
quality regardless of acoustic room design (wall contour and surface material). Full-room pickup
and dynamic leveling automatically increase the volume of quiet or distant voices, while
unwanted noise is filtered, ensuring every participant's voice is heard regardless of room shape,
size, or orientation within the room. Optional satellite microphone kit extending pickup reach by
2 meters/6.5 feet is available (see Section 12.3.2 for more information).
To connect the RX50:
1. Connect the RX50 to the network. Note that the RXV100 and the RX50 must be on the
same subnet.
2. After connecting to the network, the RX50 automatically powers up via Power
over Ethernet (PoE) and establishes itself on the network.
2.3.1 Pairing the RX50 with the RXV100Hub
Pairing is automatically performed.
To set up automatic pairing, make sure:
RXV100Hub and RX50 are in the same network and same subnet. Note that when the
devices boot/reboot, they look for each other on the network. They must be on the same
subnet or they will not pair / re-pair.
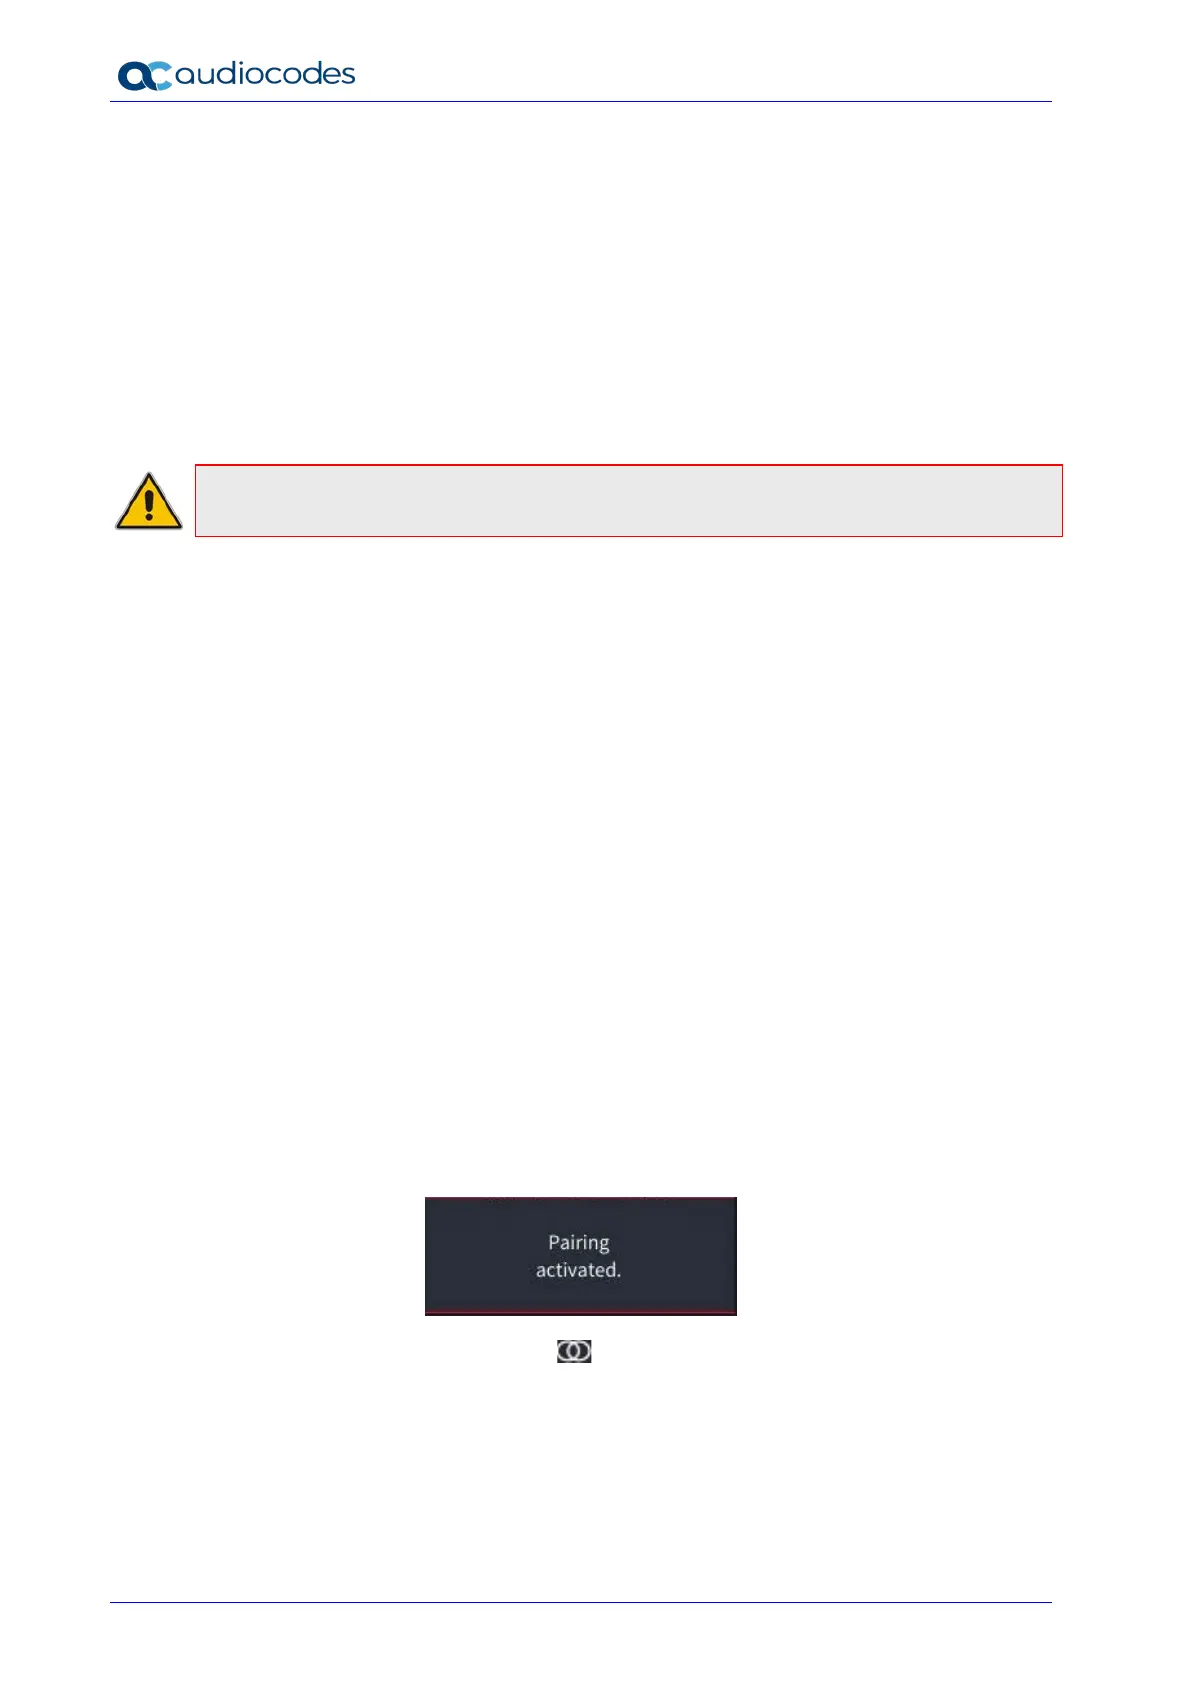
You’re notified ‘Pairing activated’:
You can also look for the pairing icon in the top right corner and MTR Audio (instead of
Offline) in the top left corner. After they’re paired, log in to the RXV100Hub as Administrator
and set RX50 to be its default audio device.