13 TOGETHER WE’RE GOING PLACES For more information visit www.auto-trail.co.uk 14
ELECTRICAL SERVICES
Leisure battery
Your vehicle is equipped with a rechargeable leisure
battery that is located in a dedicated battery
compartment within your vehicle. Locations of
leisure batteries vary from model to model, so please
familiarise yourself with your battery location before
using your vehicle for the first time.
The battery is charged via the on-board charging unit
when the vehicle is plugged into a mains supply, or
via the vehicle alternator whilst your vehicle is being
driven. If you vehicle is fitted with a solar panel, this
will allow the battery to be charged when light levels
permit.
CONNECTING AND
DISCONNECTING THE
LEISURE BATTERY
Please ensure that all cigarettes are
extinguished before working in the auxiliary
battery compartment. Switch o all appliances
and lamps before disconnecting the battery.
• Release the securing bolts or straps from
the leisure battery.
• Carefully remove the battery from the
battery compartment, taking care to
support its weight.
• Release the battery terminals using a
suitable zed spanner.
To refit the battery, simply reverse the above
procedure.
Please ensure the battery is located safely and
securely before driving your campervan. Any
replacement auxiliary battery should be of the
same type and specification originally fitted by
the manufacturer.
Generators
If a generator is fitted, the vehicle must be regularly serviced to achieve the optimum performance. Engine speed
is used to govern the output and frequency of the unit in KW and Hz, and if this is allowed to vary beyond a safe
level, permanent damage could be caused to certain pieces of electronic equipment, such as 12v chargers.
Power supply unit (EC176)
The EC176 Power Supply Unit incorporates a battery charger that
supplies 12V DC power to run the leisure equipment and supplies
the leisure battery. It also houses the 12V DC fuses that protect
the various 12V circuits, and the 230V RCD and MCB’s that
protect the various mains circuits.
Replacement fuses
When replacing a fuse, please ensure it is the same rated current as
the original one fitted to the unit.
The system has a number of key components that you will
need to be familiar with before attempting to use it:
• Residual Current Device (RCD) and Miniature Circuit
Breakers (MCB): The RCD is provided to protect the
user from a potentially lethal electric shock. It will turn o
(trip) if a fault occurs on the system. To ensure the RCD
is working correctly, the test button should be operated
each time the vehicle is connected to the mains supply.
The MCBs operate in a similar way to traditional fuses
and are provided to protect the wiring from an overload
or short circuit. If an overload occurs, the MCB will switch
o the supply. If this occurs, the cause of the fault should
be investigated before switching the MCB back on.
• 12V DC Fuses: These fuses are provided to protect the
various 12V circuits from an overload or short circuit.
If a fuse does blow, the cause of the fault should be
investigated before a replacement. When replacing a
fuse, always replace with a fuse of the correct value, never
replace with a higher value as this could damage the
wiring harness.
• Charger Switch: The charger switch turns on the internal
battery charger that will charge the batteries and provide
12V power to the interior of the vehicle. The switch will
illuminate when the unit is plugged into the mains supply
and the switch is pushed to the ‘IN’ position.
• Heater Switch: The heater switch turns on the 230V
supply to the water and heating system. The switch will
illuminate when the unit is plugged into the mains supply
and the switch is pushed to the ‘IN’ position.
• Shutdown Button: The shutdown button should be used
when the vehicle is in storage or not being used for a long
period of time. This allows the leisure electronics to be
turned o when not required to save battery power.
• Operation while driving: The EC176 system is designed to
shutdown parts of the system whilst the vehicle engine is
running. This is to meet Electro Magnetic Compatibility
(EMC) regulations and to ensure the safe operation of
the system. Please ensure the system shutdown switch
on the PSU is in the 'ON' (button in) position before
driving. This will ensure the electronic system is active and
will therefore be able to control the charging process,
supply the refrigerator and monitor other system circuits
Please note: Apart from the changing of fuses and the testing
and resetting of the RCD and MCBs, no maintenance is
required on the PSU unit. If a problem develops with your
unit, please contact your supplying dealer or a qualified
electrician.
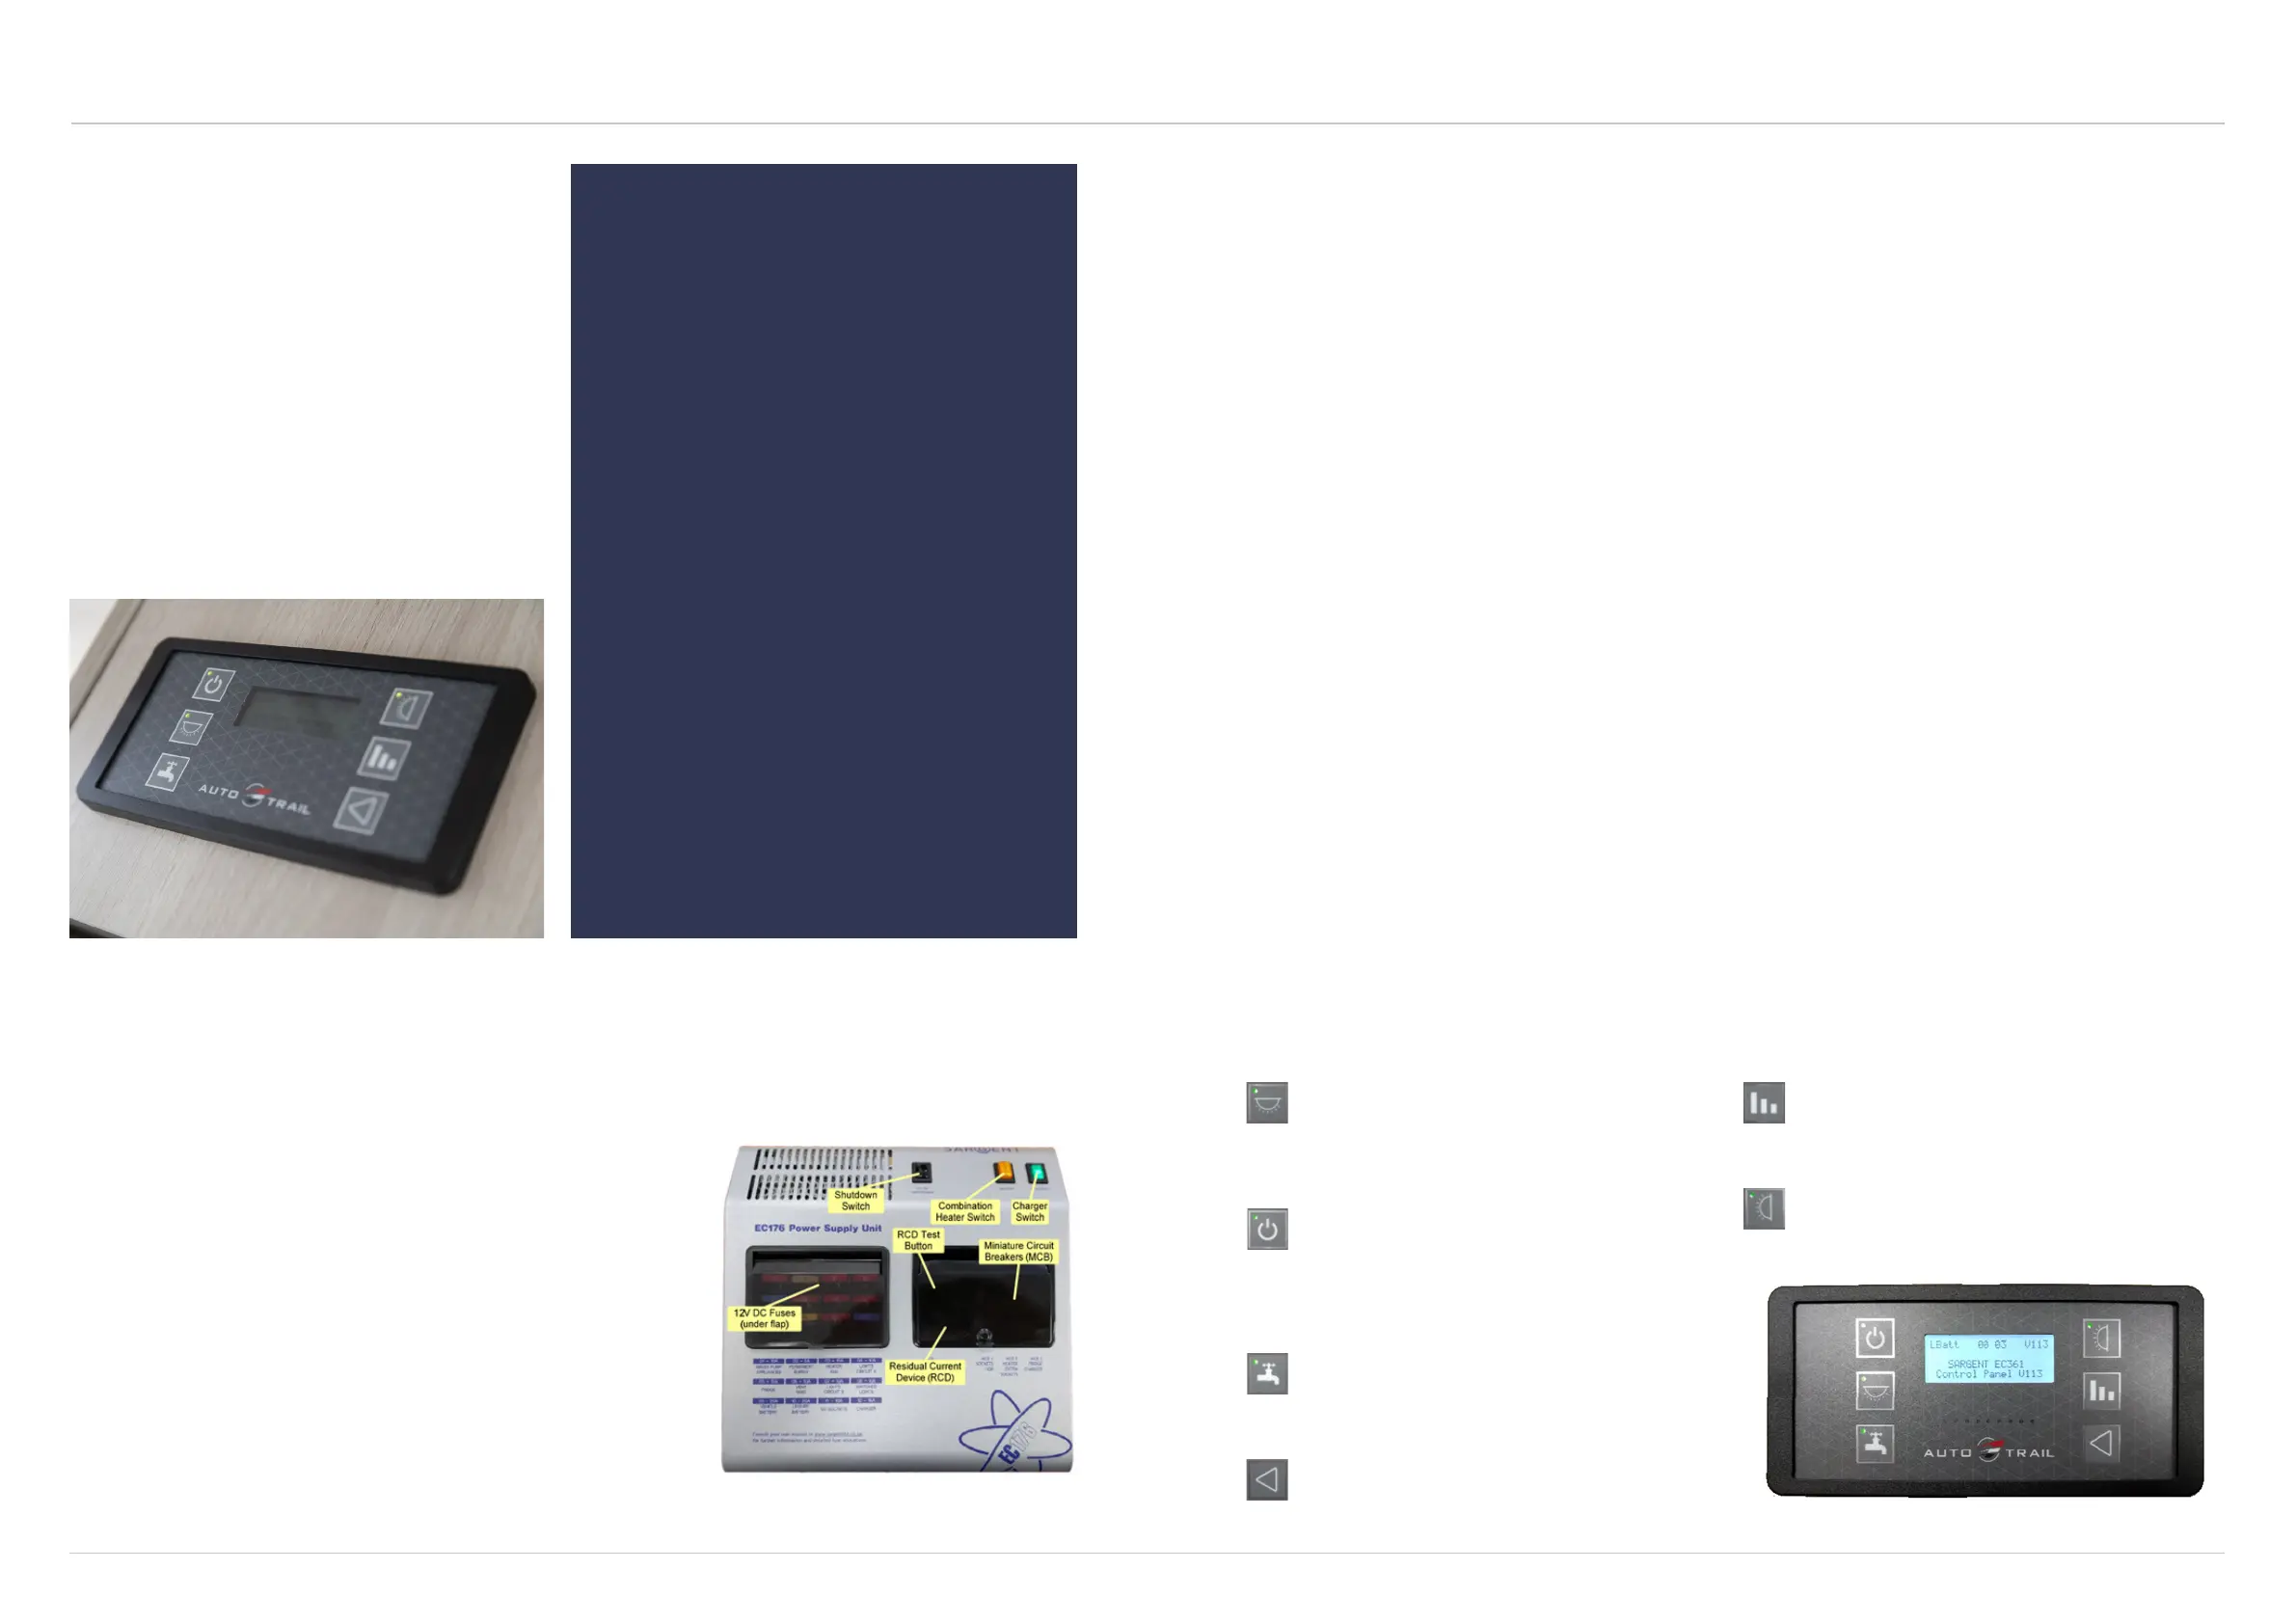
EC361/363 digital control panel with LCD display
Your control panel will have an appearance as below, but depending on your vehicle specifications, the control
panel features will vary. Not all features are present in all vehicles.
Power On/O Button: Press the power button to
turn the leisure power on. Press the button again to
turn the power o. The adjacent LED will illuminate
when the power is on, and also the voltage of the
selected battery will be displayed on the screen. When
the vehicle engine is running this LED will flash to
indicate the leisure battery is being charged.
Pump Button: With the power on, press the pump
button to turn the water pump on. Press the button
again to turn the pump o. The adjacent LED will
illuminate when the pump is on, and also the level of
the water tank will be displayed on the screen.
Select Button: Use this button to select options /
items or to change settings.
Levels/Scroll Button: Use this button to scroll through
the various levels screens / menu items or to cancel
alarms / warnings. Note: The screen illumination /
backlight will turn o after a period of time. Press the
levels button to reactivate the illumination.
Awning Light Button: With the power on, press the
awning light button to turn the awning light on or o.
The adjacent LED will illuminate when the light is on.
Light Button: With the power on, press the light
button to turn a selection of internal lights on. Press
the button again to turn these lights o. The adjacent
LED will illuminate when the lights are on. The lights
will be turned on and o automatically each time the
power button is operated.
EC176 power control system
 Loading...