KITCHEN APPLIANCES
17 TOGETHER WE’RE GOING PLACES For more information visit www.auto-trail.co.uk 18
Using the hob
The Dometic combination hob comprises of two burners and a recessed sink bowl which are hidden from view by
two hinged glass lids when not in use.
Using the oven
The ignition of the oven burner must always be undertaken with the door of
the oven open.
• Press the control knob and rotate it anti-clockwise until you reach the
'MIN' mark.
• At the same time, operate the electronic ignition device by fully
pressing the power button next to the control knob.
• After switching on, keep the control knob firmly pressed for another
five seconds, always keeping it at the 'MIN' mark. Release it, adjusting
the temperature as desired.
• To set the desired cooking temperature, operate the control knob anti-clockwise in the control range
between 'MIN' and 'MAX'. The device reaches a maximum temperature of 210 °C. The release delay is used
to heat the safety thermocouple.
If upon releasing the knob the burner won't stay lit, it means the thermocouple was not suciently pre-heated.
To solve this problem, repeat the steps above, holding the knob longer after turning on the burner.
Once you have finished cooking, turn o the oven by returning the control knob to the 'OFF' position next to
the stop symbol. Once switched o, remove the food, taking care to wear the appropriate protective equipment.
LIGHTING THE BURNERS
• Lift up both glass lids covering the hob and
sink before lighting the burners.
• Gently push in and turn the knob to the
high flame position and, whilst maintaining
the pressure, also press the igniter button.
Once lit, keep pressure on the knob for a
few seconds for the flame failure device to
deactivate.
• Adjust the size of the flame as required.
• To switch the burner o, rotate the knob
until the dot on the knob is in line with the
indicator on the hob.
This symbol is placed next to the
burner knobs. The dot refers to
the corresponding hob burner.
A large flame on the control knob
indicates a high flame.
A small flame on the control knob
indicates a low flame.
A push button igniter is used to
ignite the burners.
CONTROLS
Warning: never close the hinged glass lids until the flame has been fully extinguished and the burners have cooled.
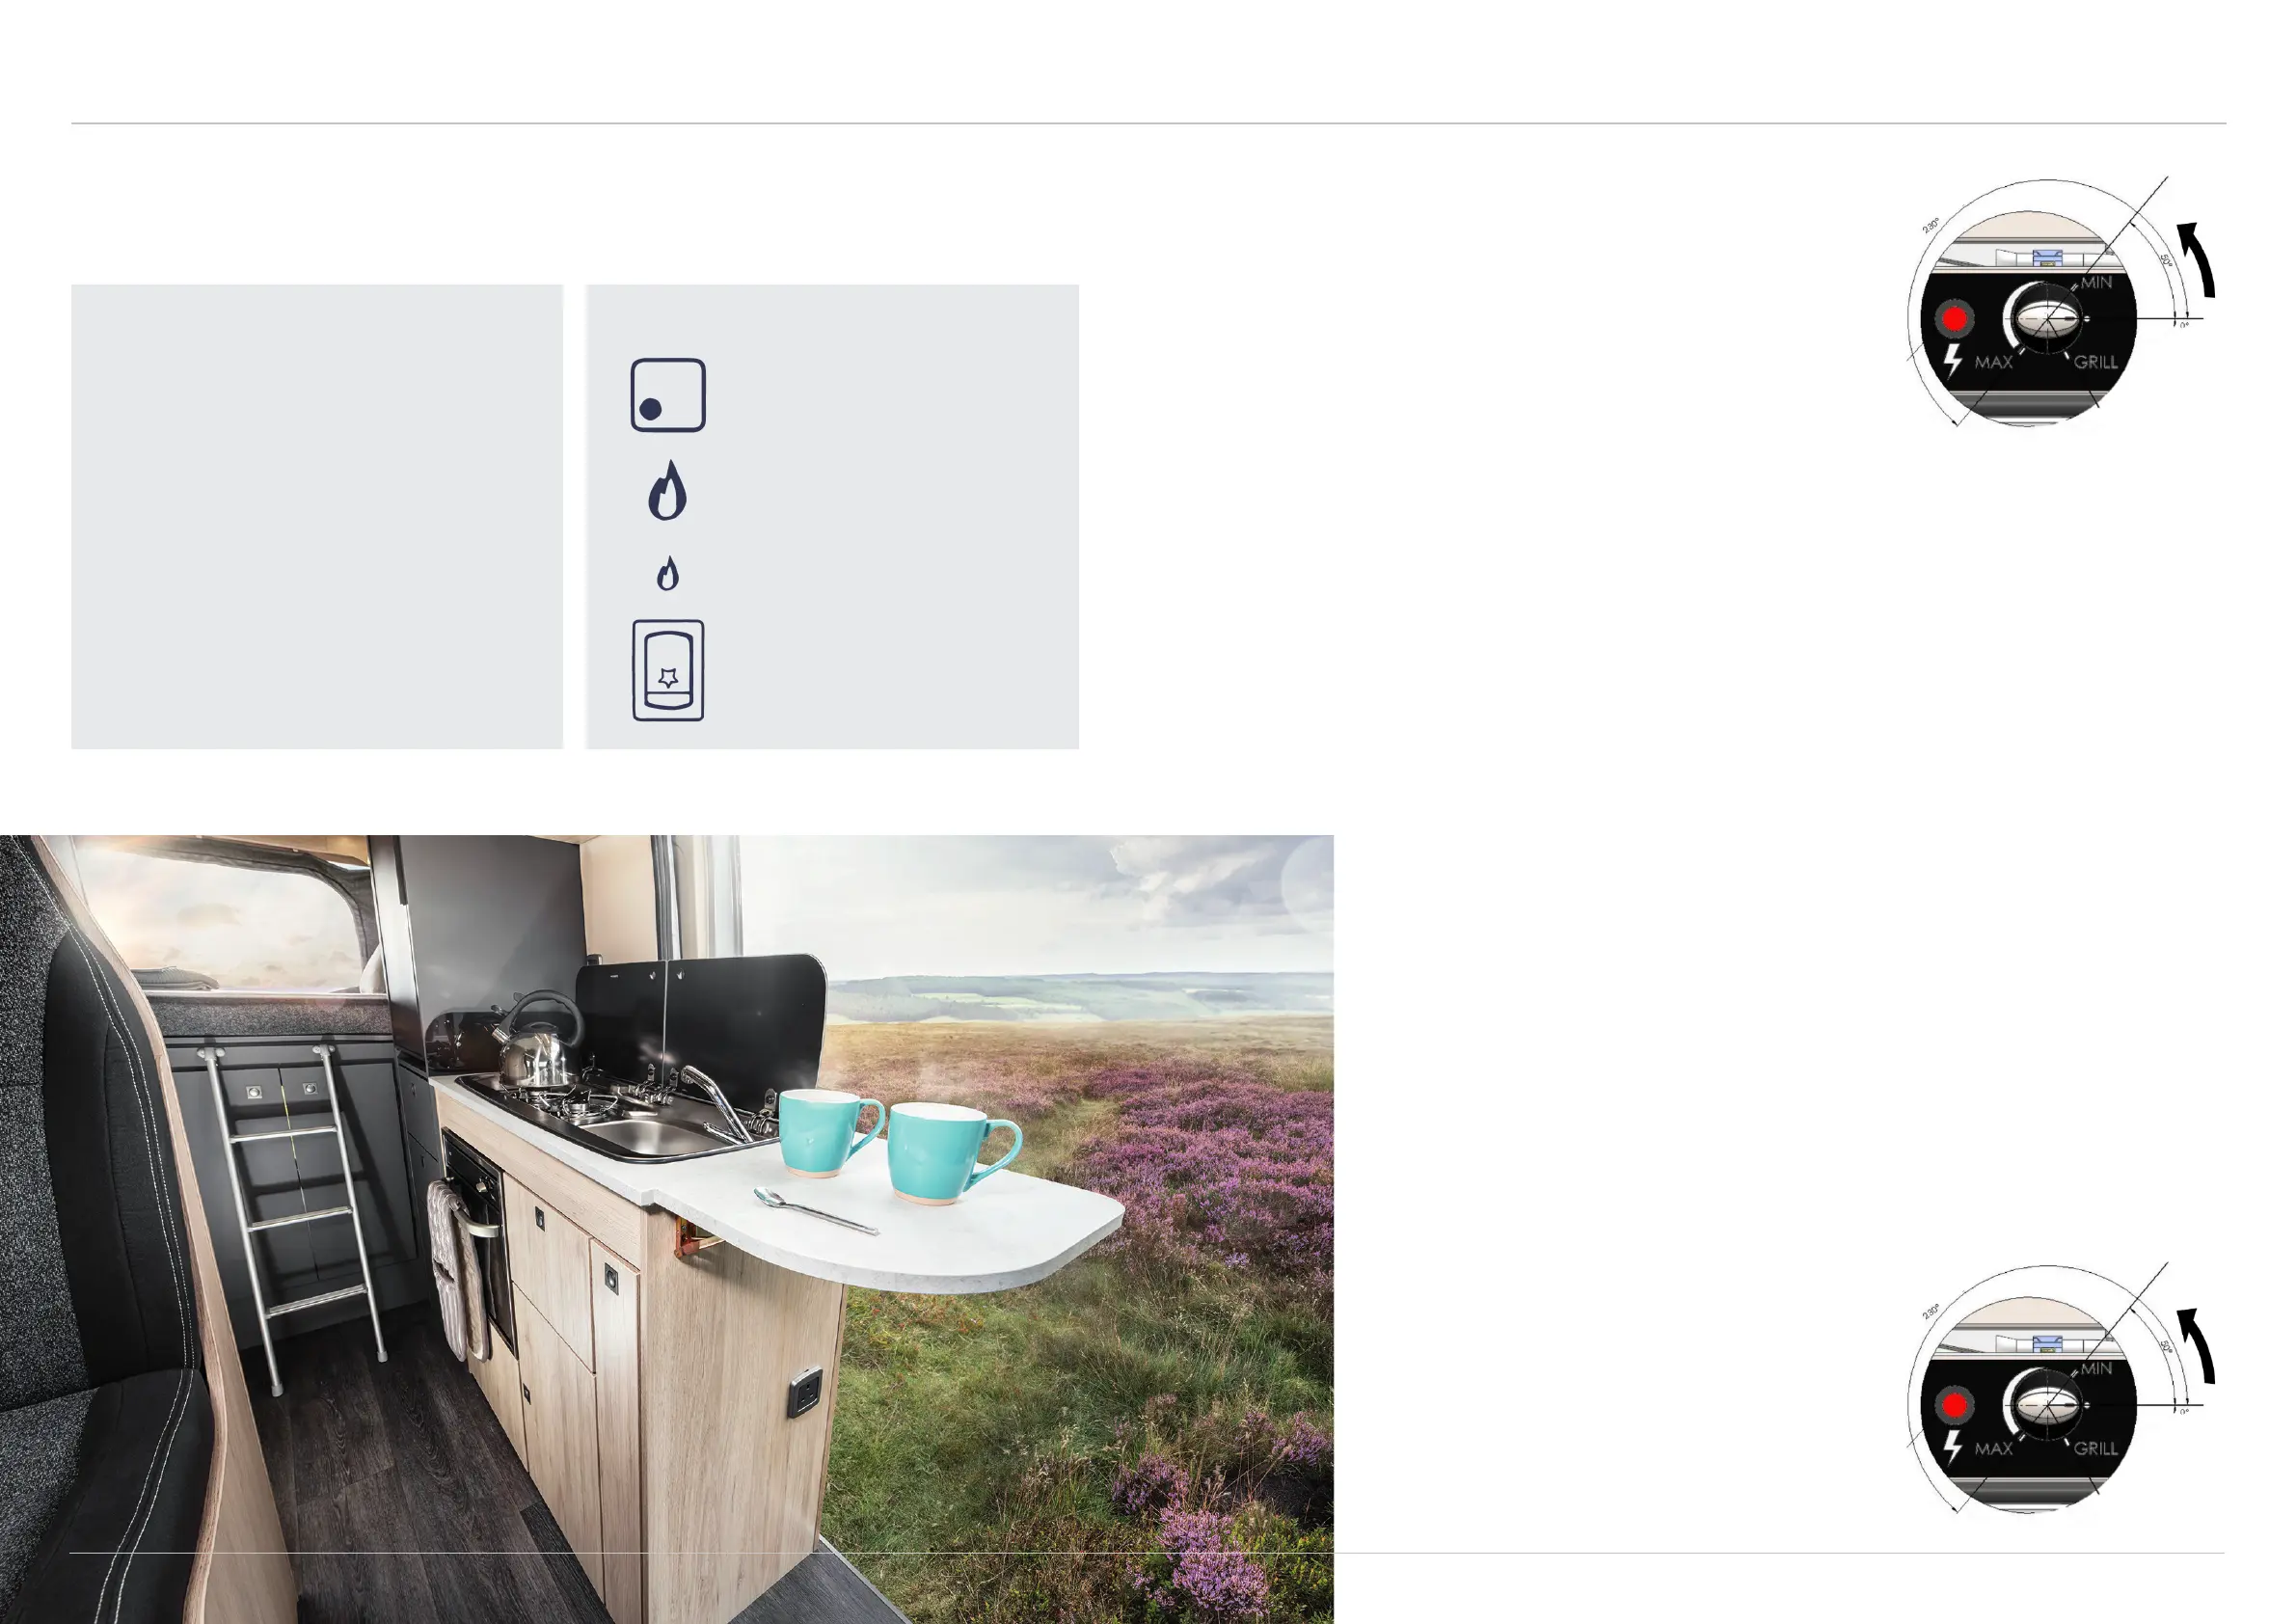
Using the grill
When using the oven in grill mode, the oven door must always remain fully open. Always pull out
the deflector for better protection against the heat of the control panel and control units.
• Before turning the grill on, ensure the oven is cold and remove the deflector from the inside
(at the top).
• Press the control knob and turn it clockwise to the 'GRILL' position.
• At the same time, operate the electronic ignition device by fully pressing the power button
next to the control knob.
• After switching on, press and hold the control knob for another five seconds in the same
position. This release delay is used to heat the safety thermocouple.
Once you have finished cooking, turn o the equipment by returning the control knob to 'OFF'.
Once switched o, remove the food, taking care to wear the appropriate protective equipment.
Please note: During the first use the appliance may generate smoke and unpleasant odours.
Don't be alarmed as this is due to combustion of the grease
used during manufacture and will stop once the unit has
been used for a few minutes.
The use of gas cooking appliances results in the production
of heat, moisture and products of combustion in the space
in which they are installed. Ensure the room has sucient
ventilation when the appliance is in use. During prolonged
use, additional ventilation may be needed by opening a
window.