OptiFlex™ I/O Expanders (part no. FIO)
Automated Logic Proprietary and Confidential A Carrier Company. © 2022 Carrier.
All rights reserved.
9
Screw mount
1 Slide the expander's left edge connector down onto the controller's edge connector.
2 Insert #6 screws through the expander's mounting holes. Use no more than 8 in.lbs. torque to
secure plastic tab to mounting surface.
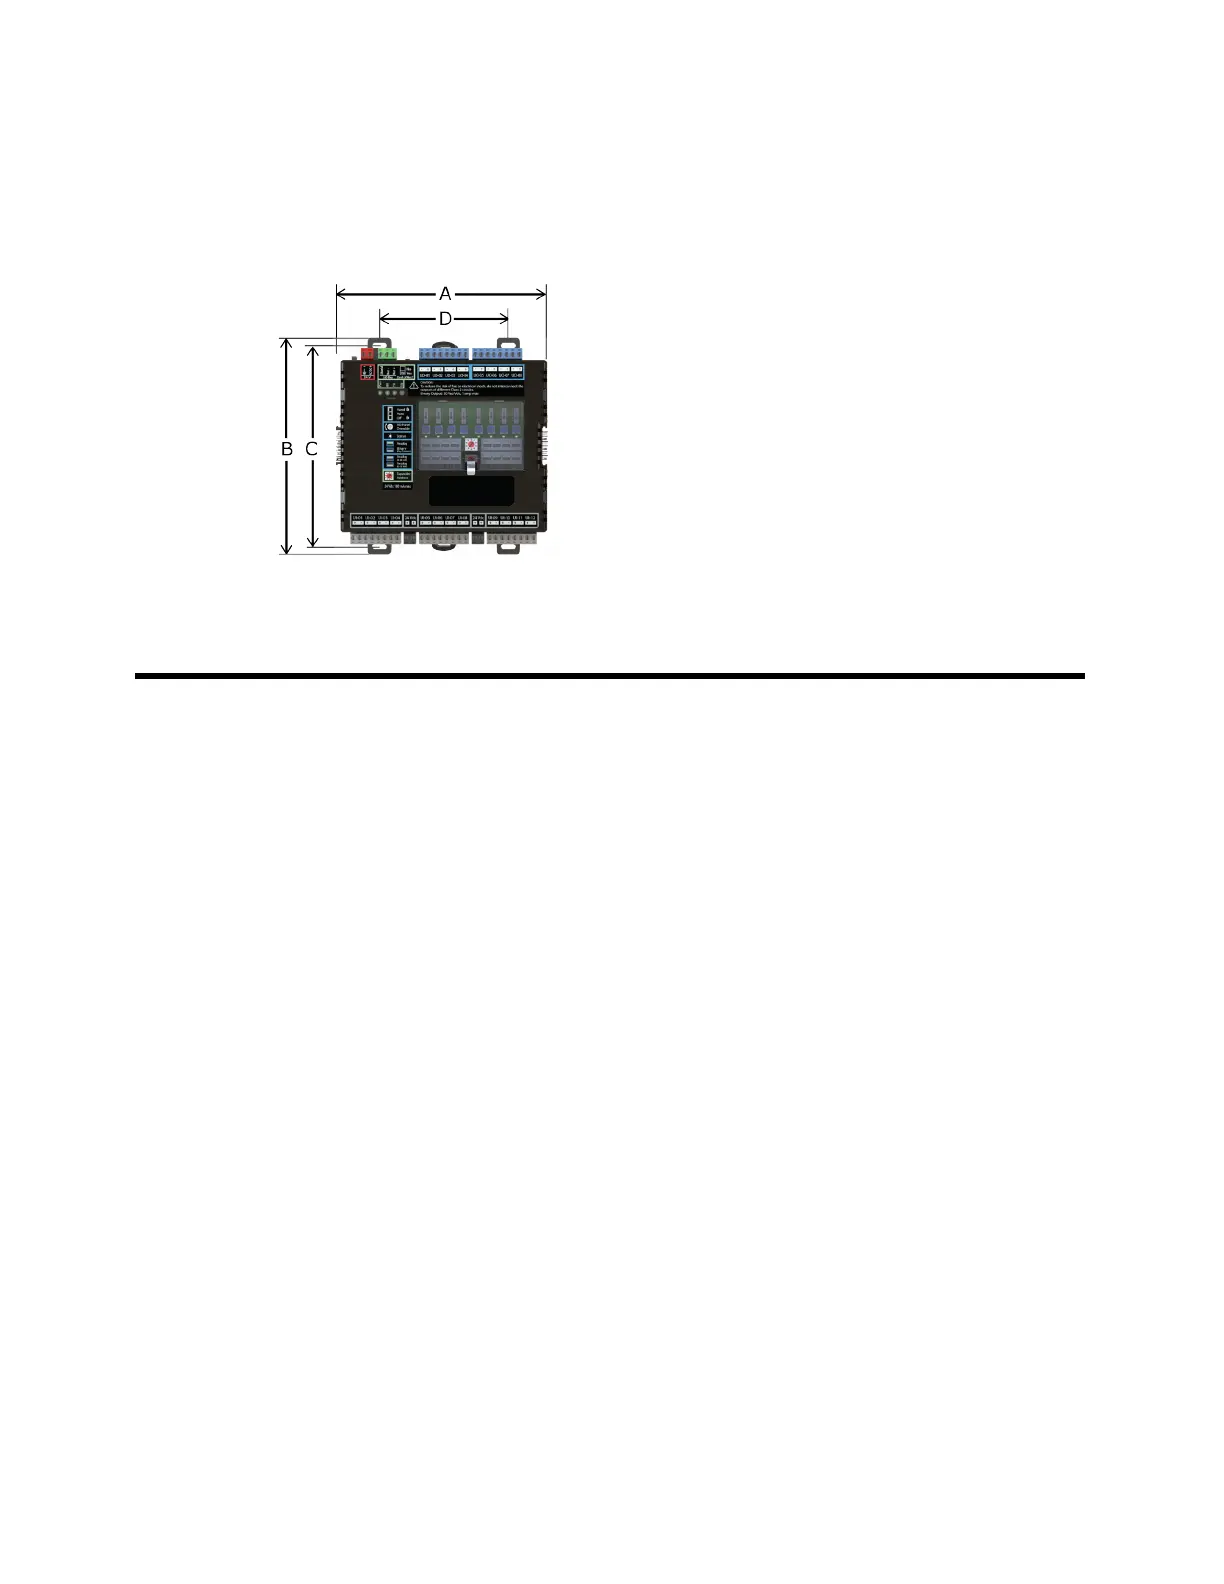
A:
B:
C:
D:
Depth:
6.9 in. (17.53 cm)
6.95 in. (17.65 cm)
6.45 in. (16.38 cm)
4.1 in. (10.4 cm)
2.24 in (5.69 cm)
Wiring the FIO expander to the controller's I/O Bus
If you wire the FIO expander to the controller, you must do the following:
1 Mount the expander (page 10)
2 Wire an external power supply to the expander (page 11)
3 Wire the expander for communication with the controller (page 12)
 Loading...