OptiFlex™ I/O Expanders (part no. FIO
)
Automated Logic Proprietary and Confidential A Carrier Company. © 2022 Carrier.
All rights reserved.
8
Connecting the FIO expander to the controller's I/O Bus edge
connector
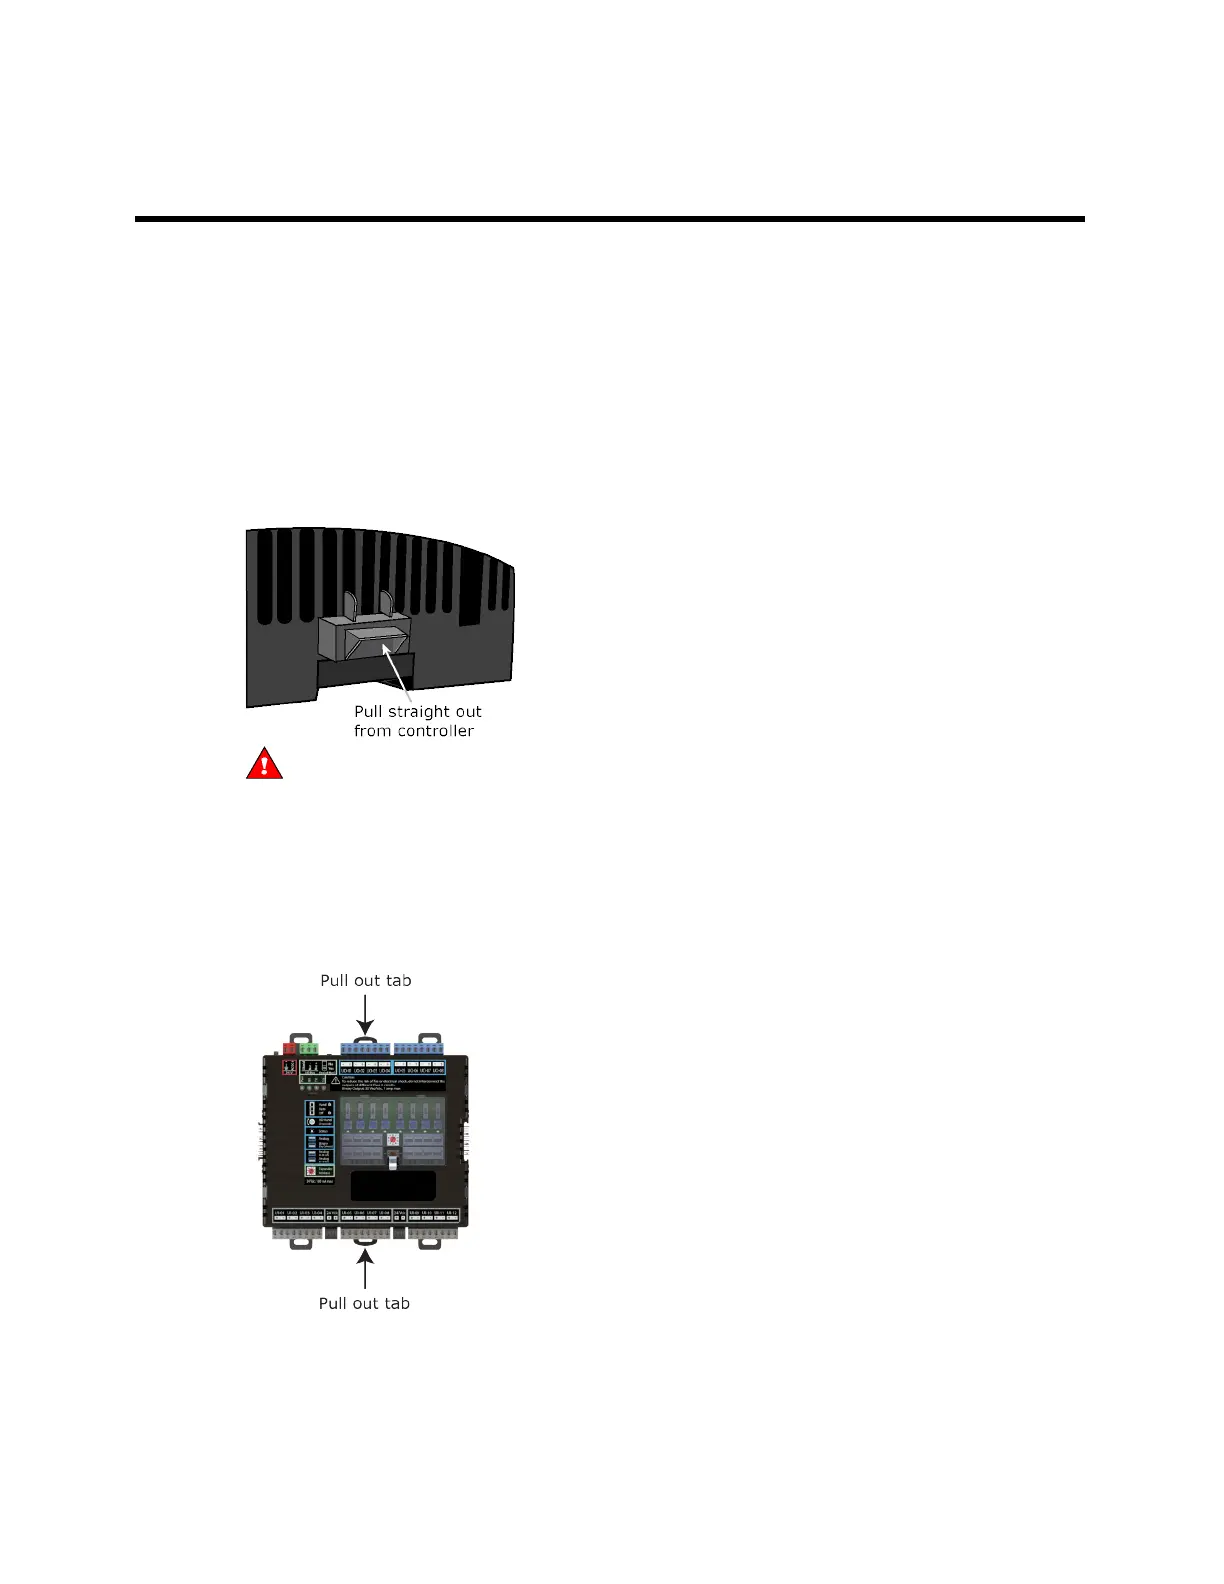
If you connect the expander to the controller's I/O bus edge connector, the connector provides power
and communication to the expander.
To connect and mount the expander
NOTE The following instructions assume that the controller is already mounted either on a DIN rail or
using screws.
1 Turn off the controller's power.
2 Remove the plastic protective cap from the controller's I/O bus edge connector and the expander's
edge connector.
WARNING This connector provides power and communication. To prevent risk of shock, do
not touch the bare edge connector if the controller's power is on.
3 Follow the appropriate instructions below for DIN rail mount or screw mount.
DIN rail mount
1 Push down and pull out the center tabs shown below to clear the DIN rail trough on the back of the
expander.
2 Slide the expander's left edge connector down onto the controller's edge connector. Both the
controller and expander are now on the DIN rail.
3 Push the expander's center tabs towards the expander until you hear them click.
4 Pull gently on the expander to verify that it is locked in place.
 Loading...