H-77
(A)
Photo
electric
sensor
(B)
Fiber
optic
sensor
(C)
Door/Area
sensor
(D)
Proximity
sensor
(E)
Pressure
sensor
(F)
Rotary
encoder
(G)
Connector/
Socket
(H)
Temp.
controller
(I)
SSR/
Power
controller
(J)
Counter
(K)
Timer
(L)
Panel
meter
(M)
Tacho/
Speed/ Pulse
meter
(N)
Display
unit
(O)
Sensor
controller
(P)
Switching
mode power
supply
(Q)
Stepper
motor&
Driver&Controller
(R)
Graphic/
Logic
panel
(S)
Field
network
device
(T)
Software
(U)
Other
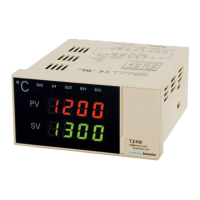
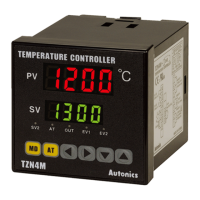
Dual PID Auto Tuning Control
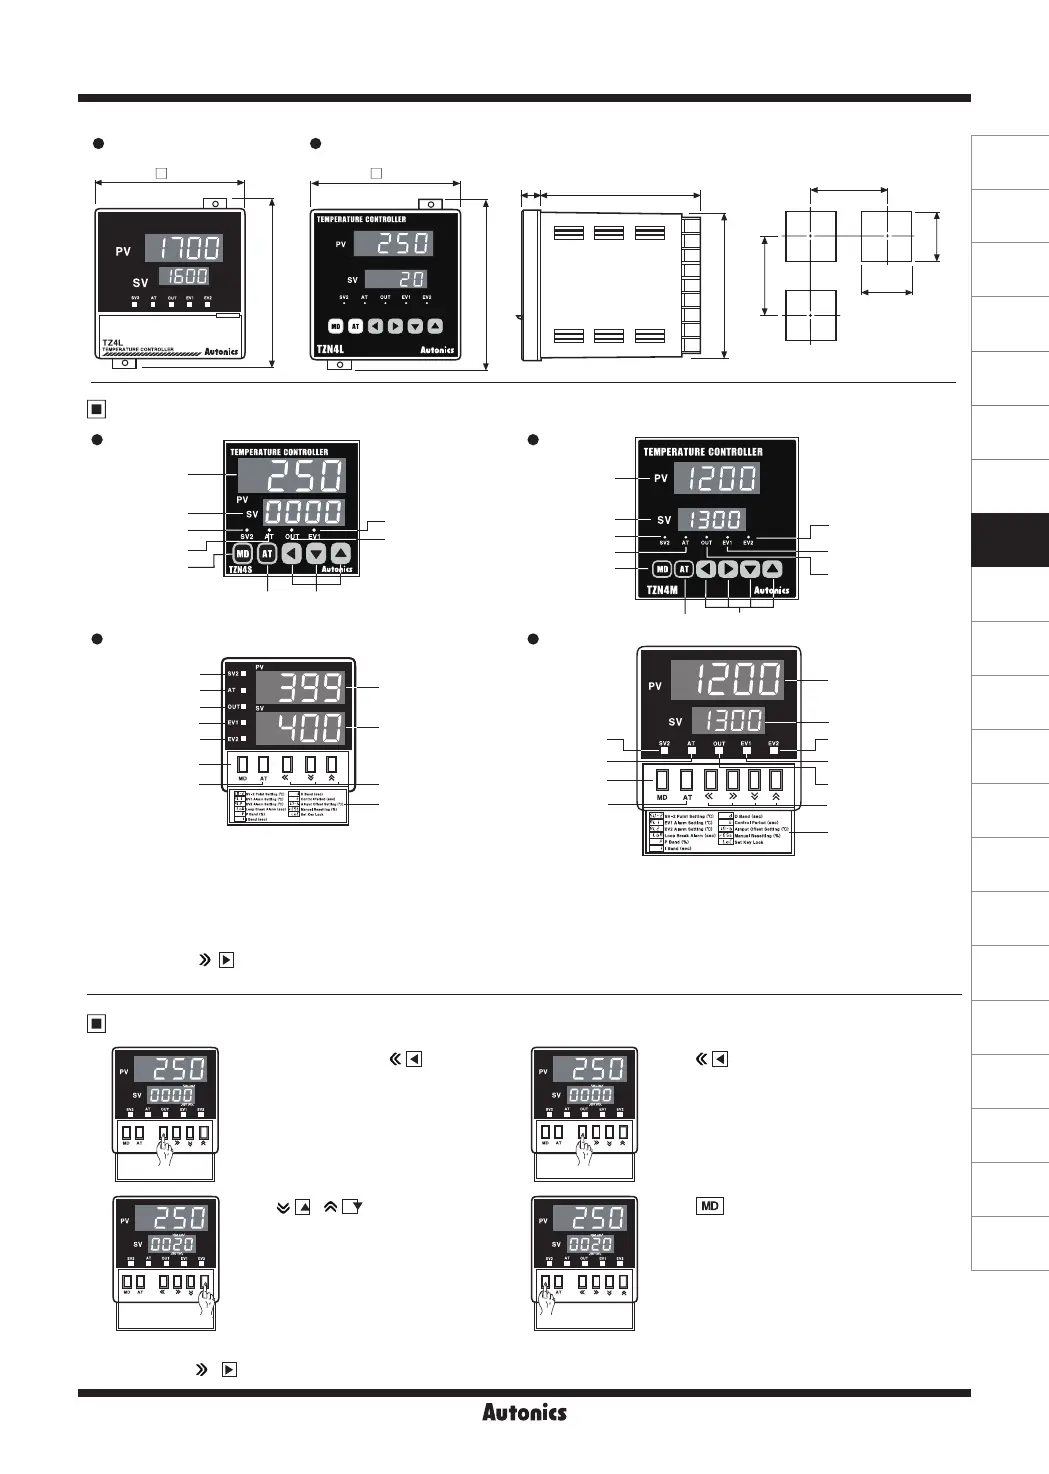
1: Display Processing value(PV) (Red) 5: Mode key 9: Indicate EVENT 1 output
2: Display Setting value(SV) (Green) 6: Autotuning operation key 10: Indicate EVENT 2 output
3: Indicate SV2 operation 7: Setting keys 11: Procedure of setting key
4: Indicate Auto-tuning operation 8: Indicate control output operation
※
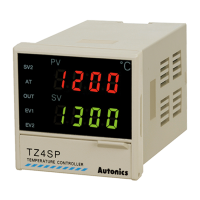
Since TZ4SP uses same identication plate with TZ4ST, the lamp does not work even though it has a EV2 output signal lamp.
※
There are no (
, ) Key in TZ4SP/TZ4ST/TZ4H/TZ4W and TZN4S/TZN4H/TZN4W.
※
Control output indicator(OUT) does not work when it is used as current output type.
※
Above explanations are the example of TZ4M. In case of TZ
Series
. Use the Key in brackets for setting(changing).
There are no
,( )
Key in TZN4S, TZ4SP and TZ4ST. It is not used for setting or changing the setting value.
96 96
10013
90
108
108
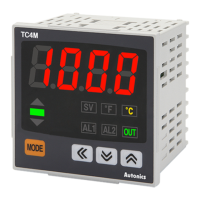
Parts description
SV setting
TZ4L TZN4L
1
1
3
3
2
2
6
6
7
7
8
8
9
9
10
4
4
5
5
TZN4S
TZ4ST/TZ4SP
TZN4M
TZ4M
Min. 98
Min. 106
92
+0.8
0
92
+0.8
0
● Panel cut-out
(unit: mm)
2
4
Press
( )
key to move the desired
digit.
(10
0
→10
1
→10
2
→10
3
→10
0
)
Press
key to save the
value and it controls with this
set value.
3
Press
( ), ( )
key to move
the desired number (1 → 5).
1
Press any key among
( )
key in
RUN mode, the right digit at SV
display ashes and it enters to
SV setting.
1
3
2
6 7
8
9
11
10
4
5
1
3
2
6
7
8
9
10
11
4
5
 Loading...