1. Unbox the machine and components
2. Place the scale on a flat surface
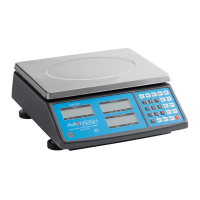
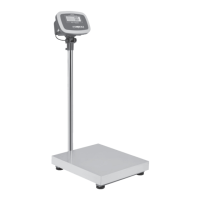
3. For the 334PCSP30T/ 334PCS60T models,
locate the tower indicator and identify the
cable that runs down the length of the pole
(Fig. 1). Once located, connect the wire to its
counterpart (Fig. 2) on the back of the scale.
(The cable connector should be located
inside the pole stand fastened to the back of
the scale)
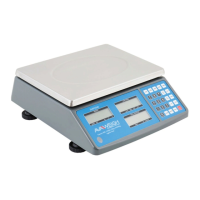
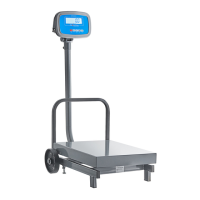
4. Once this cable has been connected, slide
the indicator in the allotted position on
the back of the scale and use the provided
screws to fasten the indicator pole in place.
(Fig. 3)
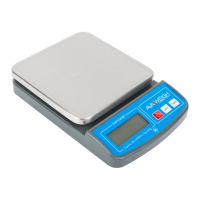
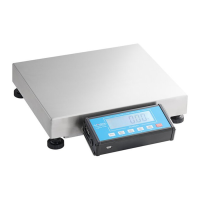
5. Once the pole has been secured, remove the
weighing platform and locate the leveling
bubble (Fig. 4) in the front left-hand side of
the scale (this can be found if you are looking
at the scale face).
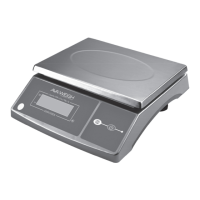
6. Once the leveling bubble has been located,
ensure that the bubble is in the middle of the
black ring for optimal weighing and accuracy.
If not, use the adjustable feet on the bottom
to level the scale. (Fig. 5)
7. Once you have ensured that the scale is
level, you can power the scale on using the
ON / OFF switch on the bottom of the scale
next to the adapter connection.
8. After connecting the power supply, switch
of the scale. The screen will then show the
logo, edition number, IP address, and a self-
test countdown. Then the scale will be ready
to use.
NOTE: To ensure the scale works properly,
do not press any buttons or put anything on
the scale while self-testing.
INSTALLATION
3.
FIG. 1
FIG. 3
FIG. 2
FIG. 4
FIG. 5
INSTALLING THE SCALE
 Loading...