PAGE 8 INSTALLATION (CONT.)
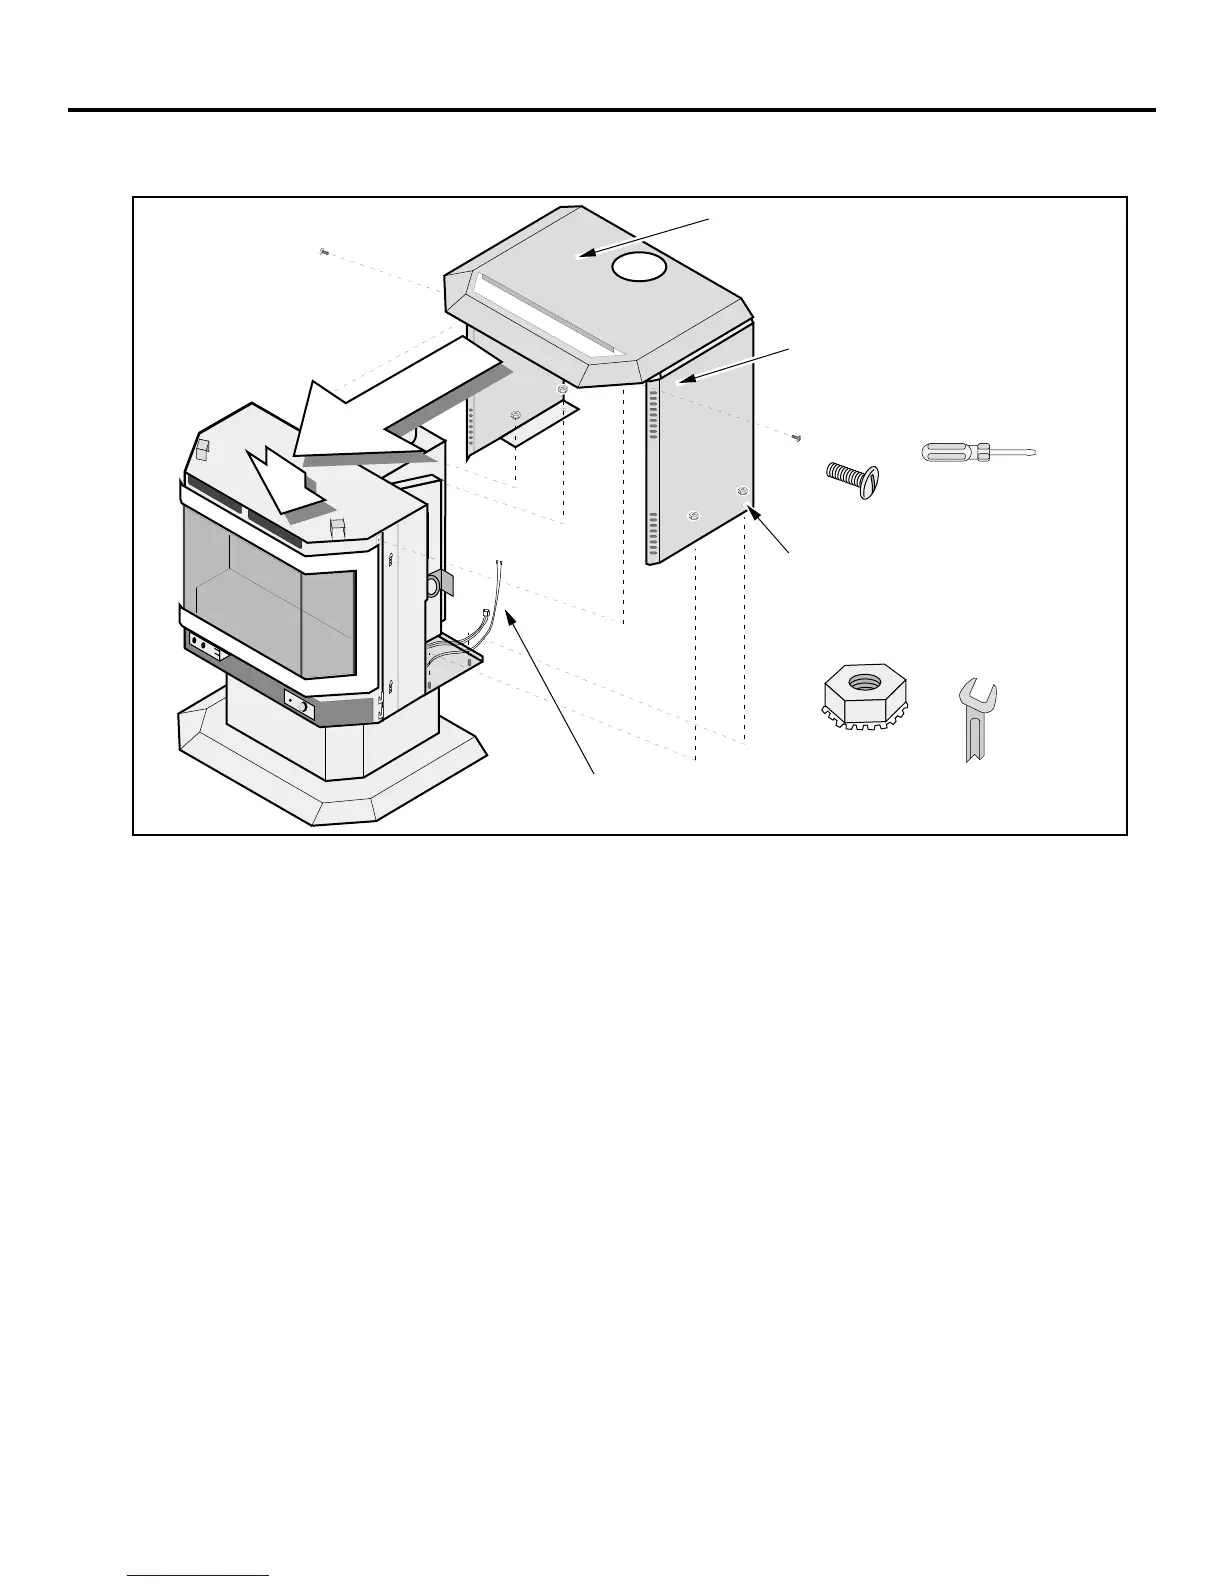
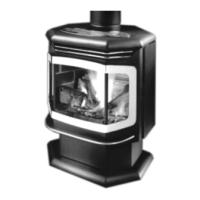
2 Slide the side and top panels onto the stove from the back. Make sure the wires do not get caught
under the side panels. Attach with the four 1/4-20 lock-washer hex nuts and two screws.
Slide the top and side panels into place,
making sure they go underneath the wires
and gas line.
7/16" Wrench
Route the on/off switch and blower
wires to the right rear of the heater.
Attach the side panels to the heater
with four1/4-20 hex nuts (reach in
from the rear of the heater with a
7/16" wrench to tighten).
Attach the forward brackets of
the top panel to the heater with
the two black screws.
Standard
Screwdriver
+ If using a remote control or thermostat, follow the instructions in the optional equipment
section of the owner's manual for attaching the wire prior to attaching the rear panel.
3 Slide the nine U-Nuts into place (see the illustration on the following page).
4 Insert the molex connector on the power cord through the rear panel and attach it to the molex
connector coming from the blower (see the illustration on the following page).