9
Part Testing
Part Replacement
Turn off and disconnect power
before servicing
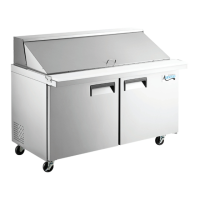
Door Seal Heater
Disconnect unit from power and unplug red
connector, check for 228 Ω at 70°F +/- 10%.
(Fig. 19)
Check for 120 volts between white and black
wires on the red plug at rear of condenser/
compressor compartment. (Fig. 19)
Check for 0.5 amps on black wire after red
connector. (Fig. 19)
Check for any discoloration or deformations of
electrical connections, if any are found,
replace connections.
Fig. 19
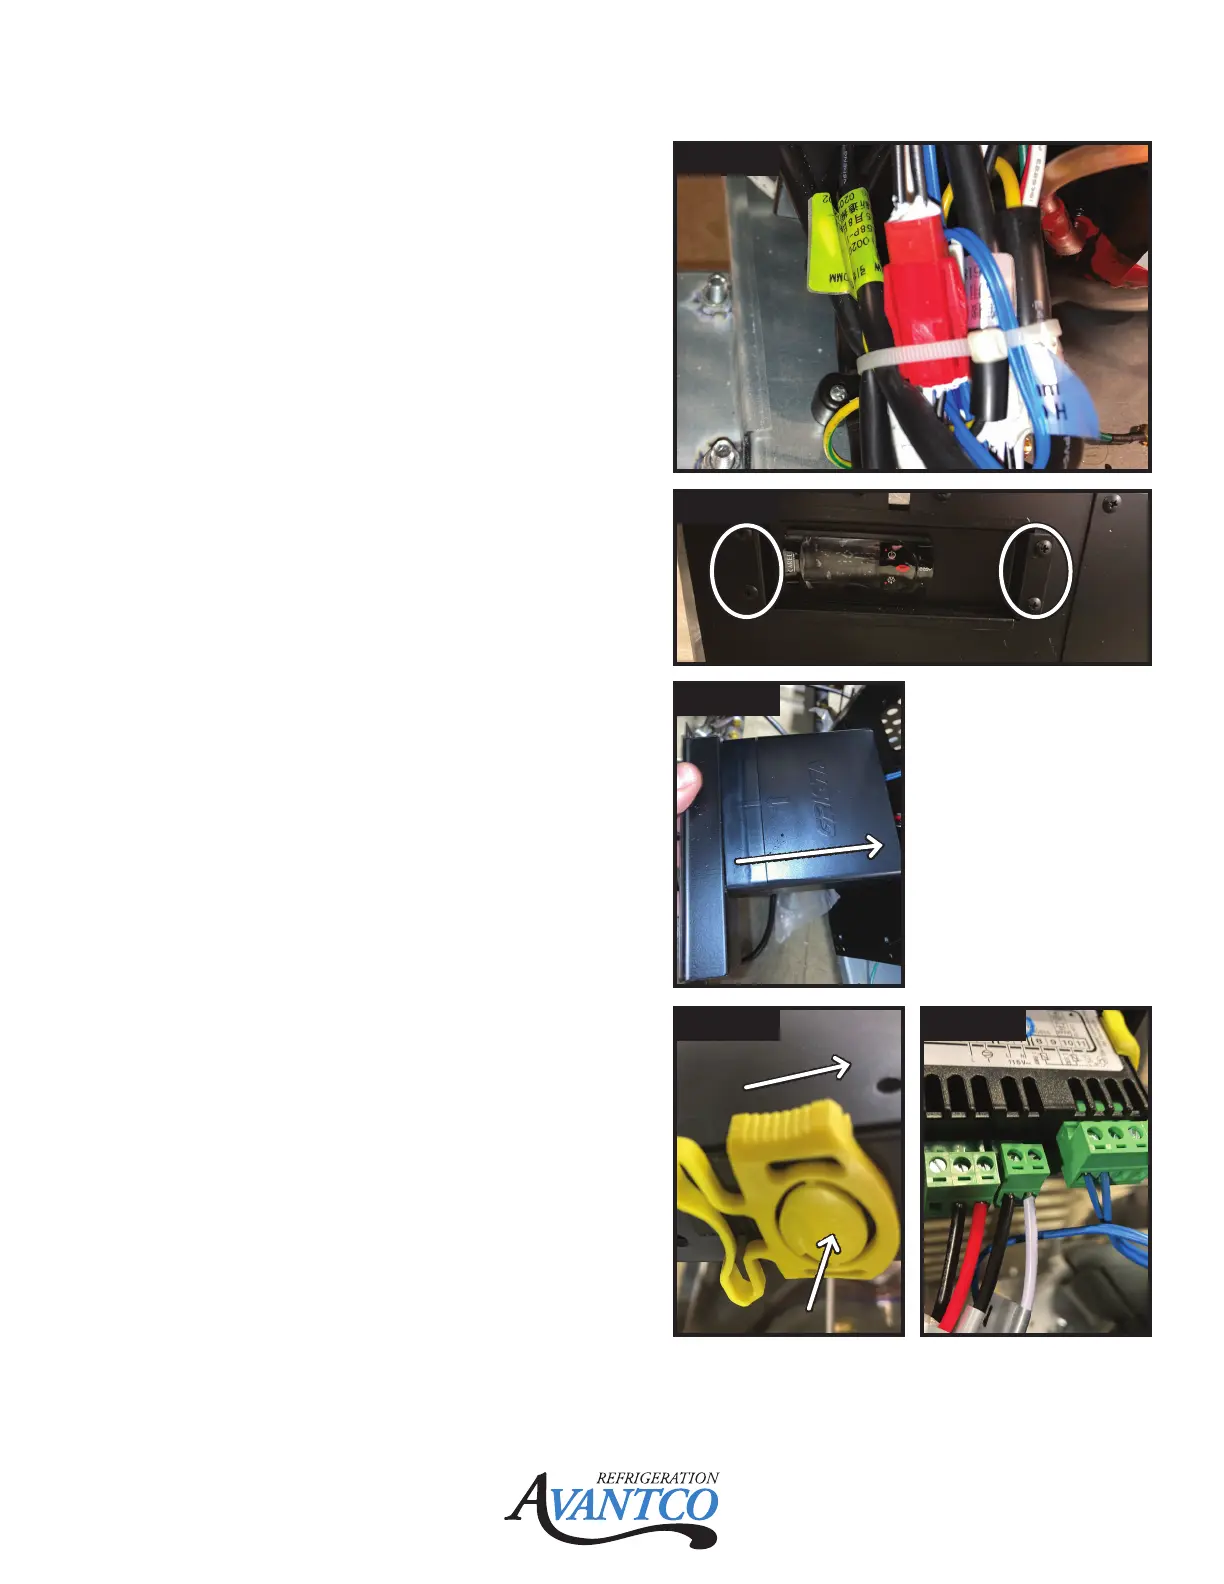
Fig. 20
Fig. 21
Fig. 23Fig. 22
Controller
1. Remove control panel from the rear of
the unit by removing the 4 Phillips screws
holding the controller to the unit. (Fig. 20)
2. Remove controller top cover by pulling away
from front of controller. (Fig. 21)
3. Push in yellow brackets on sides of
controller and slide towards rear of
controller. (Fig. 22)
4. Push controller through cutout in control
panel.
5. Remove wires from rear on controller, note
location for new controller. (Fig. 23)
6. Installation is reverse of removal.
 Loading...