7
Part Testing
Compressor & Capacitor
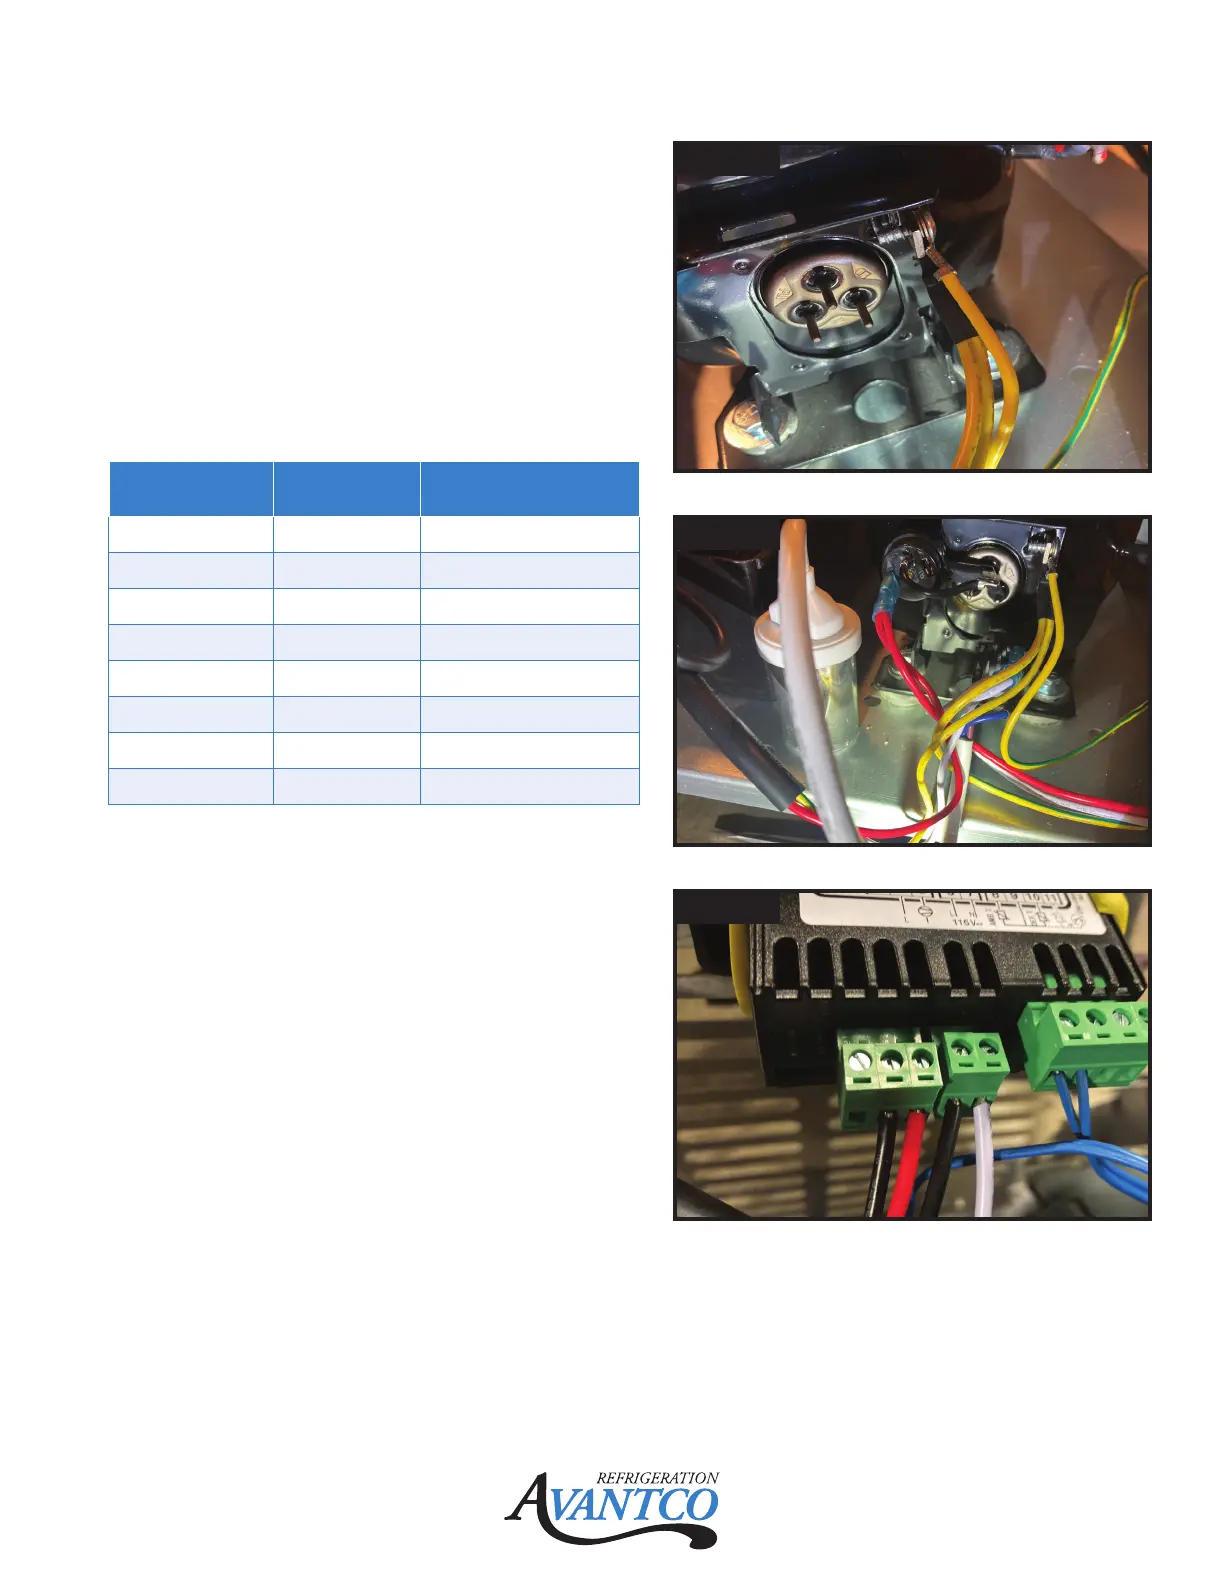
With unit 'ON' and controller calling for
compressor to run, check amperage on 'RED'
wire coming from the back of the controller; 2.0
amps +/- 10%
If amperage is above running amps and below
locked rotor amps replace starting components.
If amperage is at Locked Rotor Amps,
compressor needs replaced.
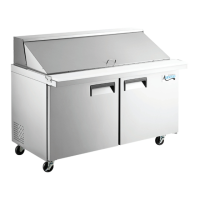
Disconnect wiring from compressor, check
resistance from common to run and start
windings. Resistance should be found (Run to
Start = (Run to Common) + (Start to Common).
Temperature will change resistance OHM.
Check windings are not connected to ground by
checking for Ohms from each pin to the shell of
the compressor (Paint must be removed from
case when checking for grounding).
Visually check capacitor for any deformations or
leaking oil like fluids, replaced if any is found.
Discharge capacitor prior to testing, use a
20,000 ohm, 2 watt carbon resistor, caution
resistor will be HOT during discharge.
Capacitor micro-farads = 12µF +/- 5%, replace
if not within range.
Fig. 13
Fig. 14
Fig. 15
Model #
Max Load
Amps
Locked Rotor Amps
(LRA)
178APT27HC 4.5 Amps 16.4 Amps
178APT27MHC 4.5 Amps 16.4 Amps
178APT48HC 6 Amps 18.4 Amps
178APT48MHC 6 Amps 18.4 Amps
178APT60HC 6.5 Amps 18.4 Amps
178APT60MHC 6.5 Amps 18.4 Amps
178APT71HC 8.9 Amps 28.6 Amps
178APT71MHC 8.9 Amps 28.6 Amps
 Loading...